BoredomBusted — Find Your Next Favorite Thing To Do
Discover hobbies, activities, places, and ideas that spark joy. Whether you're looking for something creative, active, social, or relaxing, BoredomBusted helps you find your next favorite thing to do.
Browse our hobby guides, things-to-do collections, and place ideas to never be bored again.
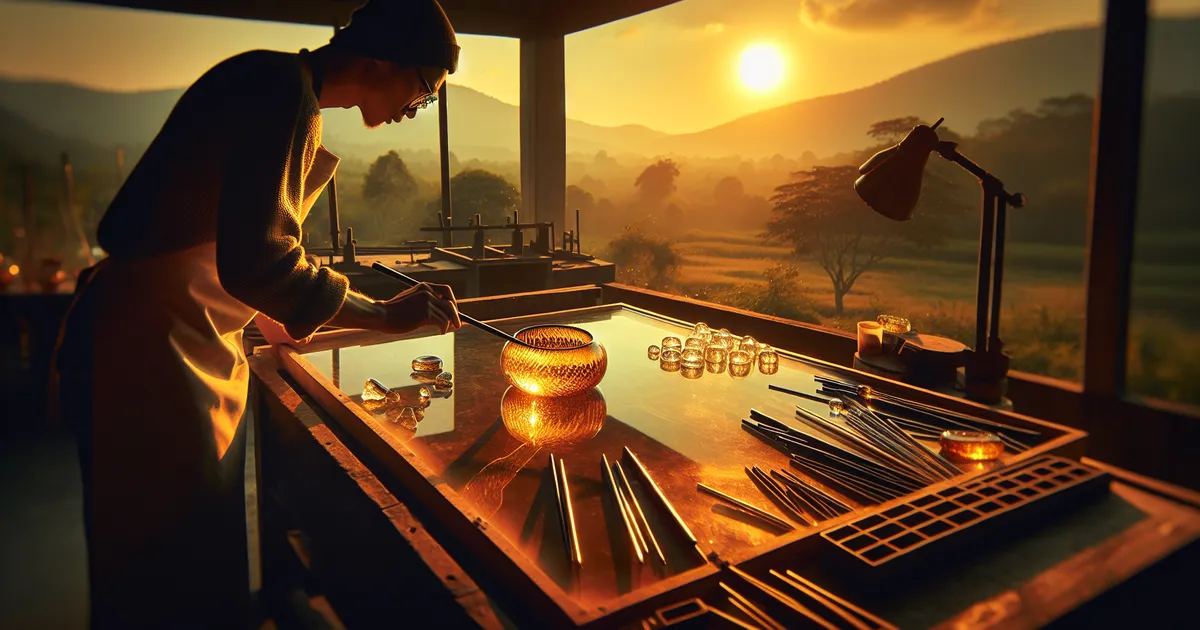
Glass fusing isn’t just about crafting; it's a deep materials science challenge where miscalculating glass compatibility can lead to shattered pieces, teaching lessons through failure.
Getting started with glass fusing as a beginner involves understanding the basics of how different colors and shapes can meld together beautifully in a kiln, bonding them permanently as the temperature peaks around 1,400–1,500°F.
Unlike stained glass, there's no lead, no soldering, and no cutting around rigid shapes – the design is built flat, then the heat does the joining.
In glass fusing, you cut sheets of specialized fusible glass into shapes using tools like cutters and saws, arrange these pieces on a kiln shelf to create designs, and then fire them in a kiln at high temperatures to fuse them into durable art pieces.
Glass fusing promotes flow state induction through precise actions like cutting and layering, providing immediate skill feedback after firing, and fostering a sense of accomplishment from creating unique, functional art, all of which combat boredom by engaging creativity and focus.
You assume glass fusing is just a quaint craft. Melt some glass, add colors, rent a kiln once. Cute but shallow.
That assumption is costing you the true depth of the craft.
Glass fusing isn't just about looks. It's a hands-on materials science puzzle. Each glass piece has a COE (coefficient of expansion) rating, and mixing incompatible ones invites disaster. Stress fractures can ruin work days later. You're not simply creating art – you're learning thermal compatibility.
The real skill lies in predicting heat flow at 1500°F. Not just cutting and arranging.
A beginner once crafted a flawless iridescent panel over three sessions. It shattered on the shelf on day four, untouched. She'd mixed two glass types with different expansion rates. The kiln wasn't at fault.
That crack taught her more than anything unbroken ever could.
True enthusiasts aren't chasing beauty. They're here to test their understanding of the material. Because in this craft, the material never lies.
The allure of glass fusing videos is misleading. They show clean colors and perfect edges, as if the glass knows exactly what to do on its own. Your first session won't resemble that magical experience.
Glass has its own set of rules that you only discover by breaking them. Online, it looks effortless — vibrant hues, smooth lines, perfection. But in reality, you might start with a cracked test tile and murky colors. Something always misbehaves, whether it's a fused edge or an off kiln schedule.
Initially, your sessions teach you more about your kiln than your glass. Each firing reveals quirks in your machine's heat spots and timing. Your cutting skills improve, yet your designs outpace your abilities by miles. Then, one piece finally resembles your vision, and it feels like a breakthrough moment.
Glass doesn't forgive assumption. Glass expands in a specific way when heated, and misjudging compatibility leads to cracks, even when everything seems fine initially. Check every sheet's COE before it enters the kiln.
Your first few creations won't be display-worthy. But as you gain trust in a process happening in darkness, you learn that the real skill lies in mastering the unpredictable.
When to start: Early morning
Duration: 2 hours
Cost to try: $50
Success criteria: If you finished without cutting yourself, do session 2.
All glass has a specific coefficient of expansion (COE), dictating its reaction to heat. Pairing COE 90 with COE 96 might seem harmless, but cracks can appear days after cooling.
Stick to one COE until you're familiar enough with the rules to mix confidently. Check every glass label before firing.
Many beginners hit start on their kiln without a slow hold period, causing trapped air between layers to form bubbles.
Include a 10–30 minute bubble squeeze at 1250°F in your schedule to release trapped air before reaching full fuse temperature.
It's tempting to use any flat surface, but glass touching an uncoated shelf fuses permanently and ruins both.
Always coat your kiln shelf with kiln wash or use fiber paper as a barrier to prevent bonding.
Jumping to a full fuse at 1480°F destroys texture and detail that a tack fuse at 1350°F maintains.
Experiment with tack fusing first to observe results, then decide whether to proceed to full fuse.
Glass naturally aims for a 6mm thickness when fully fused. Too thin and it contracts inward; too thick and it spreads.
Adjust your layers before firing to hit the 6mm target, modifying pieces as needed.
Your garage isn't ready for glass fusing just yet. But art studios, community makerspaces, and dedicated glass art studios are perfect. Check their websites to find where glass fusing is happening near you.
Say this when you visit: "I've never touched a kiln – do you run beginner sessions or open studio time?" This magic question gets you clear info on cost, equipment, and scheduling before you show up.
You arrange glass pieces and fire them in a kiln at different temperatures to melt them together. Temperature control is crucial — higher heat creates a smooth surface. A kiln is a significant investment, ranging from $500 to $2,000+, but it's essential for anyone serious about achieving consistent results.
Glass pieces fuse just enough to stick together, preserving individual edges and texture. Pulled from the kiln earlier, it offers more control. Ideal for beginners who love texture and dimension.
Fire fused flat glass over or into a mold, allowing it to sag into a shape like a bowl, plate, or dish. Typically, this is the second step after fusing. Prepare for mold costs, usually $20 to $80 each, to turn your creations into functional pieces.
Mix ground glass into a paste, pack it into a mold, and fire. The result is sculptural and distinct from flat fused work. It's a demanding technique suited for those seeking a unique challenge.
Use a handheld torch to melt and shape glass rods directly in the flame. Perfect for creating beads or figurines. This is a separate skill, not ideal for making larger panels or plates.
Another variant that pulls from the same roots is Wire Sculpture.
Readers who enjoy this often gravitate toward Clay Sculpture next.
Another variant that pulls from the same roots is Chainmaille.
COE compatibility isn't just reading labels; it's a deeper understanding of glass behavior.
Every glass has a COE number, like COE 90 or COE 96. Beginners often stop at these numbers. But even glasses with the same COE from different brands expand differently. Real mastery comes from predicting stress between two pieces based on their thickness, position, and firing conditions.
If you understand compatibility, you won't blame the kiln for cracks that are built into your design. Without this skill, pieces will seem fine, only to shatter later. And you'll have no clue why.
Test new glass brands by fusing small strips against your main glass. Stress-test by running the cooled piece under warm water; cracks show incompatibility. Keep a firing journal logging glass brand, thickness, and peak temperature. Patterns emerge over time—without notes, they stay hidden.
Fuse a mismatched scrap pair for reference. You'll see what stress fractures look like, helping diagnose later issues.
Commit to 4 sessions over 30 days, around one session per week. Glass fusing involves two main stages: designing and cutting, then firing and revealing. Four sessions let you complete this cycle twice, ensuring you see finished pieces rather than just raw glass.
If you're eager for the next piece before the current one is even out of the kiln, that's a strong sign of genuine interest. Start looking for a starter kiln to take your skills further. Renting studio time has served its purpose.
If the sessions felt adequate but didn't occupy your thoughts between visits, it indicates a lack of long-term pull. Before quitting, consider if this kind of creative work truly engages you. It's better to refocus on other pursuits if it doesn't.
If you found yourself dreading each session, it's a clear sign this isn't for you. Glass fusing requires patience and tolerance for delayed results, as you won't see your creation until the following day. This pacing is a core aspect and won't change.
Browsing fused glass designs and thinking about color combinations before attending a class is a sure sign of passion. It's the draw towards solving design problems that matters.
Plenty of people land on glass fusing after browsing the full hobbies list — that's a fine place to start, too.
Glass Fusing is a deeper commitment than most boredom cures — for lighter options, check things to do when bored.
You'll need a kiln (a glass kiln or a regular kiln that can reach 1400–1500°F), compatible glass pieces, a glass cutter, and a kiln shelf or mold. Many beginners start by taking a class or workshop where materials are provided, which is more affordable than buying all equipment upfront.
The actual fusing process takes 1–3 hours depending on your design and kiln temperature, but the complete cycle including heating and cooling can take 6–12 hours or overnight. Projects requiring multiple firing sessions can take several days to complete.
Glass fusing is beginner-friendly—the basic technique of layering and firing glass is simple to learn, though mastering color blending and advanced designs takes practice. Most people create successful pieces on their first or second attempt with basic guidance.
A used kiln can range from $300–$2,000, while individual glass supplies and tools cost $100–$300 initially. If you prefer not to buy equipment, taking classes at a studio costs $50–$200 per session with all materials included.
You can create jewelry (pendants, earrings), decorative tiles, bowls, coasters, sun catchers, and wall art. The possibilities expand with experience—many artists combine fusing with other techniques like cold-working or painting for unique designs.
Yes, if you follow safety guidelines—a kiln should be in a well-ventilated space, kept away from flammable materials, and never left unattended while hot. Most modern glass kilns are designed for home use with adequate insulation, though you should check local building codes before installation.