BoredomBusted — Find Your Next Favorite Thing To Do
Discover hobbies, activities, places, and ideas that spark joy. Whether you're looking for something creative, active, social, or relaxing, BoredomBusted helps you find your next favorite thing to do.
Browse our hobby guides, things-to-do collections, and place ideas to never be bored again.
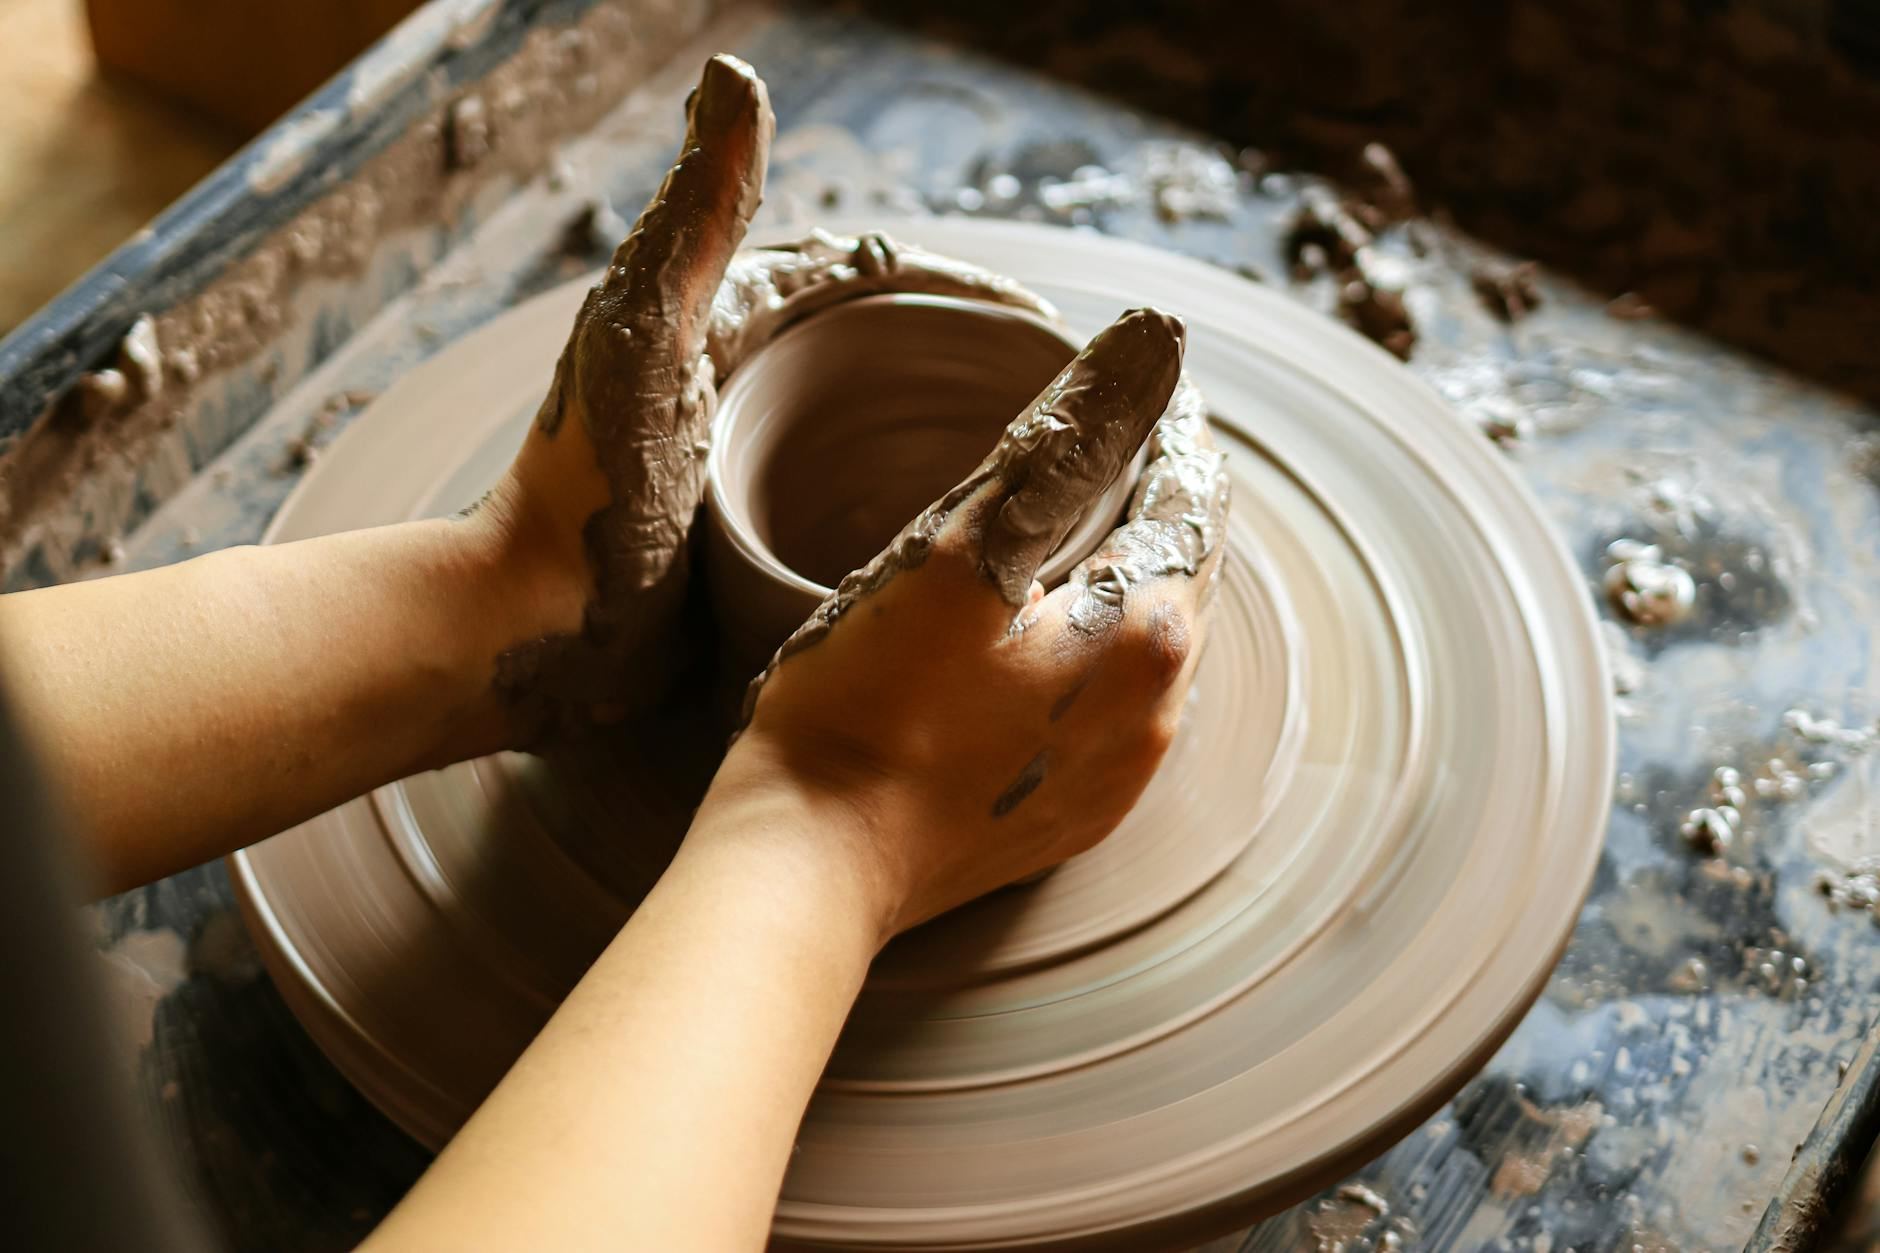
Hand building pottery isn't a backup plan — it's where precision and three-dimensional thinking thrive, even attracting architects for its geometric mastery.
Learning hand building pottery as a beginner is a rewarding experience that allows for creativity and personal expression without the need for complex equipment.
You build forms by pinching, coiling, or flattening slabs of clay into shape.
Unlike wheel throwing, the process is slower and more sculptural, rewarding patience over technical spinning skill.
In hand building pottery, you manipulate moist clay using techniques like pinching, coiling, and slab building to create objects such as bowls, mugs, or decorative pieces, engaging in tactile actions that include shaping, stacking, and refining forms while controlling texture and thickness.
This hobby induces a flow state through precise manipulations that match your skill level, providing immediate feedback on your techniques, fostering creative expression, and delivering a sense of accomplishment as you transform raw clay into functional art.
You think hand building pottery is the backup plan. Something you resort to when the wheel is unavailable. Like finger painting for adults wanting to dabble in art without committing.
Control lives in hand building, not on the wheel. Wheel throwing means battling centrifugal force; every choice in hand building is yours. Techniques like coiling, pinching, and slab work teach you to think in three dimensions.
Finished a slab-built teapot? It has clean angles and intentional geometry, things a wheel-thrown piece cannot replicate.
Architects love hand building for its precision. It's not beginner stuff; it's precision craft with its own ceiling.
Your tools matter. The right materials support precision; the wrong ones undermine it from day one.
Forget what you've seen online. Your first pottery session isn't tranquil. It's a clay battlefield. You expect it to be forgiving, yet your attempts result in cracked walls and a thumb-sized hole that shouldn't be there.It's messy, unpredictable, and strangely captivating.
In the beginning, corrections compound into new mistakes. This is normal.Your pieces may never leave the drying rack. But this is where you learn persistence, not perfection.
As your skills develop, the breakthrough is subtle. Gradual improvement means walls hold their shape, and for the first time, a piece survives the kiln. That initial ugly piece you're proud of? It's the weird joy you're chasing.
Clay dries unevenly, often faster than you'd expect. Cover your work between sessions with plastic if height matters. Too wet, too dry, too fast — the clay whispers lessons continuously.
You're not fighting the clay. You're deciphering it. Your feedback loop is immediate and genuine, more so than most hobbies. This honest input fuels the next phase, where mistakes often keep beginners trapped.
When to start: Morning
Duration: 1.5 hours
Cost to try: $20
Success criteria: If you make a pinch pot with even walls and attach one coil that stays firmly joined, do session 2.
Fresh clay can't handle new weight, causing collapses or warping mid-build. Score, slip, and attach each layer, then wait 20–40 minutes before stacking more.
No one wants extra steps when clay is sticky, but dry joins will crack in the kiln.
Confidently layering the base, but rushing the sides, leads to uneven drying and cracking. Check wall thickness with a needle tool regularly. Aim for a consistent 6–8mm.
Sun or heat feels helpful but only dries pieces unevenly, causing last-minute cracks. Cover loosely with plastic, and allow gradual drying.
Perfectly straight walls seem stable but can't support themselves before firming up. Lean them slightly inward, then refine once they reach leather-hard stage.
Hand building thrives in community studio spaces. You're not limited to art schools; access is open to everyone.
Let the studio manager know you're a beginner. You'll get a materials walkthrough, clay recommendations, and advice on the kiln schedule for your first pieces.
Bookmark the National Council on Education for the Ceramic Arts (NCECA) at nceca.net. Their educator and studio map is a key resource for staying connected.
Pinch pot building involves pressing your thumb into a clay ball and working outward with your fingers.
Best for absolute beginners wanting to feel the clay
before committing to anything more.
Roll clay into long ropes and stack them as you build walls. Smoothing each layer offers more control over curved shapes.
Ideal for crafting vases and vessels with character,
perfect for those seeking sculptural, irregular forms.
In slab building, flatten clay into sheets with a rolling pin or slab roller, then cut and join like fabric.
Great for those who enjoy geometric forms and structured design.
A slab roller costs $300–$800, but a rolling pin and guide sticks can start you off cheaply.
Combining coil and pinch methods allows using pinch for a base and coils to build height.
Perfect for those who want more flexibility
without investing in new tools after a few sessions.
Sculptural hand building is about creating art, not functional pieces. Shift your mindset from utility to capturing attention.
Ideal for artists drawn to forms over function
, especially if finishing functional pottery feels frustrating.
If the texture of this appeals to you, Raku Pottery is built on similar bones.
Most beginners obsess over smoothing cracks and fixing wonky walls — they're treating symptoms while the real problem is happening 30 seconds earlier.
The real issue is poor initial clay compression. Without even compression before seams form, the walls crack.
Intentional compression changes the clay dynamics. Thumb pressure on coils or dragging a rib across slabs aligns the clay, turning it cooperative.
Walls that used to slump now hold firm.
Joins that cracked under drying stress actually fuse.
Skip compression, and your carefully crafted piece is at risk in the kiln.
Try 6 sessions over 30 days. Aim for one and a half sessions per week. This covers all three techniques (pinching, coiling, slab work) twice.
If you're thinking about your next creation before the current one is dry, that's a strong signal. It's not just fun—it's fulfillment from creative problem-solving. Consider joining a longer course or looking into studio memberships next.
Feeling indifferent after six sessions often means you haven't hit the right technique yet. Try experimenting with a different style than you began with and see if it clicks.
If most sessions feel like a chore, accept that this might not be your thing. Liking the idea isn't the same as enjoying the process. Recognize that truth and move forward elsewhere.
Finding yourself drawn to ceramics everywhere—coffee shops, restaurants, online—is your brain telling you something. You're starting to see form and texture, and that's worth pursuing.
Still looking for something to do? Browse things to do when bored for more ideas.
You'll need clay, a work surface, basic tools like wooden spoons and wire, and a kiln or access to a pottery studio with one. Most beginners start with air-dry clay or take classes at studios that provide all materials, so you don't need a major upfront investment.
You can create recognizable pieces in your first session, but developing consistent technique typically takes 4–8 weeks of regular practice. Mastering advanced hand-building methods usually requires several months of dedicated work.
No—hand building is one of the most beginner-friendly pottery techniques because it requires no wheel and relies on intuition and touch. Basic pinch and coil methods can be learned in a single class, though perfecting them takes time.
Basic supplies cost $20–50 if you buy clay and tools separately, but most people start by taking a class ($50–150 per session) that includes materials and kiln access. Long-term, studio memberships typically cost $80–200 monthly.
You can create bowls, mugs, sculptures, tiles, decorative vessels, and functional ware using pinch, coil, and slab methods. Many hand-built pieces are entirely utilitarian and food-safe after proper firing.
Traditional pottery requires a kiln to harden and set the clay, but you can start without one by taking studio classes or renting kiln access. Air-dry clay offers a no-kiln alternative, though it's less durable than fired pottery.