BoredomBusted — Find Your Next Favorite Thing To Do
Discover hobbies, activities, places, and ideas that spark joy. Whether you're looking for something creative, active, social, or relaxing, BoredomBusted helps you find your next favorite thing to do.
Browse our hobby guides, things-to-do collections, and place ideas to never be bored again.
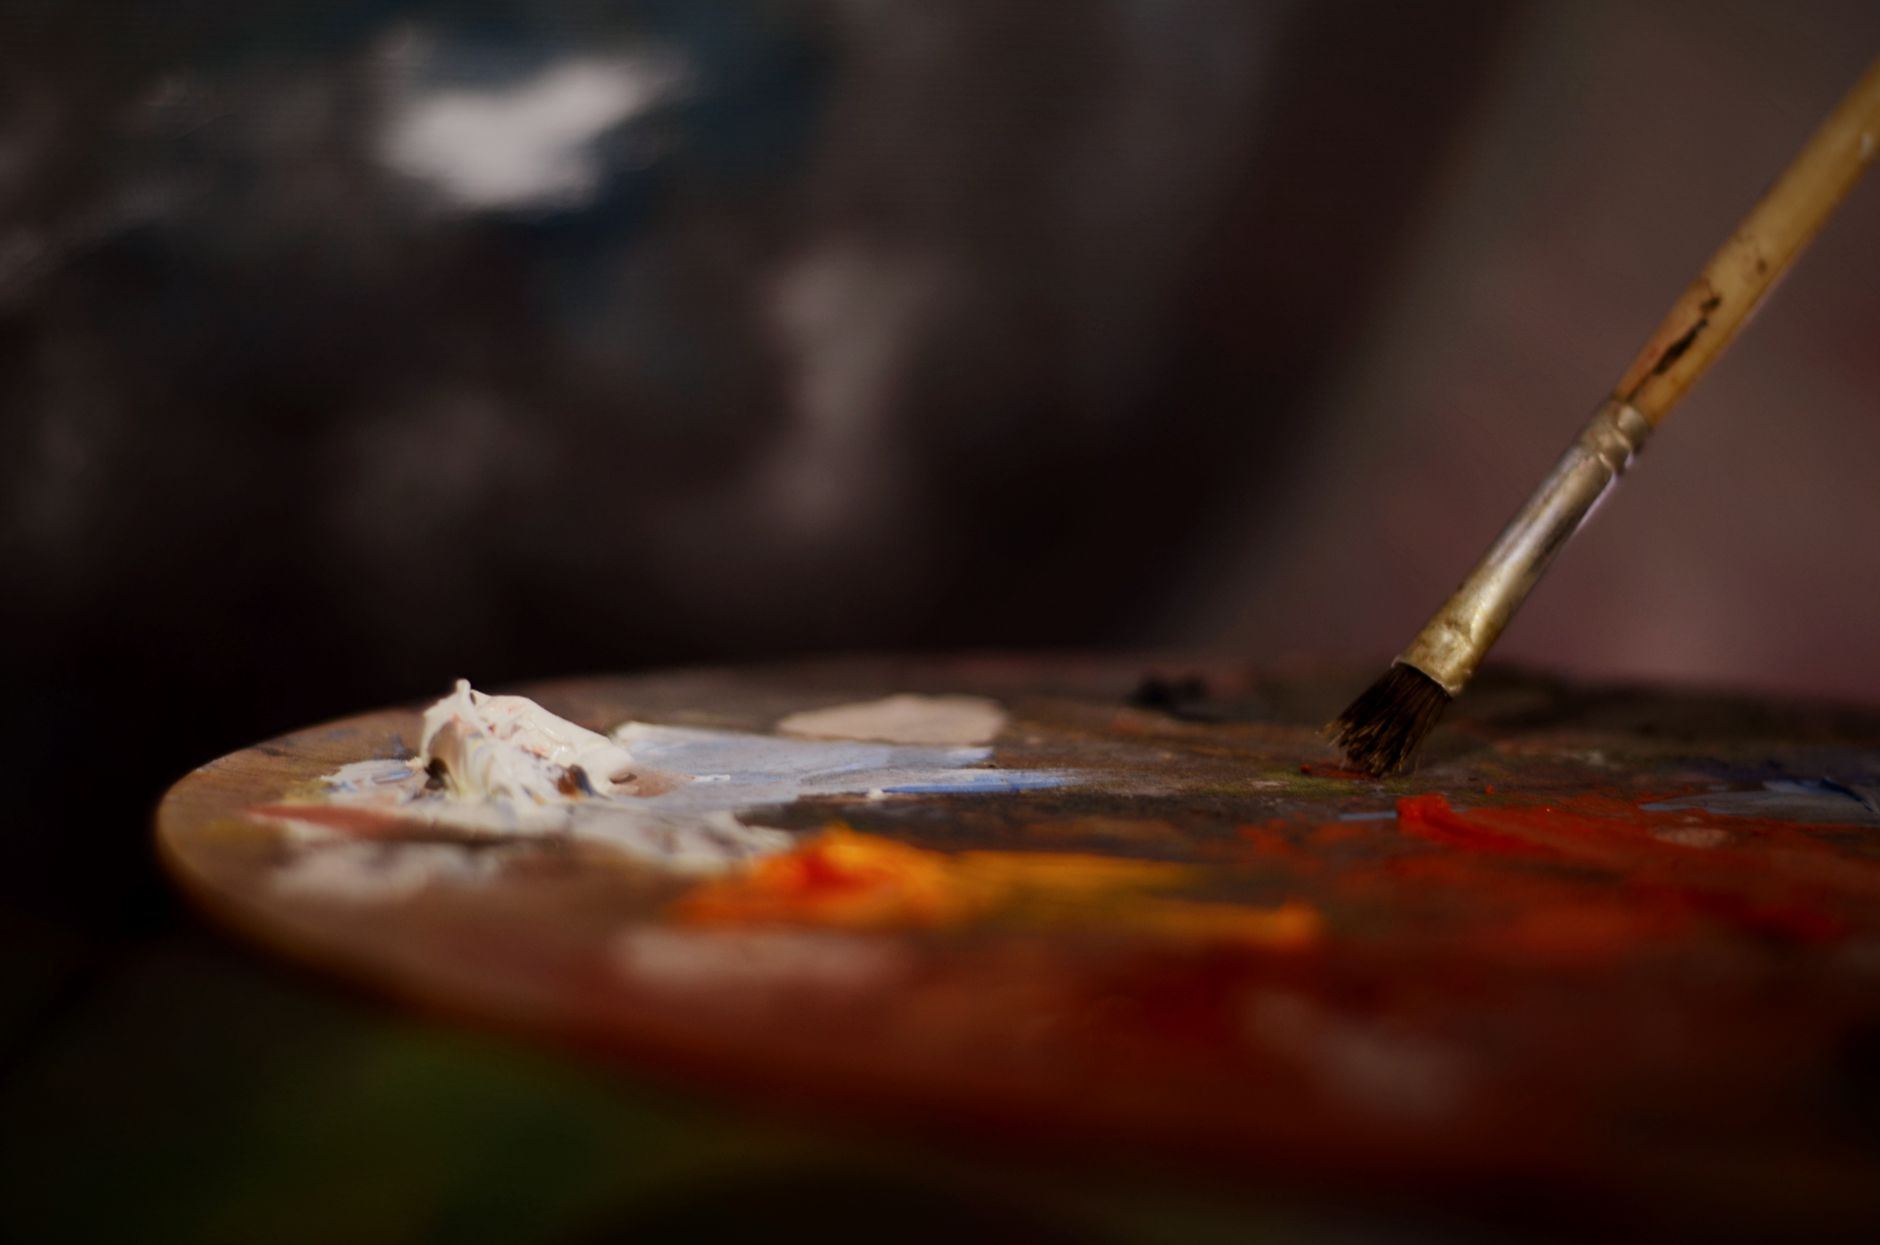
Slow-drying oil paint forgives beginners: you can fix a mistake the next morning. The real learning curve is value, not color.
Oil painting means pigment bound in oil, usually linseed, pushed around a canvas with brushes and knives. The paint stays workable for hours or even days, so you can blend, scrape, and rework instead of committing to each stroke. That slow drying is the whole appeal of the medium.
In a typical session, you squeeze out five or six colors, thin the first layer, and block in the big shapes. Then you build toward detail while the paint is still wet, usually over one to three hours. Most paintings take several sessions, because each layer needs time before the next one goes on.
There are two families of paint. Traditional oils thin and clean up with odorless mineral spirits, while water-mixable oils thin and wash out with water and a little soap. Water-mixable lines from Winsor & Newton, Holbein, and Royal Talens behave much like the traditional kind, and they suit small apartments best.
Oil painting means working pigment ground in oil onto canvas, panel, or paper in layers. You block in big shapes, then refine while the paint stays workable for hours. Traditional oils clean up with mineral spirits; water-mixable oils use water and soap.
Mixing a color, judging it against your subject, and fixing it hands your brain a new problem every minute, with no deadline. Slow-drying paint removes time pressure, so you can stay in one passage for an hour. The texture, smell, and visible progress make the time feel physical rather than digital.
People file oil painting under "old master stuff" or "retirement hobby with a smock." Both labels miss the point. It's a craft with real rules, and the rules exist because the paint is chemistry, not just color.
Oil paint doesn't dry by evaporation. It cures by reacting with oxygen, which is why a thick stroke can stay tacky for weeks. That single fact explains most of the medium's quirks.
It's called fat over lean. Each new layer should contain more oil than the layer under it. Lean layers dry first, so they can't safely sit under a fat layer that's still moving.
In practice, you thin the first layer with solvent, then add a little oil or medium as you work upward. Break the rule and the surface can crack years later, after you've forgotten which layer you rushed.
Solvents need ventilation, even the odorless ones. Rags soaked in linseed oil generate heat as the oil cures and can ignite on their own. Lay them flat to dry outdoors or drop them in a water-filled metal can.
Never ball them up in a trash bin. This is the one part of oil painting that deserves real respect.
Session one, you will make mud. Every beginner does. You'll keep mixing a color until it dulls, then mix again to fix it, then end up with a pile of brownish gray.
The paint also feels different from acrylic or watercolor. It's buttery and slow, and a stroke you laid down at 2:00 is still movable at 4:00. That's a gift once you stop treating it as a problem.
Session two usually brings a small surprise. You come back to yesterday's painting and the shapes you blocked in are still soft, so you can fix the nose that looked like a potato. Most people feel their first real jolt of progress right there.
By session three you start stopping earlier. You learn to leave a passage alone and move on, because overworked wet paint turns lifeless fast.
Open a window before you squeeze out a single tube. Don't eat or drink at the easel, and wash your hands before you touch your face or phone. Your painting also needs a safe place to dry, flat or upright, away from pets and curious kids.
Expect to smell faintly of linseed oil and to find a dab of cobalt blue on your sleeve. Cleanup takes 10–15 minutes, which is part of the session, not an extra.
When to start: A weekend morning with a window you can open
Duration: 90 minutes painting plus 15 minutes of cleanup
Cost to try: A student oil set (about $34–$45), a few brushes and two panels
Success criteria: If you finish one small painting and want to see how the paint looks tomorrow, do session 2.
Big sets look like a head start. They actually hand you twenty ways to make mud. Five tubes cover almost everything: titanium white, a yellow, a red, a blue, and an earth color like burnt umber.
Limited palettes force you to learn mixing, and your paintings look more harmonious.
Oil paint rewards patience and punishes overblending. Go over a passage six times and every color drags into the others.
Put the stroke down and leave it. If it's wrong, scrape it off with a palette knife and redo it once, not eight times.
Beginners often start with thick, oily paint straight from the tube and then thin their later layers with solvent. That reverses fat over lean. The upper layers dry faster than the lower ones and the paint can crack.
Start thin and lean, usually paint thinned with a little odorless mineral spirits, or water for water-mixable oils. Add oil or medium only as you move toward the final layers.
Odorless mineral spirits still give off vapors. Painting in a closed room with a jar of solvent open beside you is how people end up with headaches and dizziness. Crack a window, keep the lid on, and use only a small amount.
Never pour solvent down the drain. Take used solvent to a hazardous-waste drop-off. Pigments like cadmium and cobalt are toxic if swallowed, so keep tubes away from food and wash up thoroughly.
A thick painting can feel dry on top in a few days and stay soft underneath for weeks. Varnishing or stacking it too early traps the soft layers.
Wait about six months to a year before a final varnish, and longer for very thick work. In the meantime, start a second painting while the first one cures.
Oil painting has a strong class culture because the materials are hard to learn alone. A good teacher saves you months of mud and a few safety mistakes. Start with in-person options before you rely on video.
Community art centers and local art leagues are the cheapest entry point, with drop-in sessions and multi-week courses that cost far less than private lessons. Community college continuing-ed programs run beginner oil classes too. Larger cities have places like the Art Students League of New York, which offers a wide range of painting classes, including online.
Paint-and-sip studios mostly use acrylic, so check the materials list before you book. Some instructors run Bob Ross-style wet-on-wet oil classes, which are a gentle first step.
Search Meetup and Facebook for "plein air painters" or "open studio painting" in your city. Many groups meet in a park or a rented room and welcome beginners. Oil Painters of America is a national organization with exhibitions and regional chapters, which is useful once you want real feedback.
Online, r/oilpainting is active and generous with critiques, and r/learnart is better for fundamentals. Post a photo of your reference next to your painting, because commenters can then judge your values and drawing rather than guess.
Ask whether the room is ventilated, whether the studio uses solvents or only water-mixable paint, and whether you can bring your own materials. Ask too whether the instructor teaches fundamentals like values and drawing, or only copies a single painting.
Oil painting isn't one style. Pick based on how much time and patience you have. If you haven't painted before, our general painting guide compares oils with other media.
Alla prima means painting wet-into-wet in a single session. Bob Ross-style landscapes are a famous example. It teaches fast decisions and avoids the waiting game, which makes it a good fit for beginners.
These paints thin and clean with water, so you skip most of the solvent. They suit apartments and shared rooms, and they behave much like traditional oil. You can mix in a limited amount of traditional oil, but check the maker's advice first.
You carry a small kit to a park or a roadside and paint the light as it changes. Work small and fast, usually under two hours, because the light moves.
It's also a social way in, since plein air groups are easy to find. If you also like sketching on location, urban sketching is the quick, portable cousin.
This indirect method builds a painting in stages: a monochrome underpainting first, then thin transparent glazes of color. It's slow and demanding but gives luminous skin tones and soft shadows.
Expect weeks per painting and strict fat-over-lean discipline. Strong drawing skills pay off most here, since the underpainting is essentially a value drawing.
Impasto means thick paint applied with a knife or stiff brush so the strokes stand off the surface. It's forgiving of drawing errors and fun to do. It also needs far more paint and much longer drying times.
Beginners think their problem is color. They keep buying new tubes, mixing new greens, and wondering why the painting still looks flat. The real bottleneck is value: how light or dark each shape is.
Value does the heavy lifting. A painting with correct lights and darks reads as solid even in muddy colors, while a painting with brilliant colors and wrong values looks like a sticker. Squinting at your subject is the fastest way to see it, because squinting kills detail and leaves only the big light and dark masses.
Take one subject: a mug, a window, a photo of a face. Squint and sketch three values only: light, middle, dark. Use pencil on paper first, no paint.
Then paint the same subject on a small panel with just white and one earth color such as burnt umber. Force yourself to make exactly four steps of tone between white and brown. Compare your painting to a grayscale copy of your reference photo.
Ten of these studies teach more than ten colorful paintings. Once your values are right, color becomes a decision about temperature and mood instead of a rescue operation.
Commit to eight sessions in 30 days. That's about twice a week for one to two hours, enough to feel how the paint behaves and to see your values improve. Anything less is just a trial of the smell.
You hate the cleanup but love the hours. Time disappears while you paint and you grumble through the wiping and rinsing. Switch to water-mixable oils and a smaller setup, and you'll likely keep going.
You start squinting at everything. You notice the dark side of a coffee mug and the light on a neighbor's roof. That's the skill taking hold, and it's your cue to book a class and buy a few better brushes.
You dread each session. You're forcing yourself to set up and it feels like homework. That's an honest answer, and you can walk away having spent little, with a few tubes to give a friend.
If you get headaches, dizziness, or nausea while painting, stop and fix the ventilation, or switch to water-mixable oils. Don't push through it. Your body is telling you the room is wrong, not that you're tough enough.
Oil paint itself is fairly low risk if you don't swallow it or breathe dust, but some pigments, like cadmium and cobalt, are toxic if ingested. Solvents are the bigger concern, so ventilate, keep lids on, and wash your hands. Don't eat at the easel, and keep tubes away from kids and pets.
A thin layer is usually touch-dry in a few days to a week, while thick paint can stay soft for weeks. The paint cures by absorbing oxygen rather than evaporating. Most painters wait six months to a year before varnishing, and longer for very thick work.
Fat over lean means each layer should have more oil than the layer beneath it. Start with paint thinned with solvent or water, then add a little medium as you work upward. Lean layers dry faster, so putting them over fat layers can make the paint crack years later.
Yes, with care. Water-mixable oils avoid mineral spirits, and you can ventilate with a cracked window or fan. Store wet paintings where children and pets can't touch them, and dispose of oily rags safely by laying them flat outdoors or sealing them in a water-filled metal can.
They're real oil paints with a modified binder, and they behave a lot like traditional oils. Some painters find them slightly stiffer, and you can only mix a limited amount of traditional oil into them. For beginners, apartments, and anyone avoiding solvents, they're a strong choice.
A 10-tube student set like Winsor & Newton Winton costs about $34–$45, and odorless mineral spirits such as Gamsol add about $17–$23 for traditional oils. Add a few brushes, panels and a palette pad; an easel is optional, since a table works for small panels.