BoredomBusted — Find Your Next Favorite Thing To Do
Discover hobbies, activities, places, and ideas that spark joy. Whether you're looking for something creative, active, social, or relaxing, BoredomBusted helps you find your next favorite thing to do.
Browse our hobby guides, things-to-do collections, and place ideas to never be bored again.
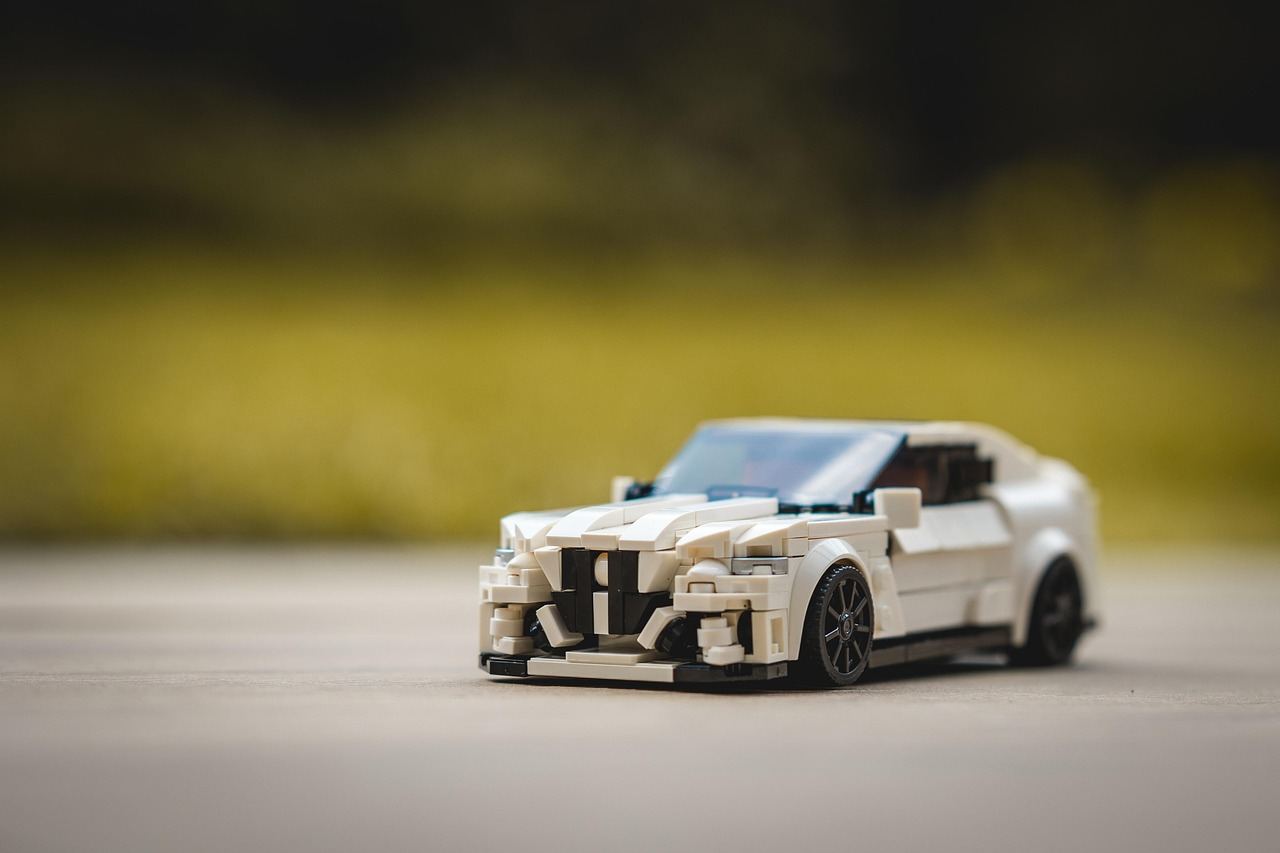
The real allure of plastic model kits isn't just assembly — it’s the addictive flow state you hit while solving sequential challenges.
Getting started with plastic model kits as a beginner involves assembling pre-molded parts to create detailed scale replicas of your favorite vehicles, figures, aircraft, or ships.
You snap or glue pieces together, then finish them with paint and weathering effects.
Unlike LEGO or 3D printing, the goal isn't just building – it's replicating reality at a smaller scale, with your own hands doing the finishing work.
Engaging in plastic model kits involves unboxing a kit with molded parts, carefully trimming pieces from sprues, assembling components according to detailed multi-step instructions, and painting with precise techniques like airbrushing or brush-painting to create realistic finishes before displaying the finished model.
This hobby induces a flow state through sequential challenges that require focus, offers immediate skill feedback with each successful assembly or paint application, and provides a sense of accomplishment by transforming disordered materials into lifelike replicas, fulfilling creative urges and reducing aimless downtime.
You think it's a kid's hobby. Glue, plastic, maybe some decals. Something you did at age nine and never thought about again.
That assumption hides one of the most genuinely absorbing activities for adults.
A 1:35 scale Sherman tank build isn't just piece assembly.
It's about researching its campaign history, mixing paint to match sun-bleached olive drab, and using a hairpin for detailing where crew boots would wear down the paint.
That level of specificity will either make you close this tab, or make you curious about what you truly need to begin.
Building a model from scratch feels chaotic. The instructions are cryptic – like following a treasure map without landmarks. It feels less like meditation and more like puzzling out a mystery with missing pieces.
Expect your first session to be a blur of confusion and discovery. Wrangling the parts off a sprue without breaking anything is harder than it looks. You'll likely lose a piece before you even start gluing anything together. This is just part of the process.
The slow pace of model building always catches people off guard. The focus it demands, even when parts don't align or glue smudges the surface. Your mistakes define your experience, but they also teach patience you didn't know you had.
Avoiding unnecessary frustration during your first session can be simple. Don't clip pieces directly from the sprue at their base. Leave a small stub and trim it cleanly to prevent gouging the plastic. This small habit saves time and sanity. Messy moments won't define your model – the next section will dive into the mistakes that actually matter.
When to start: Morning
Duration: 1 hour
Cost to try: $25
Success criteria: if you finished without losing any small parts, do session 2.
Those little nubs seem harmless, so you yank the part free.
That quick move leaves a white stress mark that paint can't entirely hide.
Use flush cutters to remove parts and shave remaining nubs with a hobby knife.
Skipping the dry-fit process can reveal gaps only after the glue sets.
Always dry-fit each major assembly first. Identify any problem areas, then glue in sequence:
Building first and painting later leaves you unable to reach certain areas with a brush.
Paint interiors and hard-to-reach areas before sealing them, even when the rest isn't built.
Overusing cement can melt surface details and create a poor frosted finish.
Apply cement only to one surface, using the brush applicator. Hold the joint for thirty seconds to let the glue work.
80-grit sandpaper removes seams, but primer highlights every scratch.
Sand with multiple grits to finish the job properly. Aim to use at least three for the best results:
Most hobbyists build models at home, using a dedicated desk or table.
But some hobby shops offer open bench nights for you to build with others and ask questions.
Mention you're a beginner at your first meeting. It's your ticket to tips, free extras, and guidance through your kits.
Experienced builders enjoy helping newcomers. Just tell them you want to improve, and they'll be eager to assist.
Snap-fit kits let you skip glue entirely — parts connect with friction joints. Ideal for beginners who want to jump in and build without dealing with adhesives or fumes.
Traditional styrene kits involve glue, patience, and technique. These are what most envision when thinking about model kits. It's slower but allows for better fit and finish.
Resin kits offer superior detail but come with challenges. They're heavier, more fragile, and need sanding and primer. Uncured resin dust is hazardous, requiring care.
Expect to pay $40–$150+ for just one — the price reflects the detail and complexity.
Pre-painted, pre-assembled kits do most of the work for you. You're really just posing the piece. Perfect for those focused on finishing their collection rather than the process itself.
Garage kits are for the advanced hobbyist seeking rare subjects. Often resin and made by independent sculptors, these kits cater to niche interests not served by mainstream manufacturers. Finding them often involves scavenging conventions and online markets.
For something adjacent, see Mandala Coloring.
Another variant that pulls from the same roots is Strings.
A close neighbor worth considering: Adult Coloring Books.
Modelers fixate on perfecting their technique with premium paints and expensive brushes. But that's not what matters.The real lever isn't your supplies. It's checking each part before you even think about glue.
Dry-fitting changes everything. Assemble without adhesive, evaluate alignment, then disassemble and rebuild with confidence. Sounds tedious, right? Until you've glued a cockpit shut with the pilot on his head.
Habitual dry-fitting prevents gaps from becoming problems. You avoid the cycle of correcting errors with filler.Without it, you're reacting to mistakes instead of preventing them, and the model shows it in every seam line.
It's not talent that makes pros look professional.They just never glue anything the first time they touch it. That's it.
Getting this right makes future projects smoother. Ready for the next big challenge?
Commit to five sessions over the next 30 days. This gives you the chance to complete a beginner kit and push through an initial frustration point.
Each session is an exploration: building, sanding, priming, painting, and detailing. Experiencing every stage is essential to understanding this hobby's ebb and flow.
If you find yourself planning the next kit before finishing the current one, you've found something that excites you. This isn't about finishing; it's about cultivating a lasting practice.
Consider exploring intermediate kits and invest in a proper sprue cutter to up your game.
Feeling indifferent means you might not have hit upon the right subject yet. A ship, figure, or beloved movie car could change your perspective. Sometimes it's content, not the craft, that leaves you cold.
If you're dreading the sessions, take that as a clear signal. Some people appreciate the idea more than the activity itself.
The unmistakable sign? You're pausing over model kit displays or getting drawn into diorama videos without intending to. That unplanned pause means potential.
When you don't want to commit, things to do when bored is a better starting point.
Build times vary widely depending on complexity, ranging from 2–4 hours for simple beginner kits to 20–40+ hours for highly detailed scale models. Most entry-level kits typically take 5–10 hours of active work spread across multiple sessions.
You'll need basic supplies: plastic cement, a hobby knife or cutter, sandpaper, paint (acrylic or enamel), brushes, and clippers for removing parts from sprues. Many beginners start with affordable starter sets that bundle essential tools together, costing $20–$50.
No — beginner-friendly kits are specifically designed with fewer parts and simpler assembly steps, making them accessible to anyone. Start with 1/144 or 1/100 scale models marked as "beginner" to build confidence before tackling complex builds.
Prices range from $15–$30 for basic beginner kits to $50–$150+ for large, detailed scale models. Entry-level kits from popular brands like Gundam, Revell, or Tamiya are affordable ways to test the hobby without major investment.
Popular categories include military vehicles, aircraft, sci-fi mechs (like Gundam), architecture, cars, and ships. Most kits come in various scales (1/144, 1/100, 1/72) with difficulty ratings to help you choose based on your skill level.
Many kits come with colored plastic parts, so you can assemble them without painting if you prefer. However, painting adds realism and detail — most builders apply at least a base coat and panel lines to enhance the final model's appearance.