BoredomBusted — Find Your Next Favorite Thing To Do
Discover hobbies, activities, places, and ideas that spark joy. Whether you're looking for something creative, active, social, or relaxing, BoredomBusted helps you find your next favorite thing to do.
Browse our hobby guides, things-to-do collections, and place ideas to never be bored again.
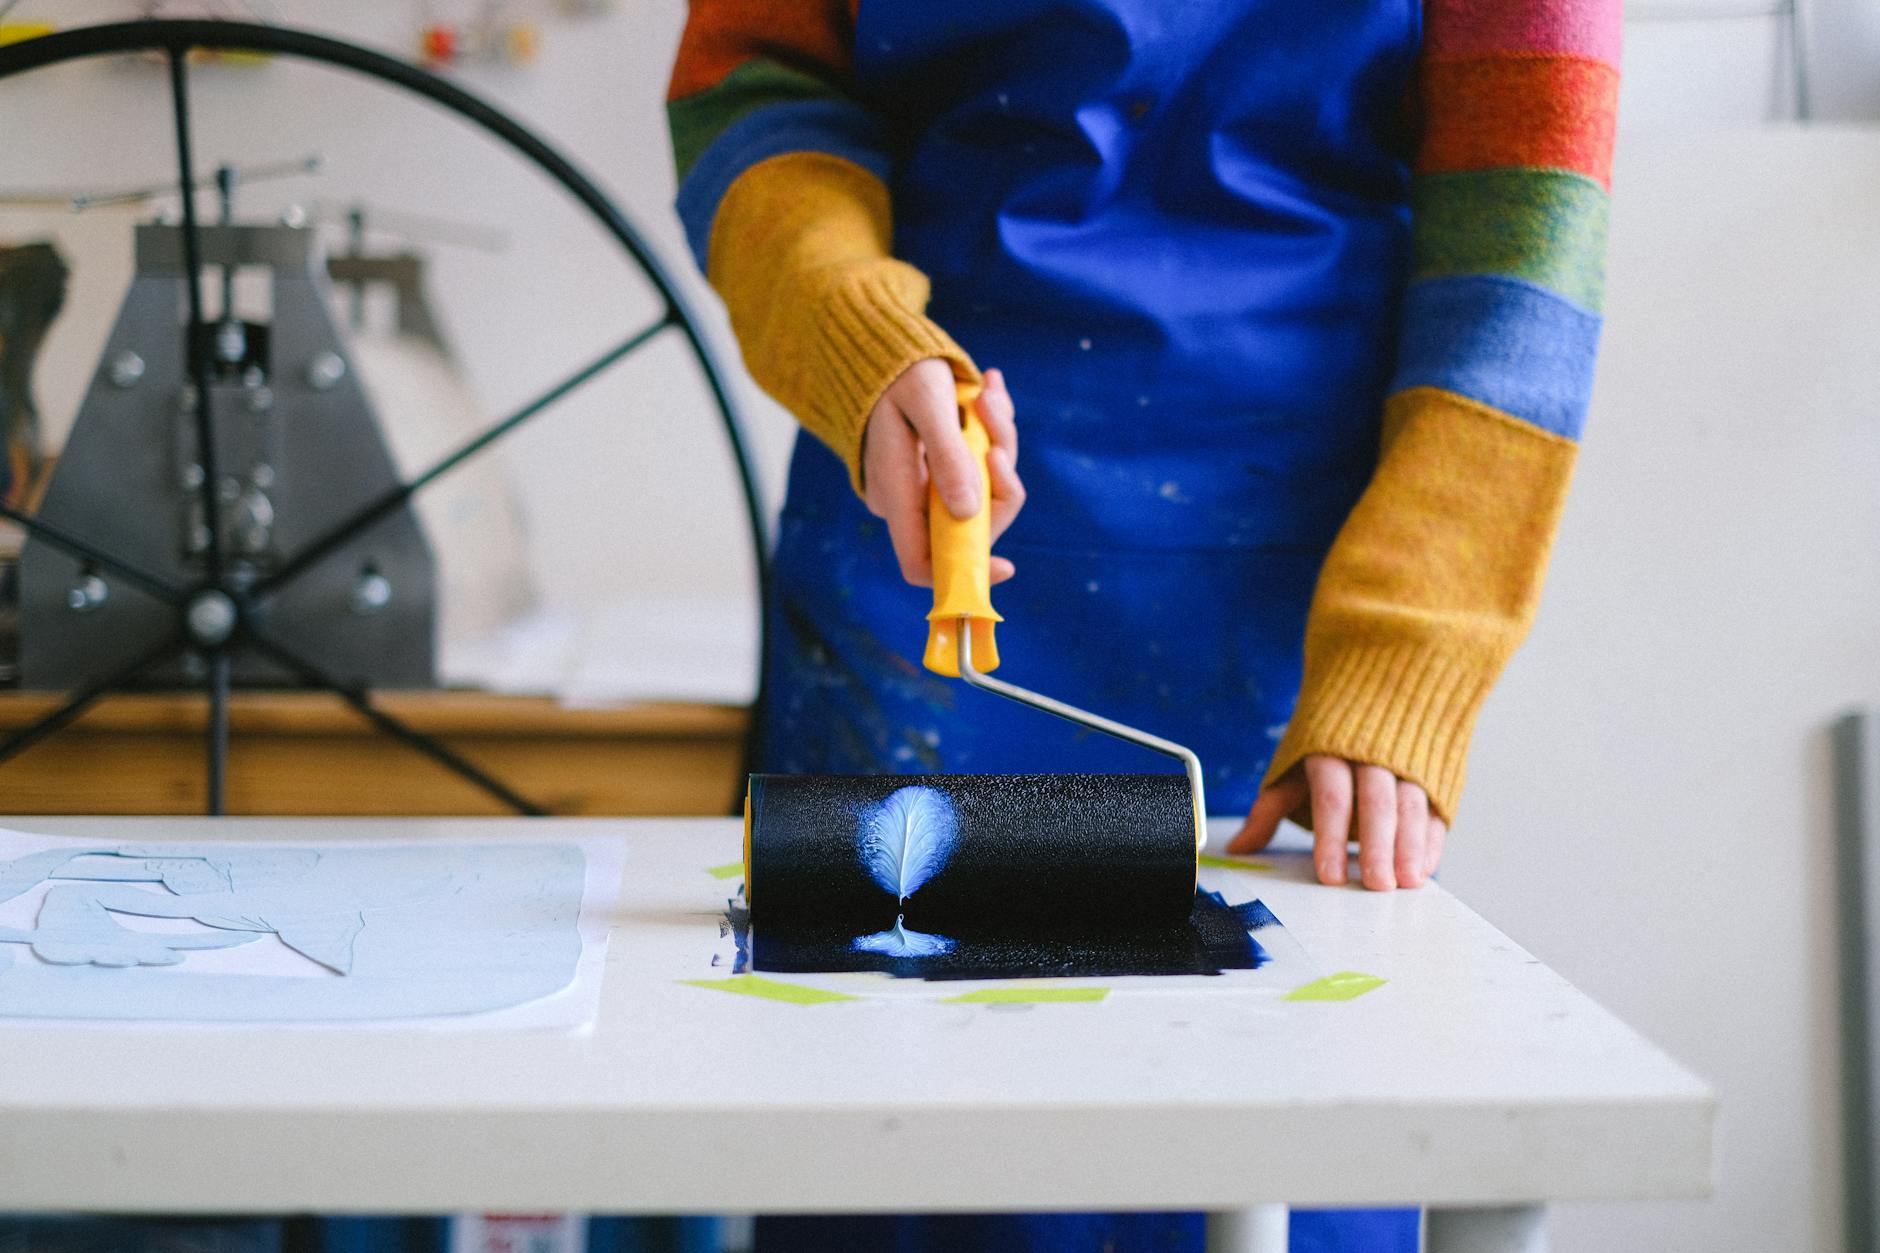
Printmaking isn’t just for pros; anyone can create stunning art with simple tools — the secret is in enjoying the imperfect process.
Learning printmaking as a beginner opens up a world of creativity, allowing you to transform designs into tangible art by transferring them from a carved surface to paper or fabric.
Techniques like linocut, woodcut, and etching each offer unique textures and effects.
Printmaking, whether for art or function, is a versatile craft accessible to all.
In printmaking, hobbyists engage in carving designs into soft materials like erasers or linoleum, inking these surfaces, and pressing them onto paper to create unique prints. The process involves iterative actions such as rolling ink with a brayer, adjusting pressure for ink transfer, and experimenting with textures using various found objects. This hands-on method transforms everyday spaces into…
Printmaking induces flow states through tactile, repetitive actions that match challenge with skill, allowing immediate visual feedback from ink transfers. This feedback creates skill feedback loops, fostering mastery as hobbyists refine their techniques over time. The novelty of using household items for textures fuels creative expression, while the production of tangible prints provides a rewar…
You think printmaking is only for those with a studio and formal training.
In truth, anyone can start printmaking with just creativity and basic tools.
Take Sarah, who began her journey with potato stamps in her kitchen. Her unique patterns delighted friends and sprang from humble beginnings.
Start small. Explore simple techniques. Build confidence. As you progress, experiment with new methods and discover how printmaking is about enjoying and expressing yourself, not seeking perfection.
Next, let's discuss the tools that transform your kitchen into a printmaking hub.
Your first session with printmaking is quieter than you expect. You're carving into a linoleum block or an eraser, and the tool slips slightly, cutting a line you didn't plan. The material smells faintly rubbery. Ink goes onto the brayer with a satisfying squelch, and you roll it across your carved surface. Then you press paper down, peel it back — and there it is. That first print, even a clumsy one, feels more real than anything you'd make digitally. It has weight. It has texture. It's yours.
The part beginners don't see coming is how much the ink fights back. Too little and the print is patchy, ghostly in spots you wanted solid. Too much and it bleeds into your carved lines, filling the grooves you worked to cut. Ink consistency and pressure aren't things you understand from reading — your hands have to learn them through repetition. Most beginners burn through ten sheets before they get a result they'd actually keep. That's not failure. That's the process working correctly.
There's also a mirror problem nobody mentions. Your carved design prints in reverse, so text and directional shapes need to be flipped before you carve. Almost every beginner ruins at least one block by forgetting this — and it's actually a useful mistake to make early. It forces you to plan before cutting, which is a habit that improves everything you make afterward.
By your third or fourth session, the brayer starts feeling familiar in your hand. You develop a feel for the right ink thickness — tacky but not globby. Your pressure becomes more deliberate. The shift from "nothing works" to "I know why that happened" comes faster than expected. But getting there means making the avoidable errors first — and the next section covers the ones that slow beginners down the most.
When to start: Morning
Duration: 1 hour
Cost to try: $15
Success criteria: If you pull one clean monotype where the paper shows a clear, even ink transfer with a distinct image, do session 2.
It feels logical — get set up properly, then start. But most beginners spend $80 on supplies and then freeze because the investment feels too high to risk a bad print. Start with a $3 eraser, a ballpoint pen, and a bottle of block printing ink. That's a real, functional printmaking setup.
Once you've carved and printed ten times with cheap materials, you'll know exactly what you actually need. Buying gear before you have that experience is just guessing.
Prints come out mirrored. Text flips. Faces look backwards. This trips up almost every beginner at least once, and it's deflating when it happens on a design you spent an hour carving. Before you carve anything with text or a clear orientation, flip your reference image horizontally first.
You can do this in any free photo app or just hold your sketch up to a window and trace the reverse side. It takes 30 seconds and saves a ruined block.
More ink seems like it would mean a stronger print. It doesn't. Excess ink fills in the carved grooves, flattens the detail, and turns a crisp design into a smudged blob. The ink on your brayer should look like a thin, slightly tacky skin — not wet or shiny.
Roll the brayer across your inking surface until you hear a faint hissing sound. That's the sound of the right consistency. If it's silent and slick, you have too much.
Beginners tend to press hard in the center and trail off at the edges. The result is a print that's solid in the middle and patchy everywhere else. Use the back of a spoon in slow, firm circles across the entire paper — edges and corners included.
Consistent pressure matters more than force. A methodical pass over the whole surface beats pressing hard in one spot every time.
The first pull from a new block is almost never the best one. Ink coverage is uneven, pressure isn't calibrated yet, and the block itself needs a run or two to settle. Most beginners see that first print, assume they've done something wrong, and stop. Print five copies before you evaluate the block — the third or fourth is usually where the real result shows up.
Printmaking rewards repetition. Each pull teaches you something the last one didn't. The feedback loop only works if you keep going.
Reddit is the easiest starting point. r/printmaking has an active community posting work, asking technique questions, and sharing supply recommendations. r/linocut is more focused if relief printing is your thing.
Instagram and Flickr both have strong printmaking presences. Search hashtags like #linocut, #reliefprint, or #printmaking to find artists at every level. Following working printmakers is one of the fastest ways to pick up technique without taking a class.
Community art centers, printmaking studios, and makerspace co-ops often run open studio nights or short weekend workshops. Search "open access printmaking studio" plus your city name — many let you pay per session before committing to membership. Local art supply shops sometimes host beginner linocut nights too, which double as a chance to meet people at the same stage as you.
The Printmakers Council and the Southern Graphics Council International both maintain directories and host events. If you want to go deeper, SGC International's annual conference draws printmakers of all levels and is genuinely welcoming to hobbyists.
Linocut and woodcut are the classic entry points. You carve a design into linoleum or a wood block, roll ink over it, and press it onto paper. The result is bold, graphic, and satisfying.
This is the best starting place if you want something tactile and immediately rewarding. Linoleum is softer and more forgiving than wood, so most beginners go there first.
Relief printing with erasers, potatoes, or found objects skips the carving tools entirely. You cut a shape, ink it, stamp it. That's the whole process.
This is printmaking with no barrier to entry whatsoever. It's also surprisingly expressive — textures from bubble wrap, leaves, or crumpled foil create effects you can't plan in advance.
Drypoint and etching involve scratching or acid-etching into a metal plate. Ink settles into the grooves, and the plate is pressed onto damp paper under heavy pressure. The lines are precise and delicate in a way carving can't match.
This approach suits people who enjoy slow, methodical work and want results that look nothing like digital art. Access to a printing press helps, though drypoint on plastic sheets can be done with a spoon and elbow grease.
Screen printing uses a mesh stencil to push ink through onto fabric or paper. It's the method behind band t-shirts and protest posters. Once the screen is set up, you can reproduce the same image dozens of times consistently.
If you want to make wearable art or run small batches of prints, screen printing is built for that. The setup takes more time than other methods, but the payoff scales with volume.
Monoprinting means you ink a flat surface, manipulate it, and press paper onto it once. No two prints are identical because the plate isn't fixed — you draw into the ink, add texture, or layer colors each time.
It's the best fit for people who find rigid processes frustrating and want printmaking to feel more like painting. The unpredictability is the point, not a flaw.
If this resonates, Leathercraft explores a similar direction.
Model Building is a sibling pursuit and often surfaces the same kind of curiosity.
If you want a related angle, Fantasy Illustration is the natural next stop.
The skill that separates improving printmakers from those who plateau is reading a failed print instead of discarding it.
Every print you pull is a record of what happened — too much ink, uneven pressure, a shallow cut. Beginners see a smudged or patchy result and assume they did something wrong in a vague, unfixable way. Experienced printmakers treat every bad pull as diagnostic data, not a mistake.
A print with ink filling the carved-out areas means you rolled on too thick a coat. Faded patches near the edges mean your pressure dropped. A blurry outline means the block shifted during transfer. Each flaw points to exactly one variable you can change on the next pull. The block doesn't lie — it shows you precisely where your process broke down.
This is why the iterative loop of inking, pressing, and pulling matters so much. Each pass is a test, not just an attempt. Once you start treating your prints that way, your tools and materials stop feeling unpredictable. The next section covers exactly which tools give you the most control over those variables from the start.
Run four sessions over two to three weeks — one carved block, four prints minimum. That's enough to feel the full loop: carving, inking, pressing, peeling back the paper.
That slow peel — the suspense of seeing what transferred — starts feeling addictive. If you're already mentally redesigning the block before the ink dries, that's your answer. Move from erasers or foam to a proper linoleum block, pick up a decent brayer, and start thinking in series — the same image printed ten different ways.
You liked the result but felt nothing during the process. That usually means the method isn't the problem — the subject matter is. Try carving something you actually care about: a plant you own, a building you walk past, a pattern that already lives in your head. The tactile loop hits differently when the image means something to you.
Slow, physical, repetitive hand work isn't for everyone. If the carving stage felt like obligation rather than focus, printmaking's core loop will always feel like effort. The tactile satisfaction that hooks other people just isn't landing for you — and that's useful information. Screen-based design, collage, or photography gives you the same image-making reward without the friction.
If you find yourself pressing random textures — a leaf, a bottle cap, a piece of mesh — onto the inked block just to see what happens, you're already hooked. That unplanned experimenting is the hobby running on its own.
When you don't want to commit, things to do when bored is a better starting point.
You'll need basic supplies like carving tools or printing plates, ink, rollers, and paper to begin. For relief printing, a simple starter kit including linoleum blocks and cutting tools costs around $30–50 and is perfect for beginners. More advanced techniques like lithography require additional equipment, but you can start affordably with linocut or screen printing basics.
You can produce your first simple print within a single session or two, making it a great hobby for quick satisfaction. Developing proficiency with multiple techniques and improving your artistic skills typically takes several months of regular practice. Most beginners see meaningful improvement within 4–6 weeks of consistent effort.
No—printmaking is very beginner-friendly, especially techniques like linocut and screen printing that have gentle learning curves. Basic printmaking requires more patience and precision than natural talent, and mistakes often become creative opportunities rather than failures. Most people can create impressive results on their first try with simple guidance.
Entry-level printmaking costs $30–100 for a basic starter kit with cutting tools, linoleum blocks, ink, and paper. If you join a community studio or art center, you can often use their equipment for a membership fee of $20–50 monthly instead of buying your own. Premium supplies and specialty materials increase costs, but you don't need them to start.
Printmaking works wonderfully both solo at home and in group settings like studios or classes. Many people enjoy the meditative, focused nature of printmaking alone, while others prefer the collaborative energy and feedback of workshop environments. You can choose whatever suits your personality and schedule—both approaches are equally valid.
Printmaking is suitable for children as young as 6–7 with adult supervision and age-appropriate techniques like foam printing and linocut. Adults of all ages benefit from printmaking's blend of creative expression and technical skill-building, with no upper age limit. Many people find it as rewarding at 70 as they do at 17.