BoredomBusted — Find Your Next Favorite Thing To Do
Discover hobbies, activities, places, and ideas that spark joy. Whether you're looking for something creative, active, social, or relaxing, BoredomBusted helps you find your next favorite thing to do.
Browse our hobby guides, things-to-do collections, and place ideas to never be bored again.
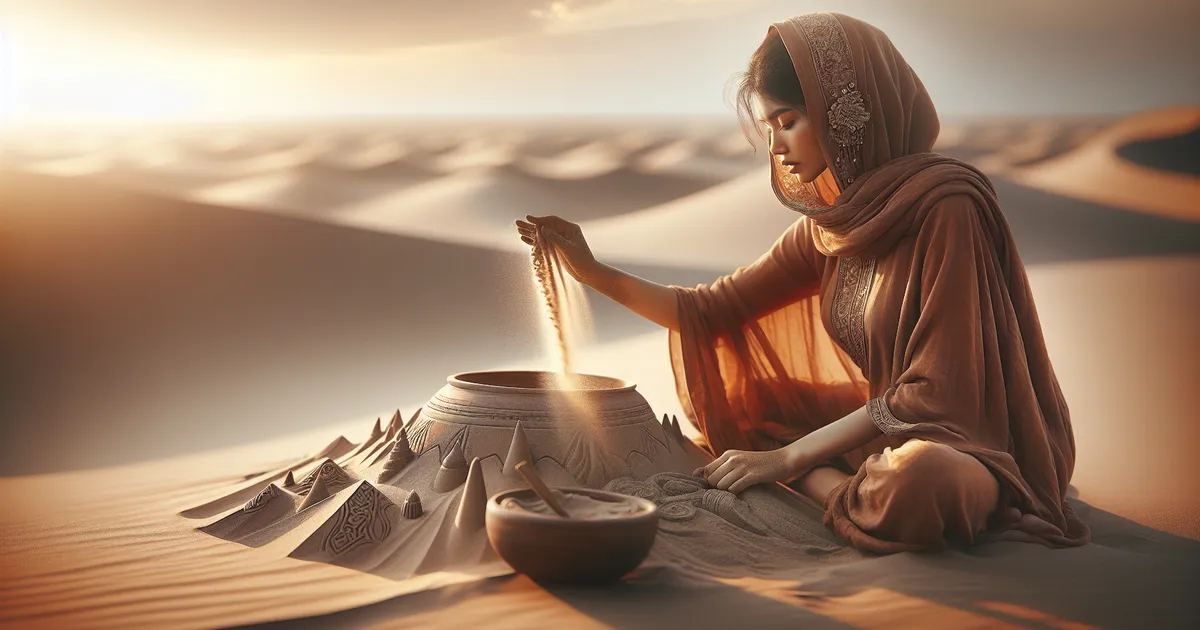
Sand art isn't just about creativity—it's a meditative practice that helps you lose track of time and enter a flow state through tactile feedback.
Learning sand art as a beginner is a delightful way to express creativity through arranging colored sand into beautiful layered designs. Sand art is the practice of arranging colored sand in layers inside glass bottles or flat surfaces to create patterns, landscapes, or abstract designs.
You pour, tilt, and pack the sand to control where colors sit.
Unlike painting, nothing mixes – every layer stays permanent the moment it's compressed, which means your decisions are final.
In sand art, you engage in tactile sculpting using kinetic or wet sand, physically mixing and molding the sand to create detailed, temporary forms like abstract shapes or themed pieces, employing tools like knives and molds to carve, stack, and refine the structures.
Sand art induces a flow state through focused sculpting of malleable sand, providing skill feedback loops as you adjust your creations, which fosters a sense of accomplishment and creative expression while allowing for meditative relaxation.
You think sand art is something you'd find at a craft fair. Layers of colored sand in a bottle; maybe a name in glitter. That's a fair assumption—yet why most people don't discover what's truly waiting in the sand.
A sculptor named Sudarsan Pattnaik works directly on beaches without adhesive or supports. His large-scale portraits weather hours and sometimes last a full tidal cycle.
That's not just decoration—it's a fusion of physics, timing, and structural thinking.
Curious about how to get started? You'll be surprised how little you need.
Watching sand art videos feels like watching someone breathe. Effortless, obvious, like you could do it in an afternoon.
Then you pick up the frame, and the sand does exactly what it wants, not what you planned. The gap between those two moments makes most people quietly put it down.
Before: Hypnotic patterns. Smooth control. Sand flowing like water. You moving it like you meant to.
After: Smeared blobs. Sand stuck in corners. The frame tilted wrong again. A mountain where the ocean was supposed to be.
Expect to spend most of the first week tilting the frame back to start over constantly. Week two's surprise is the lag. Learning how long the sand takes to respond changes everything.
By the third week, you'll create your first shape that survives a full tilt without collapsing. It feels genuinely earned. In week four, you stop fighting the sand and start working with it.
Sand art frames are angle-sensitive, not direction-sensitive. A 30° tilt and a 45° tilt produce completely different results. Slow down between movements and let the sand settle before committing to the next one.
Ugly. Frustrating. You'll want to call it a bad purchase.
It's not the frame and it's not your hands. Sand art is a timing skill, and timing only comes from watching what happens when you go too fast.
When to start: Early morning
Duration: 2 hours
Cost to try: $10
Success criteria: if you finished without spilling all the sand, do session 2.
Loose sand colors are stunning, making it tempting to skip sealing. But if you tilt the bottle, unsealed layers will shift.
Cap and gently tap your bottle on the table after every single color pour. Always seal before adding the next layer.
Wide bottle openings seem convenient but offer no control over sand placement.
Use a funnel with a narrow spout, or choose a bottle no wider than a pencil eraser.
Red next to green or purple next to yellow can create visual mud inside glass.
Always insert a neutral layer, like white or natural sand, between contrasting colors. It keeps the colors distinct.
Pushing sand firmly against the glass aims for clean lines yet collapses with added weight.
Use a skewer to gently guide sand to the edges. Let gravity, not force, do the packing.
Designing on the fly feels liberating until you find no room for wanted colors.
Sketch a quick side-view of your bottle's layers before starting. Map out layer order, heights, and color sequence.
Sand art is flexible – spread out at home on lightboxes, join studio art classes, or find sessions at community art centers.
Children's museums often host dedicated sand art sessions. Surprisingly, plenty of adults attend these events too.
No single national governing body exists for sand art. This hobby grew through YouTube tutorials and Instagram, not formal institutions.
When you arrive at a session, introduce yourself casually. Try saying, 'I've watched videos but never done this hands-on.'
That simple line usually gets you a guided first pour, someone hovering helpfully, and useful feedback on your grip.
Layer colorful sand in glass bottles or vases. No drawing skills are needed — just layer with care.
Perfect entry point for beginners. Bottles and pre-colored sand kits are budget-friendly at $10–20.
Sand painting involves applying glue to a canvas and brushing sand onto it like paint. Great for image-makers seeking a tactile experience, as composition matters here.
Monks use metal funnels, called chak-pur, to create intricate geometric designs with sand. The process is meditative, focusing on the act more than the outcome, as it ends with the design's destruction.
Perform on a backlit surface, moving sand in real time. High on creativity but demands expertise; a quality light table costs $40–80 to start.
Rake patterns in small desktop trays filled with fine sand. An easy, low-commitment option, more about relaxation than creation. Ideal for those interested in the concept of sand art without the workload.
Mandala Coloring is a sibling pursuit and often surfaces the same kind of curiosity.
A close neighbor worth considering: Pyrography.
Strings lives in the same world — different mechanics, similar appeal.
Controlling the pour angle is the true skill you need. It's not just a matter of tilting the bottle but understanding how the angle shifts where sand lands or slides.
A steep angle keeps sand in place. A shallow angle lets it move and create gradients you can't replicate any other way.
Directing the sand means gradients blend smoothly, layers remain sharp, and shapes keep their definition instead of running together.
Skip this, and each layer's a gamble, often leading to disappointing surprises.
Six sessions over 30 days. Each one takes about 30–60 minutes to reveal whether the activity truly engages you or if it just feels like a one-time novelty.
If you find yourself itching to start the next piece before finishing the current one, that's your brain enjoying the process already. Move forward by investing in quality pigments and experimenting with layering. Refine your technique intentionally.
If you complete all six sessions feeling indifferent, the calm creative aspect may not be resonating. Give a new format a try, like working with a layered bottle instead of a tray. But don't force it if the connection isn't there.
If being present for each session feels like a burden, respect that signal. It's not a personal flaw; it's just not your thing. Moving on saves time, money, and mental energy.
Watching pour videos and analyzing layer formation is a red flag of this hobby's potential for you. You're curious about the mechanics beyond just aesthetics. That curiosity suggests a fit.
If sand art feels like too much to commit to right now, browse what to do when you're bored for lower-stakes ideas.
You'll need colored sand (which you can buy pre-colored or dye yourself), a sturdy glass or plastic container, tools like toothpicks or sand shapers to sculpt designs, and optionally adhesive to seal finished pieces. Most beginners start with basic glass bottles or shadow boxes and a simple colored sand assortment, which costs between $15–40 to get going.
Small, simple designs can take 30 minutes to an hour, while detailed landscapes with multiple layers typically take 2–4 hours. Drying time depends on whether you use adhesive; sealed pieces may need an additional 24 hours to fully cure.
Sand art is very beginner-friendly because there's no "wrong" way to create layered designs—mistakes are easy to fix by adding more sand or reshaping. The main skill to develop is patience and hand-eye coordination for detailed work, but you can create beautiful pieces immediately with basic techniques.
Sealed sand art pieces can last years if stored indoors away from direct sunlight and moisture, which can cause colors to fade or sand to shift. Unsealed pieces are more fragile and may shift if moved roughly, so display them in a stable location and handle with care.
Glass jars, bottles, shadow boxes, and frames with flat backing work best because they provide clear visibility of your design and support layered sand effectively. Choose containers with smooth interior surfaces to prevent sand from clumping, and ensure they're clean and dry before starting.
A basic starter set of 12–24 colors typically costs $10–25, while individual jars of premium or specialty sand run $2–5 each. Bulk sand is more economical if you plan to make multiple pieces or large projects regularly.