BoredomBusted — Find Your Next Favorite Thing To Do
Discover hobbies, activities, places, and ideas that spark joy. Whether you're looking for something creative, active, social, or relaxing, BoredomBusted helps you find your next favorite thing to do.
Browse our hobby guides, things-to-do collections, and place ideas to never be bored again.
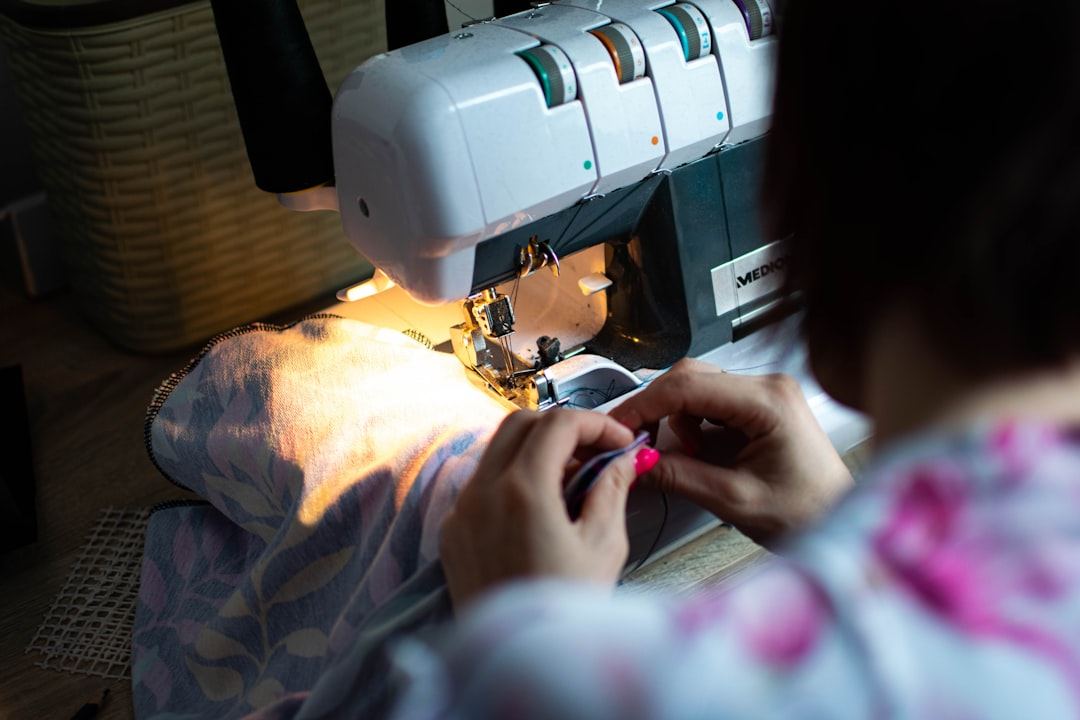
Visible mending is less about fixing flaws and more about creatively transforming your clothes—Celia's $4 shirt became a statement piece, not just a repair.
Learning visible mending as a beginner allows you to transform damaged clothing into unique fashion statements through decorative techniques like patches and embroidery – so the repair becomes an intentional design feature rather than something to hide.
Unlike regular sewing or embroidery, the damage is the starting point, not the obstacle.
In visible mending, you select a worn garment or fabric with damage, then repair it using decorative stitching techniques that emphasize rather than hide the flaws, employing materials like contrasting threads and patches to create vibrant visual designs. The process includes physically threading needles, marking patterns, and executing various stitches to transform imperfections into artistic fo…
Visible mending induces a flow state through repetitive yet customizable stitching that minimizes cognitive demands while fostering creative expression, as each completed repair provides immediate visual feedback and a sense of accomplishment, revitalizing old garments and allowing for personal style infusion.
You think this is sewing. Patches on knees, grandma's darning egg, the smell of a thrift store.
That's the assumption – and it's keeping you from one of the most satisfying creative hobbies most people write off before they try it.
A woman named Celia bought a $4 linen shirt at a church sale specifically because it had a tear in the sleeve.
She spent a weekend stitching a small field of sashiko-style wheat across the damage in saffron thread. The shirt is now the thing she reaches for first.
She didn't rescue it. She finished it.
The actual techniques behind that kind of work are simpler than you'd expect – and the next section breaks down exactly what you need to make your first mend look intentional.
Watching someone sashiko a torn sleeve on Instagram takes ninety seconds and looks meditative. Your first session will take ninety minutes and look like you lost a fight with embroidery floss. That gap is normal — it's just not talked about enough to prepare you.
The first hour is mostly needle-related frustration. It unthreads. You rethread. A knot forms four inches in and you're starting over. None of this means you're doing it wrong — it means you haven't yet found the rhythm the craft runs on. The fabric puckers, the grid drifts, and your hands don't know what tension to hold. That's the whole first session for almost everyone.
By week three, something shifts. You'll finish something small — a patch, a seam repair — and it will hold through a wash. Visible mending rewards you for finishing imperfect things, not for waiting until your technique is clean. Ugly first patch. Unpicked second attempt. Third one that actually lies flat. That's the arc, and it's faster than it sounds.
Before session one, iron a piece of sashiko cloth or water-soluble stabilizer onto the back of whatever you're mending. Worn fabric has nothing left to hold its shape — every stitch distorts it, and you'll blame your tension instead of the real problem. That backing changes what's possible in those first sessions. The next section covers the mistakes that keep people stuck even after they figure that part out.
When to start: Early morning
Duration: 1 hour
Cost to try: $10
Success criteria: if you finished without perfection and enjoyed the process, do session 2.
Matching thread feels like the safe choice. Beginners assume contrast is the risky move. But a thread two shades darker than the fabric just looks like a failed attempt to hide damage.
Pick a color that clashes on purpose — the whole point of visible mending is that the repair shows. Own it.
The hole keeps growing and new menders assume they did something wrong. They didn't — they just skipped the first step.
Before you lay a single weft thread, run a small ring of running stitch around the perimeter of the damage to anchor the weakened fabric and stop the edge from fraying further.
Floss comes in six strands and beginners use all of them. The result raises off the surface like a scar.
Separate the floss down to two or three strands for most mends. Thinner thread moves with the fabric instead of fighting it.
Without something firm underneath, your stitches pull the fabric inward. The whole mend puckers when worn.
Hold the repair over a darning mushroom, a smooth stone, or a lightbulb — anything convex that keeps the fabric taut without stretching it.
Running stitch grids look beautiful in photos. Beginners apply them to every hole regardless of size or fabric weight.
Match the stitch to the damage. A small snag on a linen shirt needs a few anchor stitches, not a geometric grid. Save dense sashiko patterns for denim, where the fabric can actually support that density.
Visible mending is a solo-friendly hobby — your kitchen table works fine. But it also thrives in craft studios, community makerspaces, and independent fabric shops that run regular repair nights.
Search "visible mending circle [your city]" or "repair café [your city]" on Meetup.com. Repair cafés are your fastest route to a real room with real people who will hand you a needle. The Restart Project (therestartproject.org) also maintains a global map of community repair events — filter by textile or clothing repair.
Search "sashiko or boro workshop [your city]" on Eventbrite. These Japanese mending traditions have a strong workshop culture and pull the same crowd as visible mending circles. Check Instagram under #visiblemending too — local menders almost always tag a shop or mention their city.
There's no single national governing body for visible mending. The closest thing is Repair Café International, which sets standards for community repair events and has chapters in over 40 countries.
Walk in and say: "I've never done this before – I brought something that needs fixing." That one sentence gets you a seat next to someone experienced, a needle already threaded, and nobody assuming you know what a running stitch is.
Traditional Japanese running stitch – geometric, repetitive, meditative. It turns a worn patch into something that looks deliberately designed, not repaired.
Best for people who want structure and pattern to guide them, not freeform creativity. Use proper sashiko thread – thicker, matte cotton at $3–5 a skein – not regular embroidery floss.
Weaving thread back and forth across a hole to rebuild fabric from scratch. It's the oldest form of visible mending and the most satisfying when a sock comes back from the dead.
Best for beginners – no artistic skill required, just patience and a darning mushroom. A darning mushroom runs $6–10 and is the one tool here that actually changes your results.
You stitch a patch over damage, then embroider on top to integrate it. The patch becomes a feature – a flower, a shape, a face – instead of an obvious fix.
Best for people who already know basic embroidery, or want a reason to learn it.
Layering and stitching multiple fabric scraps together over time, building up a textile with history. Think of it as long-game mending – a jacket that gets more interesting every year.
Best for people with a lot of worn clothing and a high tolerance for slow, ongoing projects. Fabric scraps are free – this variant costs almost nothing beyond thread.
Specifically for knitted items – it joins two live sets of stitches invisibly, or reconstructs structure in a sweater that's unraveling. This is the hardest variant on this list – skip it until you're comfortable with basic darning.
Best for anyone who owns expensive knitwear they actually want to save long-term.
For something adjacent, see Applique.
Needlepoint lives in the same world — different mechanics, similar appeal.
Most beginners obsess over stitch type – sashiko vs. running stitch vs. darning – thinking the technique is the gap.
It's not the stitch. It's the eye.
The one skill is reading fabric grain and damage direction before you pick up a needle. Specifically: tracing how the tear, wear, or hole actually travels through the weave, then designing your mend to run across that stress line, not parallel to it.
When you stitch with the damage instead of across it, the mend reopens – sometimes within a few wears – and you blame your thread tension or your knot.
The repair fails not because of how you stitched, but because of where.
Develop this skill and your mends hold structurally, look intentional, and stop that slow creep where the hole quietly gets bigger around your patch.
Four sessions over 30 days. One per week, roughly 45–60 minutes each – long enough to actually finish a repair, short enough to fit a free evening.
That structure matters because visible mending isn't about drilling a technique into muscle memory. It's about finding out whether you like the slow, deliberate loop of thread-through-cloth – or whether you just liked the idea of it.
If you want to come back – and specifically, if you started noticing the damaged clothes you'd been ignoring – that's not a small thing. It means you've shifted from consuming to noticing, and this hobby rewards that shift hard. Order better thread, start a dedicated project box, and keep going.
If you're indifferent – you finished the sessions but felt nothing much either way – the creative angle probably didn't click yet. Try one session with an intentional design choice, a sashiko pattern or a contrasting color you'd never wear normally, before you call it. Indifference at the basics isn't the same as indifference to the whole thing.
If you actively didn't want to be there – the sitting still felt like punishment, not the peaceful kind – believe that signal. Visible mending is slow by design and it doesn't speed up with experience. If four sessions felt like waiting for something to happen, that's a clean answer.
You're folding laundry and you pause on a worn hem – not to throw it out, but to wonder what a bright running stitch would look like there. That specific moment, unprompted, is the real green light. Most people who stick with visible mending report exactly this: the hobby starts following them around before they've committed to it.
Fine motor difficulty or chronic hand pain is a real barrier. The needle control required for sashiko or detailed embroidery isn't easily adapted around it, and forcing it will make sessions miserable.
If your wardrobe is almost entirely synthetic performance fabric, you'll run out of viable projects fast. Visible mending works best on natural and woven fabrics and shows badly on stretchy or technical material.
If external feedback is part of what motivates you, a beautifully mended jacket is a private object. The output doesn't photograph like ceramics or travel like a recipe, and that absence compounds over time.
If nothing here clicks, our guide to what to do when bored covers shorter, lower-commitment options.
You'll need embroidery floss or contrasting threads, needles (embroidery or darning needles work well), scissors, and the garment you want to mend. Optional supplies include a hoop for stretching fabric and marking tools, but beginners can start with just the basics. Most supplies cost under $15 to begin.
Basic stitching techniques take 1–2 hours to practice, and you can complete your first simple mend in an afternoon. More intricate designs develop over weeks as you practice different stitch patterns. Like any craft, skill grows gradually with repetition.
No prior sewing experience is required. Visible mending uses simple hand-stitching techniques that beginners can learn quickly. The artistic appeal comes from thread color and stitch placement rather than technical complexity.
Visible mending works best on holes, tears, and worn patches in fabric. Common projects include fixing jeans, sweaters, canvas bags, and shirts. Heavily damaged or structurally weak areas may need reinforcement before stitching.
Visible mending costs $2–5 per garment in materials, making it far cheaper than replacing worn items. Initial tool investment is minimal, and supplies last through many projects. It's an environmentally sustainable and budget-friendly alternative to discarding clothes.
Yes, but delicate fabrics require gentler handling and smaller stitches. Silks and lightweight materials benefit from thinner needles and careful tension control. Starting with sturdier fabrics like cotton or linen helps you build confidence before tackling delicates.