BoredomBusted — Find Your Next Favorite Thing To Do
Discover hobbies, activities, places, and ideas that spark joy. Whether you're looking for something creative, active, social, or relaxing, BoredomBusted helps you find your next favorite thing to do.
Browse our hobby guides, things-to-do collections, and place ideas to never be bored again.
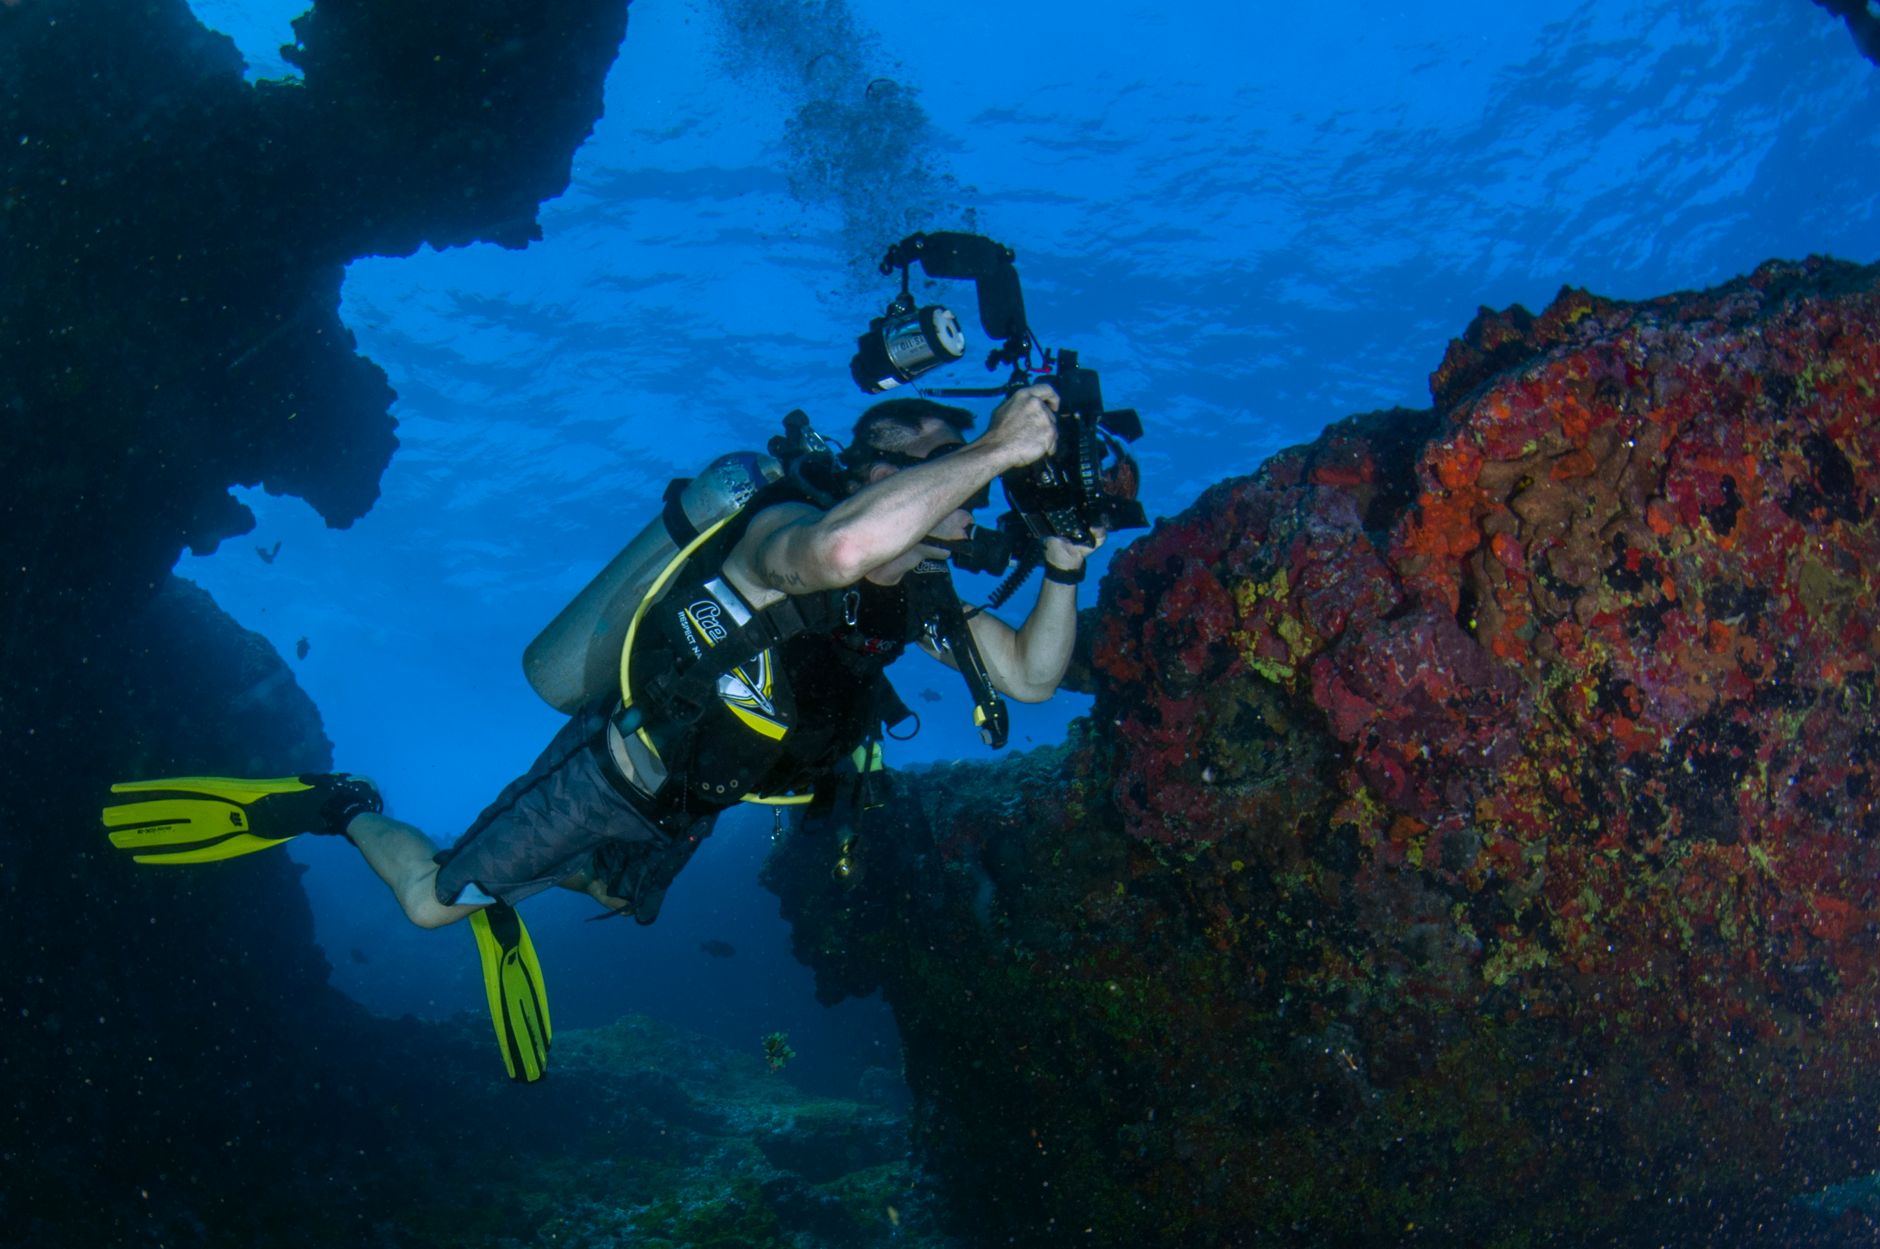
The best underwater camera upgrade is a few hours of buoyancy practice, and it costs far less than a housing or a strobe.
Underwater photography is making pictures below the surface, anywhere from a snorkel over a beach reef to a scuba dive on a wreck. The camera either lives inside a sealed plastic or aluminum housing, or it is built waterproof from the factory.
A session is a normal swim or dive with one extra job. You move slowly along a loop, spot a subject, ease in close, take a few frames, and move on. Most of the keepers come from the last two feet of that approach.
Water changes the picture in three ways. It absorbs red light within the first several meters, it softens contrast, and it fills the frame with floating particles. Every technique in this hobby is a workaround for one of those three problems.
The gear ladder runs from an action camera of about $330–$430 to a housed camera rig with strobes that costs many times more. The beginner end of that ladder is real photography, not a toy version of it.
Underwater photography means taking photos or video below the surface, from a beach snorkel with an action camera to a scuba dive with a housed mirrorless camera. You swim slowly, hover near a subject, and shoot at close range. It rewards patience far more than expensive gear.
Every dive or snorkel offers a different scene, so the hobby never repeats. You spend a session hunting for subjects with total focus, because the water leaves no room for your phone. Skill gains are visible within weeks, and every outing leaves you with photos to sort afterward.
Most people picture this as snorkeling with a GoPro. That is where it starts, and it is also why so many first attempts look like blue-green soup.
You are doing two hard things at once. You are controlling your body in a space where you cannot stand, and you are making an exposure in light that changes every few feet of depth.
Dive photographers have a reputation in the dive world, and it is not flattering. They burn through air faster, drift off their planned depth, and bump into the reef because their attention lives in the viewfinder.
Red is the first color to disappear. A red fish at 30 feet looks grey-brown to your eye and to the sensor.
You fix that three ways: get shallower, add your own light, or correct the color afterward in editing. Serious underwater work almost always uses all three.
Water between you and the subject eats contrast and color. Shooting a fish from ten feet away gives you a photo of ten feet of water with a fish somewhere in it.
This is why wide-angle lenses and getting close are the whole game. It is also why the hobby is more technical than the average weekend camera pursuit.
The first snorkel session with a camera is humbling. You will take 200 frames and keep six.
Expect fish tails, a lot of green, and one photo that is mostly your own thumb. The mask fogs, the housing fogs, and the current moves you away from whatever you were framing.
The photos are bad because you are moving, not because the camera is bad. That is good news, because movement is a skill you can fix for free.
By the second session you start noticing backscatter, those white specks that look like snow. They are particles lit by your flash or by the sun at a bad angle.
By the third, you begin shooting upward at fish instead of down at their backs, and the pictures improve noticeably. Nobody tells you to do it. You just notice the difference.
Do not add a camera to your first scuba dives. Get certified first through scuba diving training, and get comfortable with your buoyancy, your gauge and your buddy.
A camera takes mental bandwidth that new divers need for staying alive. Snorkeling alone is also riskier than it looks, so go with a partner and stay within your swimming ability.
When to start: Calm, sunny morning with clear water
Duration: 60-90 min
Cost to try: Free with a waterproof phone pouch or borrowed camera; rent snorkel gear
Success criteria: If you can get within two feet of a subject, hold still for five seconds, and keep at least five photos in focus, do session 2.
New divers who add a camera too early tend to get task-loaded, which means so busy with the camera that they forget depth, air, and their buddy. That is how people get into trouble.
Get certified, log enough dives that the gear feels automatic, then add the camera. A few dozen dives is a common rule of thumb in dive shops.
Distance kills color and contrast. Most disappointing underwater photos are just far-away photos.
Get within a couple of feet of the subject, then closer. If it feels uncomfortably close, you are about right.
A flash mounted right next to the lens lights the particles between you and the subject. That makes the snowstorm of backscatter that ruins so many first photos.
Shoot shallow in natural light, or use a light or strobe held off to the side at an angle. Until then, turn the flash off and fix color in editing.
Chasing a turtle or kneeling on a reef for the shot damages the animal and the habitat. Some things also sting, cut, or bite, including some coral, urchins, and a handful of fish.
Let animals come to you. If you cannot get the shot without touching something, you do not get the shot.
Water in a camera housing usually means a hair, a bit of sand, or a dry o-ring on the seal. It is the most common way beginners ruin gear.
Do a dry check at home and a dunk test with no camera inside before every trip. Rinse the housing in fresh water afterward and let it dry completely.
Underwater photographers cluster around dive shops, which is the best place to start. Most shops run photography specialty courses and know every local dive site.
Start with the training agencies. PADI and SSI both have underwater photography specialty courses, and their dealer locators will show you nearby shops. DAN (Divers Alert Network) has safety resources and an insurance plan worth looking at if you dive.
Check Meetup for local dive clubs, and look for university and community college dive clubs if you are near a campus. Many clubs run a monthly shore dive or pool night, and the photographers are easy to spot because they are the ones carrying giant plastic boxes.
Reddit's r/underwaterphotography is friendly and image-focused. Post a photo and ask for edit feedback, and you will get useful answers within a day.
r/scuba is better for dive-safety questions. Wetpixel is an older, specialized forum that remains one of the best places for gear reviews and trip reports.
Public aquariums are underrated for practice. Many allow photography without a flash, and the lighting and glass reflections teach you something about exposure.
Inland divers should check local quarries and lakes. Many have regular dive-club nights, with calm, clear water and few currents to fight.
The hobby splits into styles that need very different gear and skill sets. Pick the one that matches the experience you want.
Shallow reef or lake, a waterproof action camera and a color filter. It costs the least, needs no certification, and teaches framing and patience; our snorkeling guide covers the swimming side.
A dome port, a wide lens, and a diver comfortable at depth. You shoot large scenes and big animals, often with the sun behind you or a strobe to restore color.
Nudibranchs, seahorses, shrimp. It's slow, shallow and patient, and you can do it in a few feet of water. Great for people who already enjoy wildlife photography and like staying in one place.
A big dome port held at the surface so the waterline splits the frame. It works best in calm, clear shallow water and gives surprisingly dramatic results.
You hold your breath and shoot, so animals stay calmer. It's advanced and carries real risks like shallow-water blackout, so take a proper freediving course and never train alone.
Most beginners chase a better camera. The real bottleneck is buoyancy control.
If you cannot hover motionless a foot above the sand, you cannot take a sharp close-up, and you cannot do it without crushing the reef. Good buoyancy is also what makes every other skill possible.
Neutral buoyancy means you neither sink nor float. You adjust with breathing, not with kicking, and your hands stay free for the camera.
Do your first hover drills with no camera. In scuba, pick a spot at about 15 feet, over sand and away from coral, and hold still for two full minutes without moving your hands or fins.
Then do it again with the camera in your hands. You will drift. That is the lesson.
If you snorkel, the equivalent is a calm, slow exhale and a relaxed duck dive, then holding a pause over a subject without finning. Practice in a pool first, where nothing can be damaged and nobody is watching.
Aim for ten steady minutes of hovering with the camera before you chase anything. Once you can do that, shooting gets dramatically easier, and so does every dive after it.
A good dive shop will run a buoyancy refresher or a peak performance buoyancy course. For most people it's the best money they spend in this hobby.
Commit to six water sessions in 30 days. Two in a pool or very shallow water, and four in open water or a good aquarium.
That is enough to feel the difference between a bad session and a good one. It is also enough to find out whether you like the effort the hobby asks for.
You are planning the next session before this one ends. That is the real signal. Look at a rental housing or a certification course next.
You like the water but not the camera. Plenty of people end up just diving or snorkeling, and that is a perfectly good result.
You spend more time fighting gear than looking at anything. If the fogging, the leaks, and the checklists feel like a chore, stop. This hobby is not cheap enough to keep doing out of stubbornness.
If the camera ever makes you stop checking your depth, your air, or your buddy, put the camera away. A great photo is never worth a bad ascent.
Start with a waterproof action camera. A GoPro HERO13 Black, about $330–$430, is waterproof to 33 feet without a housing and takes decent photos. Move to a housed mirrorless camera only after you've logged plenty of dives.
No. Snorkeling, pool shooting, and freediving all work, and shallow water has the best natural light anyway. Scuba lets you go deeper and stay longer, which opens up wrecks and walls. Get certified first and add the camera later, because you need your attention for the dive.
Water absorbs red light quickly, so colors fade within the first several meters. You can shoot shallower, add a color filter, use a video light or strobe, or correct the color in editing. Most photographers use a combination, and shooting RAW makes the editing step much easier.
An action camera costs about $330–$430, and snorkel gear can be rented. Scuba certification adds roughly $300–$900 depending on the shop. A housed mirrorless rig with strobes costs many times more, so rent before you buy.
Those specks are backscatter, particles in the water lit by your flash or strobe. The fix is moving the light off to the side, getting closer to the subject so there is less water in between, and shooting in clearer conditions. Turn off the built-in flash if you are using one.
Snorkeling and diving carry real risks, and a camera adds distraction. Get certified, dive with a buddy, and keep your depth and air as your first priority. Never practice breath-hold alone. Many new divers wait until their buoyancy feels automatic before they bring a camera on a dive.