BoredomBusted — Find Your Next Favorite Thing To Do
Discover hobbies, activities, places, and ideas that spark joy. Whether you're looking for something creative, active, social, or relaxing, BoredomBusted helps you find your next favorite thing to do.
Browse our hobby guides, things-to-do collections, and place ideas to never be bored again.
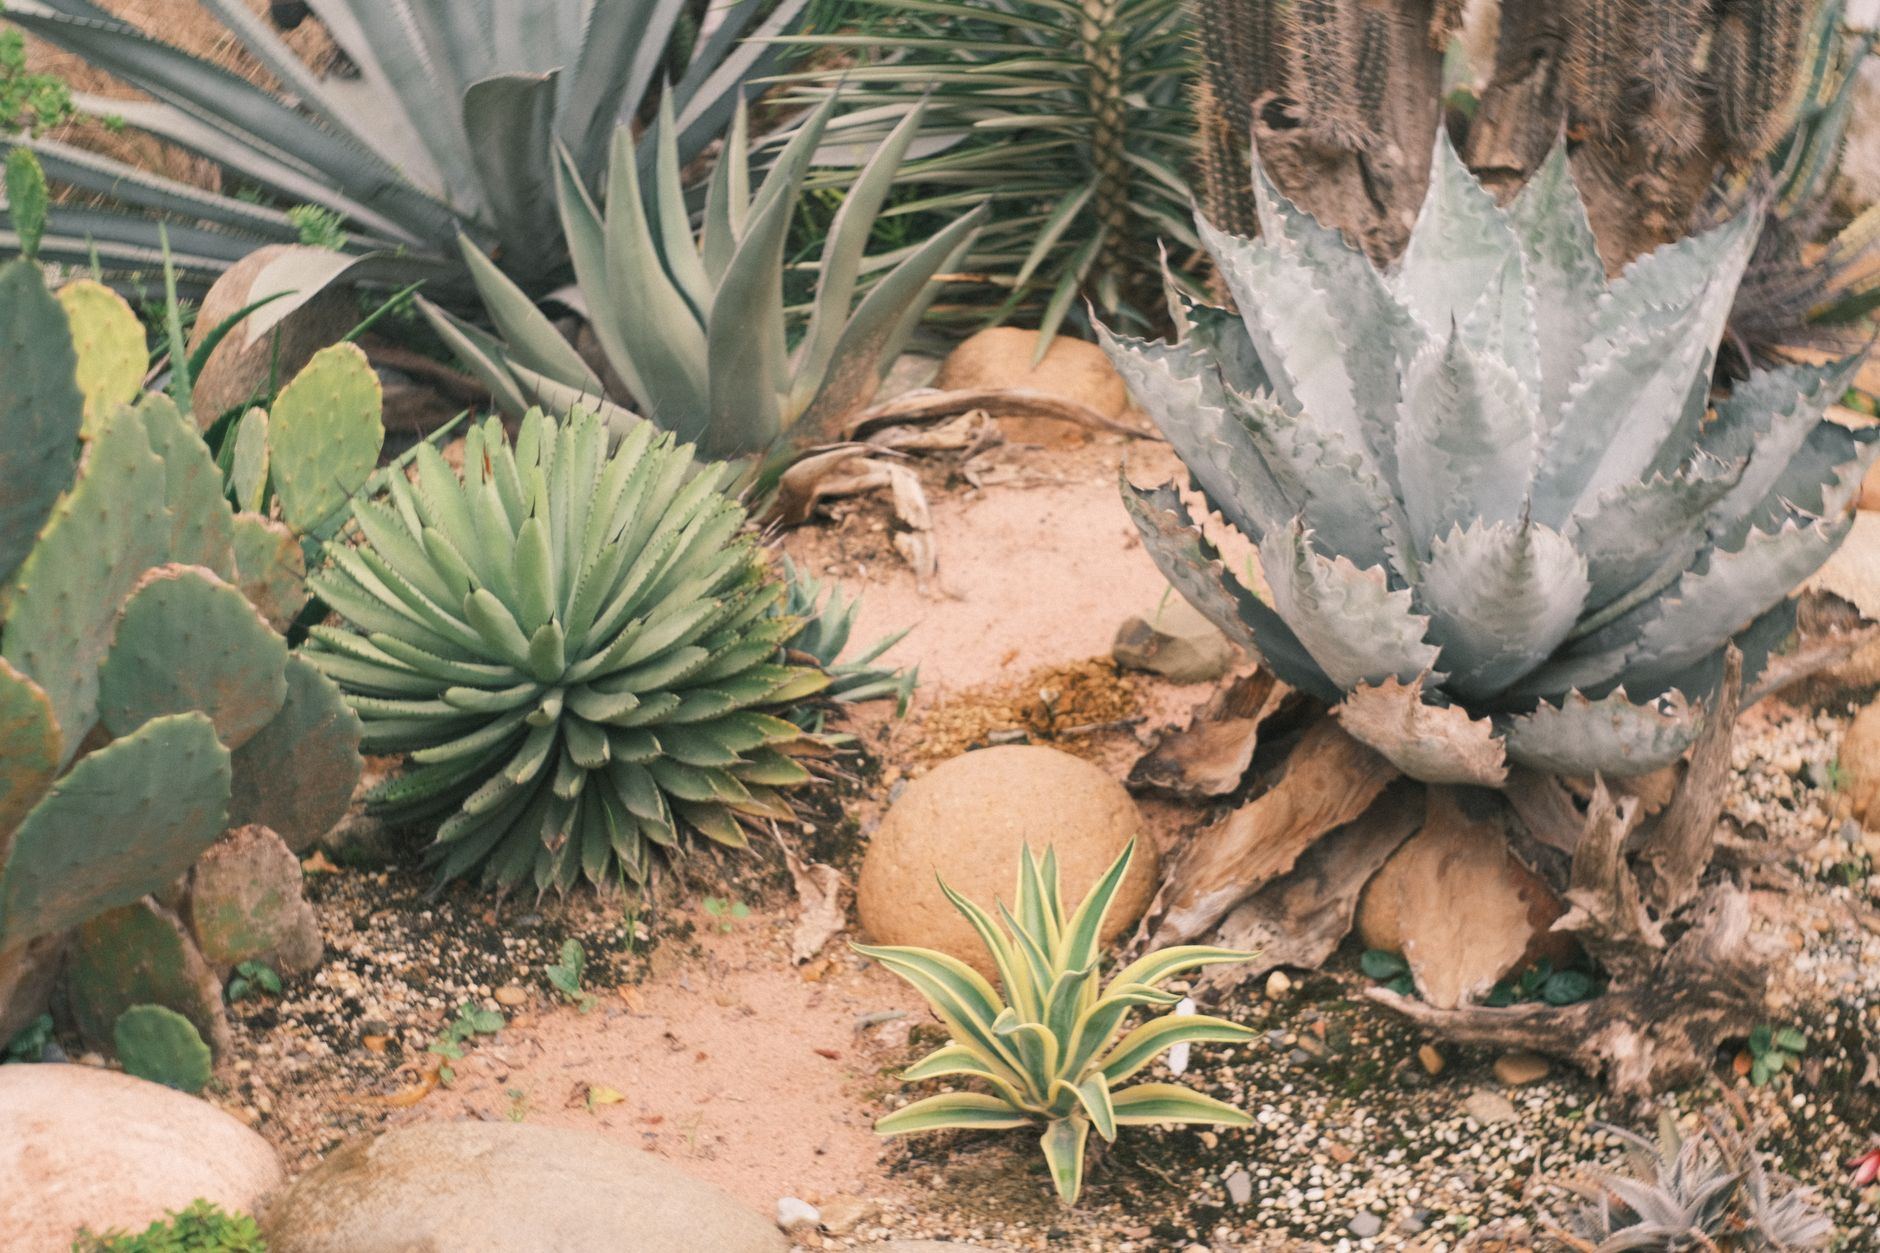
Xeriscaping isn't a yard full of gravel. The hard part is soil and watering in year one, and that's where beginners lose their plants.
Xeriscaping is designing a landscape so it survives on the water your climate already provides. It is not a yard full of rock and one sad cactus. The word was coined by Denver Water in 1981, from the Greek xeros, meaning dry.
A session is part design, part dirt work. You map where the sun hits and where rain runs, pull out thirsty lawn, loosen the soil, and group plants by water need, so thirsty ones sit together and tough ones sit apart. Then you lay drip line and finish with a few inches of mulch.
After that, the hobby gets quieter, and most of the effort lives in the first two seasons while roots get established and you learn how your soil drains. A first project is one bed of about 50 square feet, not the whole yard, and it takes a couple of weekends. Spoiler: you'll soon browse nursery catalogs for fun.
You study your yard's sun, soil, and drainage, remove thirsty lawn, then plant drought-adapted species grouped by water need. Drip lines and a few inches of mulch keep the soil cool and moist, and each season you tweak what thrived and what struggled.
The garden gives you slow, visible feedback. New growth, first blooms, and pollinators show up on a timeline you can see, and every season the design changes. You always have a next small project, from moving a plant to adding a bed or testing a new species from a plant sale.
People assume xeriscaping is the lazy option. Skip the mowing, dump gravel, done. That version fails more often than it works.
A working xeriscape is a small piece of land-management. You're reading slope, soil type, sun exposure, and rainfall, then matching plants to each microclimate. The basic framework has seven parts: planning, soil improvement, practical turf, suitable plants, efficient irrigation, mulch, and maintenance.
You get better at observation. You notice that the southwest corner bakes by 3 p.m., and that water pools by the downspout after every storm.
Plants teach you faster than books do. A lavender that thrives in one bed and dies in another is a free lesson in drainage.
It also pays back in a way most hobbies don't. Many US water utilities run turf-replacement rebates, and outdoor watering often makes up a big share of a household's summer water use. Check your local utility before you rip anything out, because some programs need pre-approval.
Be ready for this: the first weekend is mostly sweat. Removing grass is the least glamorous part of the whole hobby, and it's the part nobody films.
Expect blisters, a sore lower back, and a pile of sod that looks bigger than your yard. Do the digging in cool morning hours and stop before your back tells you to. Call 811 before you dig deeper than a few inches, so you don't find a buried utility line the hard way.
You'll plant small, cheap plants spaced far apart, with bare mulch between them. Your neighbors will wonder what you're doing. That's normal.
Water them often for the first few weeks. Newly planted anything hasn't grown the roots that make it drought tolerant.
Not much happens. Plants sit there, conserving energy and building roots. Your job is to resist the urge to fuss, overwater, or fertilize.
Most people feel a small spike of doubt here. The payoff comes a season later, when the plants fill in and you realize you haven't pulled a hose out in weeks.
When to start: Early morning in spring or fall
Duration: 2 hours
Cost to try: Free (a notebook and a walk around your yard)
Success criteria: If you finish with a sketch, a chosen spot, and five plant names you're curious about, do session 2.
It looks tidy on day one. Then soil washes over the fabric, weeds root into it anyway, and the plastic blocks water and air from the soil beneath.
Use organic mulch or a thin layer of gravel straight on the soil. Skip the fabric except under paths where you want a hard barrier.
A drought-tolerant plant isn't drought-tolerant on day one. Planted into July heat, it fries before the roots settle in.
Plant in fall or early spring when the weather is mild, and water in well. Fall is the best bet in most regions, because roots grow while the air is cool.
That agave at the nursery may not survive your winters. A pretty Mediterranean shrub might sulk in heavy clay.
Start with your local extension office's plant lists and native plant society recommendations. Match the plant to your climate zone and your soil, not to a photo.
Hand-watering sounds fine until week six, when you're traveling and half the bed is dead. Drip lines or soaker hoses on a simple timer save plants.
A basic drip kit costs less than a handful of replacement plants. Run it long and slow, not short and often.
Spiny plants like agave, cactus, and yucca draw blood fast. Some euphorbias leak sap that irritates skin and eyes.
Wear thick gloves and eye protection, and keep long pants on. Call 811 before any digging past a few inches, and never move heavy boulders or rent a sod cutter without a second person.
Xeriscaping is a quiet hobby, but the best advice is local. A plant that works in Tucson will die in Minneapolis, so you want people who garden within an hour of you.
Nearly every US county has a Cooperative Extension office, and many run Master Gardener volunteer programs. They answer plant and soil questions for free, and they usually publish regional plant lists.
The California Native Plant Society, Wild Ones, and similar state chapters run plant sales, garden tours, and workshops. Their sales are the cheapest way to buy plants that already fit your region.
Denver Botanic Gardens and the Desert Botanical Garden in Phoenix show what mature dryland plantings look like. Walk through with a notebook and photograph plant tags.
Reddit's r/xeriscape and r/NativePlantGardening are active and helpful. Post your zip code, a photo of the spot, and your sun exposure.
Also check Meetup and Facebook for local garden clubs, seed swaps, and rain barrel workshops. Your water utility may host free classes on turf removal and drip irrigation.
Xeriscaping isn't one look. Pick the style that fits your climate and your taste, because a desert design in a wet region fails for the same reason an English garden fails in Phoenix.
Agave, yucca, desert marigold, and ornamental cacti with decomposed granite. It works best where winters are mild and summers are dry.
Ornamental grasses, coneflower, blanket flower, and salvia. These are tougher than they look, and pollinators will show up fast.
Lavender, rosemary, thyme, and sage on well-drained soil. These plants hate wet feet, so raised beds or slopes help.
Use plants that evolved in your region and you'll get wildlife along with the water savings. Your local native plant society will have a list.
Group succulents and herbs in large pots. It's the lowest-commitment way to test your skills.
The one skill behind every successful xeriscape is grouping plants by water need and watering them deep and infrequently. Designers call the groups hydrozones.
Put the thirstiest plants nearest the house or the downspout. Put the toughest, driest plants at the edges where only rain reaches. Nothing in a zone should need different care from its neighbors.
Shallow, frequent sprinkling trains roots to stay near the surface, where soil dries out fast. Soaking the soil down a foot or more pushes roots deeper, where moisture lasts longer.
In the first season you'll water more often. Each season after, stretch the gap between waterings a little, and let plants tell you when they've had enough.
Pick one 4-by-8-foot bed. Choose three to five plants rated for your region that share the same water needs, and plant them together.
Put a trowel in the soil a few days after watering. If it's moist at 4 inches down, wait. If it's dry, soak slowly and note how many days that took, so next time you can predict it.
Before you rent a sod cutter, run a small test. Commit to four weekends and one 50-square-foot bed.
Weekend one: map your sun and drainage, and check for local rebates. Weekend two: remove the grass, loosen the soil, and mulch.
Weekend three: plant five to seven plants in one hydrozone and set up drip or a soaker hose. Weekend four: observe, adjust, and log how often you needed to water.
You find yourself checking the bed daily and reading plant lists at night. That's the hobby. Expand next season.
You like the result but not the process. Hire a pro for the big stuff, keep the small beds, and you'll still save water.
You dread every weekend of it. That's useful information. Stop, keep what you planted, and move on.
If plants die for the same reason twice, such as drainage or the wrong zone, don't buy more of the same. Change the plant or the location before you spend another dollar.
No. A good xeriscape uses a mix of drought-adapted plants, grasses, shrubs, and flowers with mulch and some rock. The goal is lower water use, not zero plants. Gravel-only yards run hot, grow weeds anyway, and offer almost nothing to pollinators or birds.
A small bed you plant yourself costs little more than the plants and mulch. A full front-yard conversion costs far more, mostly for turf removal, hardscape and plants, so get quotes. Many water utilities offer turf-replacement rebates, and most require approval before you remove any grass, so apply first.
Yes, often by a significant amount. Established drought-adapted plants need far less supplemental water than lawn, especially in dry climates. Savings depend on your region, plant choices, and how well you set up irrigation and mulch. Poorly planned yards can still waste water.
Expect two to three growing seasons. The first year, plants are small and the bed looks sparse while roots develop. By year two or three most plants fill in, and you'll water and weed far less. Patience in year one is the real cost.
Fall is usually best, followed by early spring. Mild weather lets roots establish without heat stress. In very hot climates, avoid planting in midsummer. Winter and summer are good for planning, ordering plants, and removing sod, since you can plant afterward.
Yes, with plants suited to your region. Prairie grasses, native perennials, and cold-hardy herbs work in many northern areas. In wet climates, the focus is often native plants and low-maintenance beds rather than desert styles. Local extension offices can point you to the right plant lists.