BoredomBusted — Find Your Next Favorite Thing To Do
Discover hobbies, activities, places, and ideas that spark joy. Whether you're looking for something creative, active, social, or relaxing, BoredomBusted helps you find your next favorite thing to do.
Browse our hobby guides, things-to-do collections, and place ideas to never be bored again.
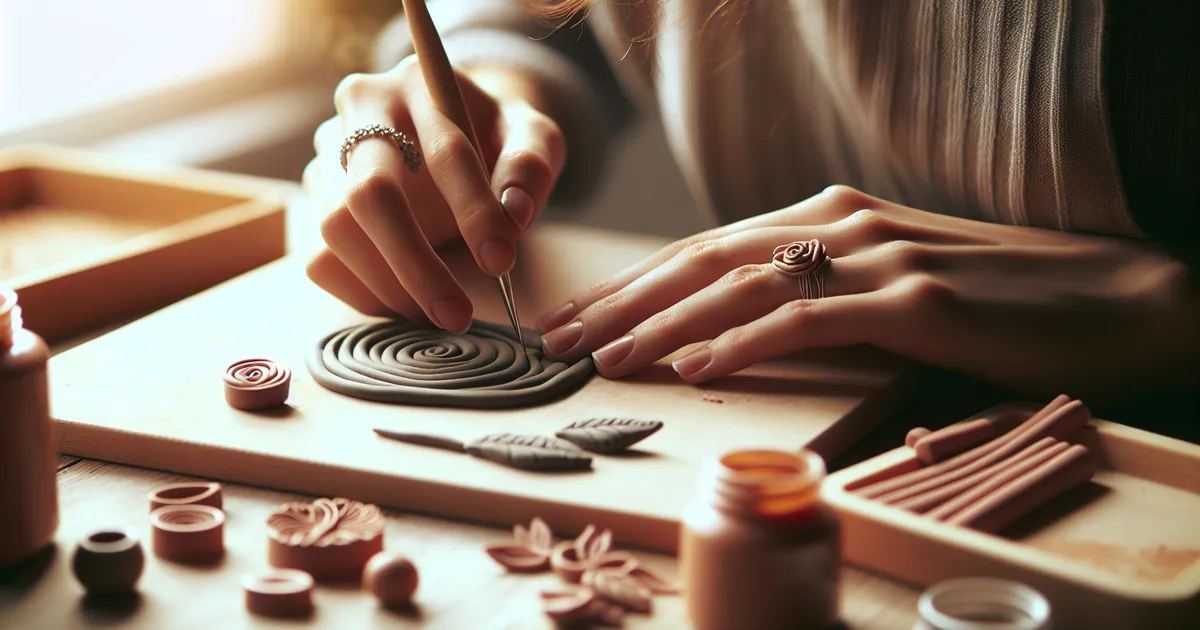
Surprisingly, polymer clay crafting doesn't just fight boredom — it ushers in a flow state that transforms frustration into instant creativity.
Getting started with polymer clay crafting as a beginner is surprisingly simple, as this versatile material remains malleable until baked in a standard home oven – no kiln, no studio required.
Unlike air-dry clay, it won't shrink or crack during curing.
That oven-ready, color-stable quality is what makes it a legitimate sculpting medium, not just a craft supply.
In polymer clay crafting, you condition and shape polymer clay into unique items, using tools to roll, cut, and texture the material, then bake your creations in a home oven. This involves kneading the clay for pliability, sculpting forms like beads or ornaments, and experimenting with colors and textures to bring your ideas to life.
Polymer clay crafting facilitates a flow state through tactile manipulation, allowing for low-pressure experimentation and immediate feedback as you see your ideas take shape, which counters boredom by providing a sense of accomplishment and creative expression in each session.
You think polymer clay is a kid's craft. Playdough vibes, maybe a Pinterest fail, definitely something that lives in a Michael's dollar bin.
The actual appeal of polymer clay is its potential for serious artistry. Jewelers, character designers, and prop makers use it because it holds microscopic detail that other materials can't.
The "simple" techniques aren't simple. Millefiori caning – layering clay into patterned rods – is a direct descendant of ancient glassworking, adapted into something you can do on your kitchen table.
Dexterity isn't the challenge – it's understanding the interaction of color, texture, and form. This is the same as what a ceramics student learns over a semester.
Tanya Gesture built a side income selling miniature food sculptures. Think slices of cake smaller than a thumbnail, with visible layers and frosting texture. She started just because she was bored on a Tuesday.
The gap between "bored Tuesday" and "people paying real money for this" was about eighteen months of skill-building. Tanya's journey shows that the first session teaches you more than any overview can.
The inviting world of clay sculpting seems manageable when watching online demos. But once you start, you'll find the clay stubbornly cracking along seams that looked smooth on video.
You're not failing — algorithms just skip the hard part.
Early sessions can be deceiving. The clay feels soft and cooperative at first. But as you shape, lines get messy, colors mix into an unexpected muddy hue, and cracks appear after baking. It rarely matches your hopeful vision.
Week two is where most pause. Everything is muddied. Hands ache from kneading and molding. This is the crucial moment — right before muscle memory starts developing.
Before you dive in, take time to knead the clay properly. Even if it feels ready straight from the package, it needs plenty of conditioning. Skipping this step creates frustration as cracks inevitably form during the first bake. Aim for a thorough kneading of at least two minutes to start your projects right.
When to start: Morning
Duration: 1.5 hours
Cost to try: $15
Success criteria: If you baked a smooth, crack-free clay shape that held its details after cooling, do session 2.
Polymer clay straight from the package is stiff. Most beginners don't realize that unconditioned clay will crack after baking, no matter how careful the sculpt is.
Warm and work the clay in your hands for at least 3–5 minutes until it bends without cracking at the fold – that fold test is your green light.
Metal conducts heat unevenly. The contact points on your piece will scorch or develop shiny flat spots while the rest bakes fine.
Place your pieces on a folded sheet of copy paper or a ceramic tile – both buffer heat and leave zero marks on the clay surface.
Different brands – Sculpey, Fimo, Premo – have different softness levels and baking temperatures. Mixing them in one piece without knowing this is how you end up with one part perfect, one part crumbled.
Pick one brand and learn its feel and bake time. Experiment with mixing only after you've got a baseline.
Beginners eyeball color ratios and then can't recreate a color they loved. That kills momentum fast.
Tear off small reference pieces of each clay before you mix. Tape them to a card with the ratio written on it so you can repeat anything that works.
Most craft-store sealers – especially anything acetone-based or labeled Mod Podge – react with polymer clay. They stay permanently sticky, no matter how long you wait.
Use a sealer specifically labeled compatible with polymer clay, like Sculpey Glaze or a water-based polyurethane. Test it on a scrap piece first.
Polymer clay crafting usually starts at home on a kitchen table or a craft desk. But craft studios and community art centers offer more than just ovens and tools. They're filled with people ready to catch your mistakes early.
The fastest way to find a local group is through Facebook. Search for polymer clay [your city] or clay crafters [your state]. These groups are vibrant and host local swaps.
For curated events, filter Meetup.com by searching polymer clay in your zip code. Smaller city groups often have hidden gems.
Browse the Polymer Clay Guild directory through the National Polymer Clay Guild (NPCG). Their member list is your map to US guilds.
Eventbrite is another option. Search for clay workshop or sculpting night in your area. Studios use these as previews for ongoing groups.
Mention to the organizer or instructor that you're new and haven't baked your first piece. This often leads to a loaner tool kit, a prime oven spot, and tips on choosing brands that don't crack.
Create figures or characters by hand. No molds here, just pure shaping. Perfect for beginners eager to understand how clay behaves on its own terms.
Stack and compress clay into canes that reveal intricate designs when sliced. Patience is key, as the pattern is a surprise until you cut. Ideal for those who love repetition and geometric precision.
Mokume-Gane reveals wood grain or marbled effects. Enjoy the blend of control and surprise as you compress and slice for swirling designs.
Lightweight pendants and earrings without the 'craft fair look.' Perfect for anyone seeking functional pieces they can wear or sell.
Mimic other materials like stone or wood using clay. Focus on fooling the eye over sculpting. Ideal for those who find joy in realistic detail.
Leathercraft is a sibling pursuit and often surfaces the same kind of curiosity.
Some of the same instincts show up in Paper Crafts — worth a look if this clicked.
Another variant that pulls from the same roots is Manga Drawing.
Forget about the tools. What counts in polymer clay crafting is how you condition the clay. Most beginners skip over this, treating it as a quick step, but it's the core of a successful project.
Recognizing your clay's workability is the skill to master. Test a bit of clay, fold it, and observe how it behaves. Cracking or sticking reveals much about its readiness. The clay should be just right — flexible enough to hold detail but not fragile.
Understand this, and your projects transform. Details stay sharp, blends become easy, and final pieces look professional. Missing this step? Your techniques suffer silently, while you blame everything except the real issue: unconditioned clay.
Six sessions over 30 days. Do one or two per week to get beyond initial awkwardness and find your rhythm.
If you're planning your next project before finishing this one, you're truly absorbed. Invest in a dedicated workspace and upgrade your tools. You're on the path to crafting something meaningful.
If you're indifferent, it means the style, not the medium, isn't clicking. Shift from sculpture to jewelry-making, or vice versa. Often, one more try in a different format leads to a decision.
If you disliked the sessions, the slow pace and detailed work aren't your thing. It's not a fit for you, and that's a clear answer.
If you find yourself watching late-night videos of intricate clay work just for enjoyment, you're hooked. That unintentional draw is your signal of real interest.
Curious what else is out there? Skim our list of hobbies for ideas that go in a different direction.
A basic starter kit with assorted clay colors, tools, and a toaster oven typically costs $30–$60, making it an affordable hobby. You can begin with even less by purchasing a small clay pack for under $10 and using household items as tools.
You need an oven that reaches 250–300°F, but it doesn't have to be a kitchen oven—many crafters use a dedicated toaster oven to avoid food contamination. A $20–$40 toaster oven works perfectly and is a standard investment for serious hobbyists.
Simple projects like beads or small figurines take 30 minutes to 2 hours to sculpt, plus 15–30 minutes baking time. More complex pieces like realistic miniatures can take several hours or even multiple sessions, depending on your skill level.
Yes, polymer clay is non-toxic and safe to handle, though you should avoid eating or touching your face while working. Always bake in a well-ventilated area and never use the same oven for food and clay simultaneously.
You can create jewelry (earrings, pendants, beads), miniatures for dollhouses, decorative home accents, figurines, and even functional items like plant pots. The possibilities are virtually endless—your creativity is the only limit.
When properly baked, polymer clay is hard and durable enough for everyday use in jewelry and decorative items. Projects can last for years without cracking or fading, especially if sealed with varnish for added protection.