BoredomBusted — Find Your Next Favorite Thing To Do
Discover hobbies, activities, places, and ideas that spark joy. Whether you're looking for something creative, active, social, or relaxing, BoredomBusted helps you find your next favorite thing to do.
Browse our hobby guides, things-to-do collections, and place ideas to never be bored again.
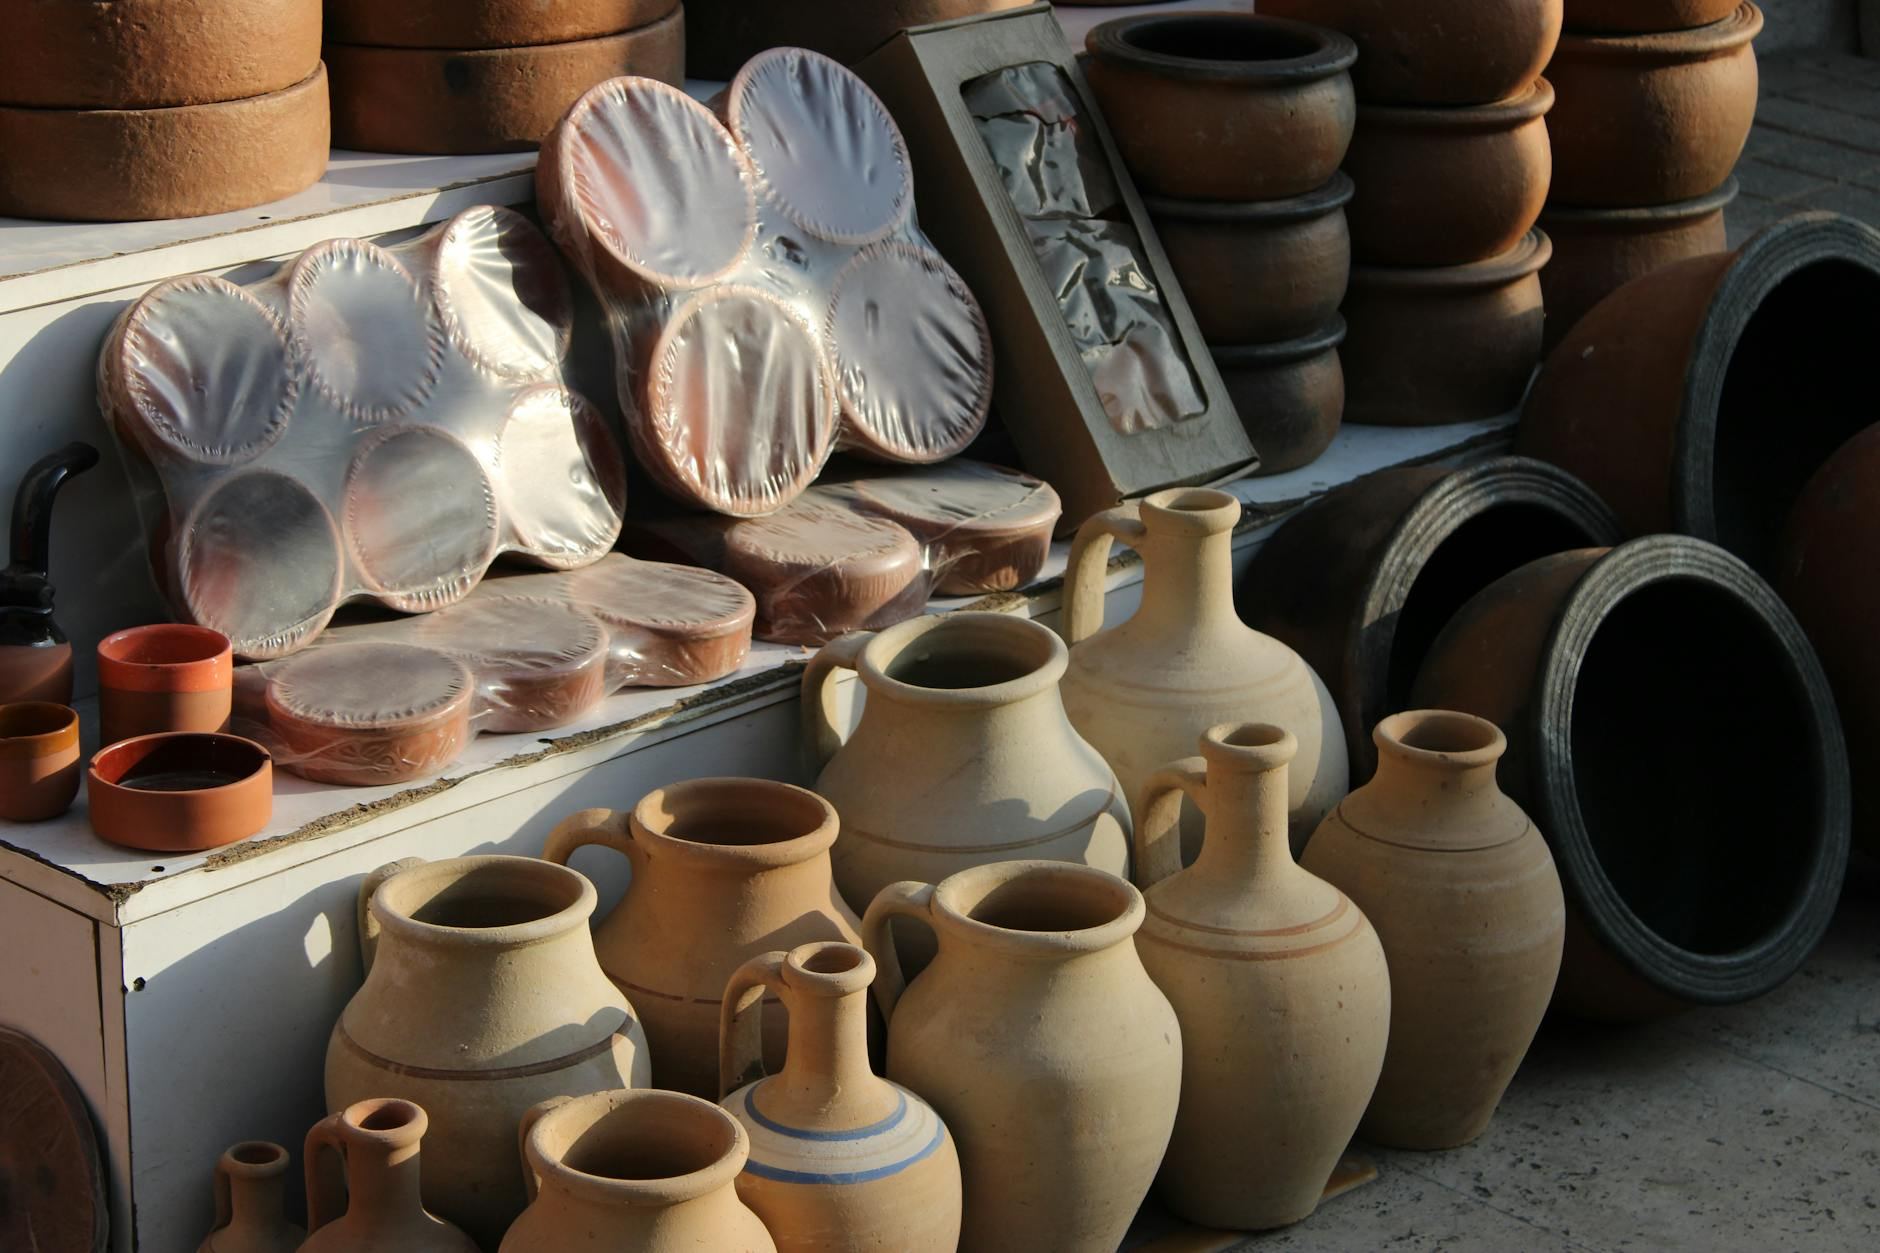
Many believe pottery is complicated for beginners, but you can create beautiful pieces fast with just a little guidance and experimentation.
Getting started with pottery as a beginner allows you to shape and fire clay into beautiful, functional pieces right at home.
Whether you're sculpting a simple bowl or an intricate vase, pottery offers a hands-on experience that combines creativity and craftsmanship.
The process is both meditative and rewarding, allowing you to produce unique, tangible art.
In pottery, you engage in hands-on processes like wheel throwing and hand-building, shaping wet clay into functional items such as dishes or planters, trimming for smoothness, applying glazes, and firing completed pieces in a kiln, often in a studio setting.
Pottery creates a flow state by demanding focused attention as you manipulate clay, providing immediate feedback through tactile interactions and refining techniques, while also fostering a sense of accomplishment as you transform raw materials into usable art.
You think pottery demands years of training to make anything worthwhile.
Pottery is accessible even if you're a complete beginner. With the right guidance and a willingness to experiment, you can start making beautiful pieces almost immediately.
Look at Emma, who took a weekend class last summer. Her first mug wasn't perfect, but by the third attempt, her friends were asking for her creations.
Mastering advanced techniques takes time. Techniques you'll want to explore. But basics? They're accessible and incredibly rewarding.
Pottery celebrates the joy of expression, not just the pursuit of perfection.
Your first time at the wheel, your hands will be cold and wet, the clay will smell earthy and faintly metallic, and nothing will cooperate. You press down and the lump shifts sideways. You try to center it and it wobbles harder. Centering clay is physically demanding in a way nobody warns you about — your forearms will burn, your shoulders will tighten, and your foot will hover over the pedal unsure how fast is too fast.
The part beginners don't expect is how quickly a good moment can collapse. You'll get the clay centered, feel genuinely proud, then graze it with a finger at the wrong angle and watch the whole thing fold. Pottery gives you feedback instantly — and it's almost always humbling. The clay doesn't care about your intentions. It responds to pressure, speed, and water in ways your hands haven't learned to read yet.
By your third or fourth session, something starts to shift. Your hands develop a memory for how much pressure actually moves clay versus collapses it. Small cylinders stop looking like accident scenes. The first piece you trim and set aside to dry will feel disproportionately satisfying — not because it's beautiful, but because you made a physical object out of nothing, and it held its shape.
Those early sessions are mostly about building a feel for the material, not producing anything impressive. That's fine — that's the job right now. But knowing what trips up most beginners before they get there saves you from thinking you're bad at this when you're actually just early. The next section covers the mistakes that stall most people — and how to get past them faster.
When to start: Early morning
Duration: 1.5 hours
Cost to try: $20
Success criteria: If you wedge, slab-roll, and cut one 4-inch coaster with even thickness and clean edges, do session 2.
Centering is the first wheel skill everyone learns — and the one that stops most beginners cold. The instinct is to muscle the clay into place, which just makes it fight back harder.
The fix isn't more strength. Brace your elbows against your hips and let your body weight do the work, not your arms. Five minutes of practicing this posture change will do more than an hour of wrestling with a lump.
Water keeps clay slippery and workable, so beginners reach for it constantly. It feels like a solution. It's actually the problem.
Excess water weakens the clay structure, and thin walls soaked with water will slump before you ever get them upright. Use just enough to reduce friction — a light, damp hand rather than a dripping one. If your clay feels spongy, you've already gone too far.
Once a piece holds its shape, it's tempting to call it done and move on to glazing. Most beginners do exactly this. The result is a heavy, uneven base that looks unfinished next to anything made with care.
Trimming at the leather-hard stage is what gives pottery its clean, professional weight and profile. Set a reminder to come back 24 hours after throwing. That's usually the sweet spot — firm enough to handle, soft enough to carve.
Glaze colors in the bucket look nothing like the finished result. Beginners paint on what looks rich and vivid, then pull chalky, washed-out pieces from the kiln and assume they did something wrong.
Always test glazes on small tiles before committing to a finished piece. Most studios keep fired test tiles for exactly this reason — use them. Three coats is usually the minimum for a consistent color, regardless of what the label says.
The wheel gets all the attention, so beginners rush past hand-building to get there. That's a real shortcut in the wrong direction.
Hand-building teaches you how clay actually behaves — how it cracks, joins, dries unevenly — in a way the wheel never forces you to confront. Spend at least a few sessions with slabs and coils first. You'll hit the wheel with better instincts and far fewer surprises.
Start with a local community studio — it's the fastest way to meet other potters. Search "community pottery studio" or "ceramic arts center" in your city. Most offer open studio hours where regulars show up week after week.
Online, r/Pottery on Reddit is active and beginner-friendly. People post works-in-progress, glaze questions, and kiln troubleshooting daily. The American Ceramic Society and the National Council on Education for the Ceramic Arts (NCECA) both list regional events and workshops if you want something more structured.
Meetup.com has pottery and ceramics groups in most mid-to-large cities. Eventbrite regularly lists one-day wheel-throwing workshops at local studios. On Instagram, searching #pottery or #wheelthrown surfaces a huge hobbyist community — and plenty of those accounts are run by teachers who post class openings.
YouTube channels like Florian Gadsby and Hsin-Chuen Lin are worth following too. Both those creators have comment sections full of engaged hobbyists — a surprisingly useful place to ask questions and connect.
Wheel throwing is what most people picture when they think of pottery. You center a lump of clay on a spinning wheel and pull it upward into a form. Bowls, mugs, vases — most cylindrical shapes start here.
It has a real learning curve in the first few sessions. But if chasing a physical skill and watching your technique improve week by week sounds satisfying, this is where to start.
Hand-building covers techniques like pinching, coiling, and slab construction. No spinning wheel required. You work directly with your hands and simple tools to shape clay at your own pace.
This is the most forgiving entry point into pottery — and it produces work that often looks more sculptural and expressive than wheel-thrown pieces.
Ceramic sculpture moves away from functional objects entirely. You're building figures, abstract forms, or decorative pieces that aren't meant to hold soup. The clay is still fired and glazed, but the goal is visual impact, not utility.
If you come from a drawing or painting background and want to work in three dimensions, sculpting with clay tends to click faster than wheel work.
Glazing and surface decoration is a specialty in its own right. Some potters spend most of their time experimenting with glaze chemistry, layering colors, and developing signature finishes. The firing process changes everything — glazes shift and react in ways you can't fully predict.
This path suits people who find the final surface of a piece just as interesting as its shape — and who enjoy a process with a bit of controlled unpredictability.
Studio pottery — renting time and kiln access at a shared ceramics studio — is how most beginners get started without buying equipment. You show up, work alongside other potters, and get feedback from instructors and peers.
For people who want pottery to double as a regular social outlet, a studio membership is hard to beat. The community that forms around a shared kiln tends to be genuinely welcoming.
Home studio pottery means investing in your own wheel, kiln, and materials. The upfront cost is real — expect to spend several hundred to a few thousand dollars depending on what you buy. But once you're set up, you can throw at midnight if you want to.
This works best for people who are already certain they love pottery and want the freedom of working solo without scheduling around a studio.
Leathercraft lives in the same world — different mechanics, similar appeal.
For something adjacent, see Polymer Clay Crafting.
Another variant that pulls from the same roots is Fashion Design.
The skill that separates potters who improve from those who plateau is learning to read the clay through touch, not sight.
Beginners spend most of their attention watching their hands. That's the problem. The clay tells you what it needs before your eyes can catch it — through resistance, temperature, and give. A wall thinning too fast feels different from one that's centered. A wobble announces itself in your fingertips seconds before the piece collapses.
This is why tactile awareness is the real skill — not centering, not glazing, not any specific technique. Those are all downstream of it. Once your hands start interpreting what they feel instead of just executing what your eyes direct, your feedback loop tightens dramatically. Corrections happen earlier. Mistakes stop compounding.
You build it by slowing down deliberately. Close your eyes for thirty seconds mid-throw and just press. It feels uncomfortable at first. But that discomfort is exactly where the improvement lives — and it's what the next section gets into.
Commit to four sessions over the next month — roughly once a week, ideally at a local studio where you can use a wheel. That's enough time to feel what this hobby actually asks of you.
That pull — the urge to get back to the wheel before your next class — is the real signal. Start looking into open studio memberships so you can work at your own pace, not just on the instructor's schedule.
Pick up a beginner's glazing book and start thinking about the kinds of pieces you actually want to make. Having a project in mind accelerates everything — your hands learn faster when your goal is concrete.
A lukewarm reaction after four sessions usually means one of two things: either the wheel isn't your format, or the studio environment isn't the right fit. Try hand-building before writing off pottery entirely.
Coiling and slab work are slower, more deliberate, and a completely different mental experience than throwing. Some people find their footing in pottery only after switching methods.
Pottery demands presence — your hands are in wet clay, and the moment your attention drifts, the piece collapses. If that level of sustained focus felt like a chore rather than a relief, this hobby is probably fighting your nature.
That's useful information. You might be wired for hobbies with faster feedback loops — woodworking, cooking, or even drawing all deliver visible progress in shorter bursts.
If you caught yourself browsing pottery tools or studio memberships at an odd hour — without anyone prompting you — that involuntary curiosity matters more than how your first bowl turned out.
Sometimes you just need something for the next ten minutes — that's what things to do when bored is for.
Initial costs typically range from $100–$300 for a basic starter kit with hand-building tools and clay, or $500–$2,000+ if you want access to a pottery wheel and kiln. Many beginners start at community studios or art centers where you pay per class ($20–$50) without buying equipment upfront, making it more affordable to test the hobby first.
Most beginners develop functional hand-building skills within 4–8 weeks of regular practice. If you're learning the pottery wheel, expect 2–3 months to create basic centered pieces, with proficiency in both techniques typically achieved within 6–12 months of consistent practice.
You can do both. Hand-building techniques like coiling, pinching, and slab work are easily self-taught at home with just clay and basic tools. However, pottery wheels and kilns typically require studio access, making classes or community studios the best option if you want to explore wheel-throwing or fire finished pieces.
For hand-building, you only need clay, a workspace, and basic tools like wooden sculpting tools, sponges, and a smooth surface. For wheel-throwing, you'll need a pottery wheel, kiln access, and specialized throwing tools. Many beginners skip buying a kiln by using community studio facilities or pottery classes that provide kiln firing.
Hand-building pottery is beginner-friendly with an immediate learning curve—you'll create recognizable pieces in your first session. Wheel-throwing requires more practice to master centering and consistent wall thickness, but it's learnable within weeks with instruction and patience.
Beginners can create bowls, plates, mugs, vases, decorative tiles, and small sculptures using hand-building methods immediately. With wheel access and a few months of practice, you can throw functional dishware and planters. Most beginner pieces are functional or decorative items suitable for personal use or gifting.