BoredomBusted — Find Your Next Favorite Thing To Do
Discover hobbies, activities, places, and ideas that spark joy. Whether you're looking for something creative, active, social, or relaxing, BoredomBusted helps you find your next favorite thing to do.
Browse our hobby guides, things-to-do collections, and place ideas to never be bored again.
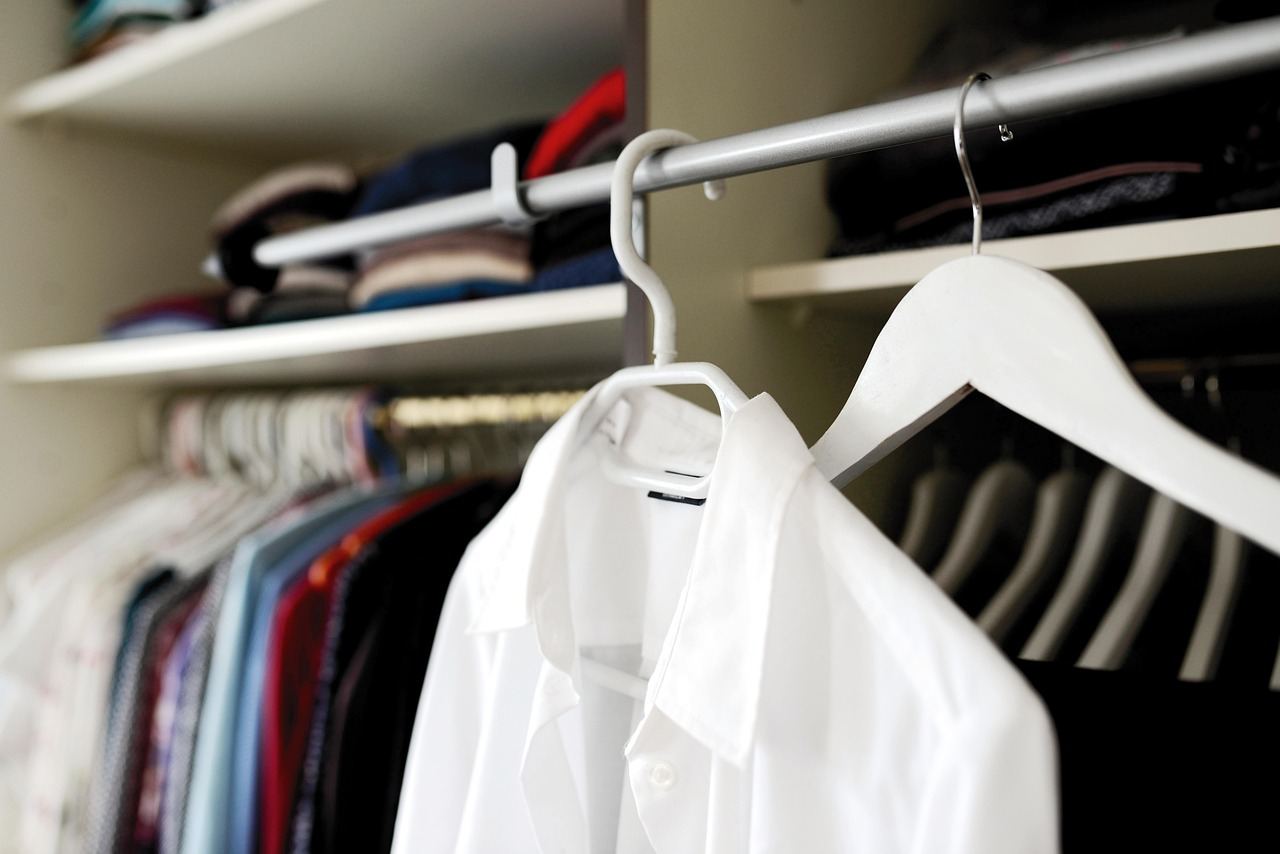
Tailoring isn't just about sewing; it's the art of diagnosing clothing issues and transforming a neglected piece into a wardrobe favorite — often in under an hour.
Getting started with tailoring as a beginner involves understanding the basics of garment construction and how to fit them to different body shapes.
You work with patterns, fabric, and hand or machine stitching to shape clothing that actually fits.
Unlike general sewing, tailoring is built around the body first – every cut and seam exists to solve a fit problem, not just assemble pieces.
In tailoring, you engage in custom garment alteration and construction by measuring body dimensions, cutting fabric, and stitching seams with precision. This involves pinning and marking fabric, operating a sewing machine, hand-stitching details, and fitting garments for adjustments, allowing you to create personalized clothing that fits perfectly.
Tailoring induces a flow state through focused, rhythmic physical actions like cutting and sewing, while immediate skill feedback from visible fit improvements provides a sense of accomplishment. The creative freedom in personalizing garments fosters engagement, transforming mundane items into unique expressions, effectively combating boredom with hands-on progress.
You think tailoring is for people who already own a sewing machine and know what a dart is. You picture dry cleaners, alterations shops, someone's grandmother. That picture is keeping you from fixing clothes you already own and already paid for.
Most people wear roughly 30% of their wardrobe and leave the rest untouched. That ignored 70% usually has one problem — a seam, a hem, a single adjustment under an hour. The real skill here isn't sewing. It's learning to see a garment as a set of problems with known solutions.
Here's what that looks like: a jacket that cost $400 sits unworn because the waist bags out, even though the shoulders are perfect. Taking in a side seam — two straight lines of stitching — fixes it in forty minutes. That jacket goes from unwearable to the best thing in the closet.
No new clothes purchased.
No style overhaul required.
Just the ability to fix the one thing that was wrong — which is a skill that transfers to every single item you'll ever try on.
The first fix you make is also the one that teaches you the most. Choosing the right first project is what separates people who keep going from people who abandon it after one frustrating afternoon.
Watching someone tailor looks like confidence and clean lines. Sitting down with your own fabric and seam ripper looks like a different activity entirely.
Your first session will be slower and messier than you expect. Seams pucker. Pins fall out mid-cut. Measurements that made complete sense on paper stop making sense on fabric. Most beginners spend more time reading the pattern than sewing — and that reading is the actual work.
One thing that catches almost everyone off guard in the first few sessions: grain line. That printed arrow on every pattern piece needs to run parallel to the selvage edge of your fabric. Ignore it and your finished garment will twist, pull, or hang strangely in ways no amount of pressing will fix — and you won't immediately know why.
By week three or four, something shifts. The seam ripper stops feeling like a punishment and starts feeling like a tool. You finish something wearable, notice every flaw in it, and start planning the next one. Fitting is a language you're building from scratch — pattern-following gets you started, but the eye develops through the mistakes. The next section covers the ones that slow people down the most.
When to start: Morning
Duration: 1 hour
Cost to try: $20
Success criteria: if you finished without significant fabric waste, do session 2.
The pattern envelope looks right, so beginners go straight to the good fabric — then spend twice the money fixing it.
Make a cheap calico version first. Fit it on your body, mark every change, then transfer those corrections to the pattern before touching your real fabric. The muslin isn't optional busywork — it's the step that makes the real version work.
Measuring over thick clothing feels like a small shortcut. It isn't small once the garment is sewn.
Measure directly against the body, or over a single fitted layer. Record your measurements the same day you cut — not from a notebook entry three weeks old.
The arrows on pattern pieces look decorative. They aren't. Cut off-grain and the finished piece will twist, pull, or hang crooked — and no amount of pressing fixes it.
Pin your pattern piece down, then use a ruler to measure from the grain line arrow to the selvedge at both ends. Both measurements must match before you cut.
The machine is right there and basting feels like extra work — so beginners sew permanent seams into garments that don't fit yet.
Hand-baste or use the longest machine stitch before committing to any fitted section — especially side seams and sleeves. Unpicking a basting thread costs thirty seconds. Unpicking a final seam from silk costs your afternoon.
Beginners pick interfacing by feel in the shop, not by how it'll behave sewn into a collar or waistband under tension.
Match interfacing weight to your fashion fabric: light for silk and lawn, medium for cotton and linen, firm only for structured areas like waistbands. Always fuse a test scrap before cutting your full piece.
Tailoring happens at home more than anywhere else – a dedicated cutting table and decent light are all you really need.
But if you want instruction or community, look for fabric and sewing studios, maker spaces, and community colleges running evening vocational courses.
Walk in and say you're new to garment construction and want to learn hand-finishing or fitting – that specific framing gets you paired with people who actually know what they're doing, not just quilters who'll hand you a beginner kit.
This is the full custom route – patterns drafted from scratch to your exact measurements, nothing pre-made.
Every decision is yours: fabric, cut, silhouette, finishing. It's the deepest form of the craft, but it's not where you start – it's where years of practice eventually take you.
You're working from existing garments and adjusting them to fit a real body.
Taking in seams, hemming trousers, reshaping shoulders – small interventions with a big visible payoff.
This is the best entry point for most beginners – the structure is already there, so you're learning fit without also learning pattern drafting.
Instead of draping fabric on a form, you draft patterns on paper using measurements and geometry.
It's more technical and less intuitive than draping, but it's cheaper to practice and easier to repeat.
Best for people who liked math class and want a system they can follow step by step.
You manipulate fabric directly on a dress form to create shape, then transfer that to a pattern.
It's more tactile and visual than flat drafting – closer to sculpting than engineering.
Requires a dress form, which adds upfront cost, but rewards people who think spatially.
Not a separate discipline so much as a level of obsession – pad stitching lapels by hand, hand-sewn buttonholes, fell stitching linings.
The machine does almost nothing.
It's slow, precise, and produces results that look different in a way most people can't explain but everyone notices.
If you want a related angle, Mandala Coloring is the natural next stop.
A close neighbor worth considering: Found Object Art.
If this resonates, Egg Carving explores a similar direction.
Beginners spend months perfecting their stitching — but perfect seams on a badly fitted shell mean nothing.
The real plateau isn't execution. It's chasing execution before understanding fit geometry. The one skill that changes that is reading the grain line — and knowing what it actually does to drape.
Not just "cut along the grain" — actually understanding that when fabric hangs off-grain by even a few degrees, it twists, pulls, and refuses to lie flat no matter how well it's sewn.
You stop blaming your technique for problems caused by your layout. Alterations that used to feel like guesswork become predictable — you know where the drag lines are pointing and exactly which seam to release.
Without it, you're correcting symptoms forever. The actual problem stays cut into every piece.
Most people don't know if they like tailoring. They know if they like the idea of it.
Those are different things. Here's how to find out which one you are.
---
Commit to 6 sessions over 30 days – roughly one and a half per week.
That's enough to finish a small project from scratch: a hemmed pair of trousers, a taken-in seam, a simple zippered pouch. It matters because tailoring has a delayed payoff loop – the satisfaction hits at completion, not mid-process, and six sessions gets you to at least one finish line.
Don't judge the hobby before you've crossed one.
---
You want to come back.
You're already eyeing the next project before the current one is done. That's the signal – it means you've hooked into the problem-solving loop, not just the aesthetic fantasy. Start building a scrap fabric stash and look at structured garment projects next.
You're indifferent.
You don't hate it, but you're not pulling at the thread. This usually means the entry point was wrong – hand-stitching repair work versus actual construction feel completely different. Try one machine-based project before calling it.
You actively didn't want to be there.
The precision felt punishing, not satisfying. The slowness felt like waste, not craft. Read that honestly – tailoring does not get looser or faster in the early stages. If the process itself grated, the hobby won't fix that.
---
You notice how clothes fit on other people – not just whether they look good, but why they don't. Shoulders that pull. Trouser breaks that are half an inch too long. A jacket that gaps at the chest.
That low-level, slightly annoying eye for fit is the actual signal. Most people don't see those things. If you do, you're already thinking like a tailor.
---
You don't have a consistent, dedicated workspace. Tailoring requires a setup you can leave mid-project – fabric pinned, pieces laid out, iron hot. If you're working off a kitchen table that resets every night, the friction will grind you down before the skill builds.
Repetitive fine-motor tasks cause you real discomfort. Pinning, hand-stitching, and unpicking seams are small, sustained, precise movements. For anyone with arthritis, nerve issues, or similar hand conditions, this isn't a willpower problem – it's a structural one.
You need fast visible progress to stay motivated. A well-tailored buttonhole can take an hour. A fitted jacket, weeks. If you disengage without regular wins, tailoring will feel like punishment – and no amount of beautiful finished pieces will change how the process feels at hour three.
---
If you're still reading and haven't talked yourself out of it, the resources section has exactly what you need to start without buying anything you'll regret.
If nothing here clicks, our guide to what to do when bored covers shorter, lower-commitment options.
Most beginners can master foundational techniques like hand-stitching, simple seams, and basic alterations within 4–8 weeks of regular practice. Developing advanced skills like pattern-making and complex garment construction typically requires 6–12 months of dedicated learning and experimentation.
Essential supplies include sharp shears, needles, thread, measuring tape, pins, a seam ripper, and chalk or markers for marking fabric. If you plan to sew regularly, invest in a basic sewing machine ($200–$500) and a dress form for fitting, though hand-sewing is possible for beginners.
Tailoring has a gentle learning curve—you can start with simple projects like hemming or taking in seams before advancing to constructing garments from scratch. Patience and precision matter more than natural talent, and most beginners see impressive results within weeks.
You can begin with hand-sewing supplies for $30–$50, or invest $250–$600 if purchasing a beginner sewing machine and full tool kit. Fabric costs vary widely, but budget $10–$20 per garment project to start learning without significant expense.
You can absolutely start with alterations—hemming pants, taking in shirts, and adjusting sleeves are perfect beginner projects that deliver immediate, wearable results. Many tailors focus exclusively on alterations before progressing to custom garment construction if they choose.
Tailoring specifically focuses on precise, fitted garment construction with attention to professional finishing, while sewing is the broader skill of joining fabric. Tailoring emphasizes custom fit and detailed craftsmanship, often requiring measurements and pattern adjustments for individual wearers.