BoredomBusted — Find Your Next Favorite Thing To Do
Discover hobbies, activities, places, and ideas that spark joy. Whether you're looking for something creative, active, social, or relaxing, BoredomBusted helps you find your next favorite thing to do.
Browse our hobby guides, things-to-do collections, and place ideas to never be bored again.
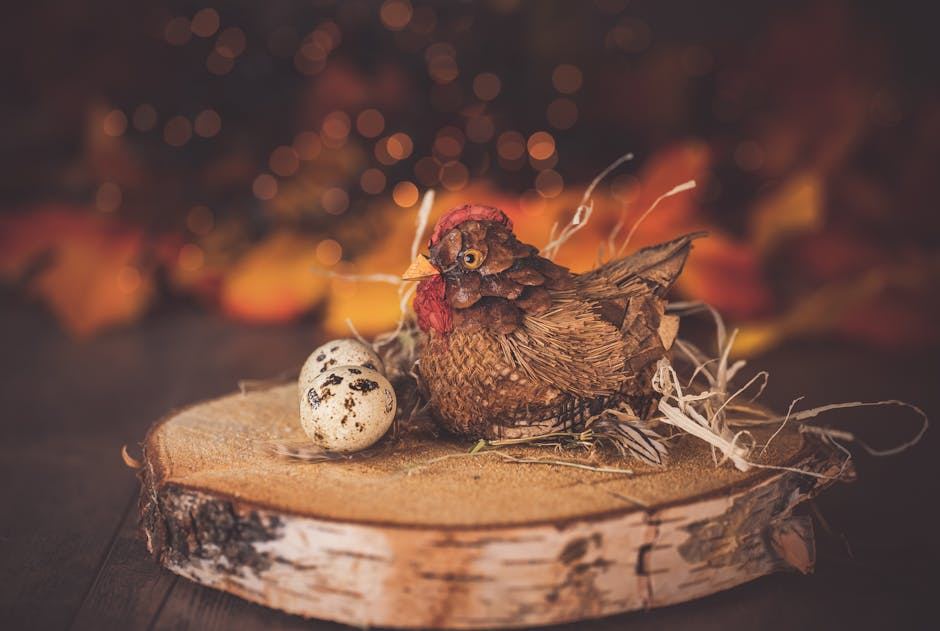
Egg carving isn't just for grandmas; mastering it is about precision techniques that turn a simple egg into intricate art in no time.
Getting started with egg carving as a beginner allows you to express creativity through the delicate process of cutting intricate designs into eggshells – typically using a rotary drill or engraving tool to remove material layer by layer.
Unlike painting or decoupage, the shell itself becomes the medium: fragile, translucent, and three-dimensional.
That structural tension between delicacy and precision is what separates it from every other egg-based craft.
In egg carving, you select a raw egg, empty its contents, and then use a high-speed rotary tool to intricately carve designs into the fragile shell, requiring steady hands and hours of focus to achieve detailed patterns while managing the risk of breakage.
Egg carving induces a flow state through its high skill demands and tactile feedback, as the delicate process requires sustained concentration and offers immediate results based on your precision, fostering a sense of accomplishment and creative expression that alleviates feelings of boredom.
Egg carving seems like a quaint hobby. You probably picture painted Easter eggs or something at a church bazaar.
But you're wrong—it's a precise, skill-based art you can master right there on your kitchen table.
Tanja Baehr took a standard grocery-store egg and carved a six-pointed star in her second week. She didn't rely on fine-arts training.
She slowed down her drill and let the tool do the work.
That's the critical shift beginners miss before they even start.
Holding a drill becomes a lesson in precision the first time you try it. What seemed graceful from afar now feels fragile and unpredictable in your hands.
Hands tremble as you start. The speed feels off. A crack splits through, leaving shell dust sprinkled everywhere. It's a feeling of sinking, but soon you adjust. Your grip steadies, your breath finds a rhythm, and eventually, a pattern begins to form. One clean line later, you're looking at something you might even consider keeping.
You'll crack more eggs than you'll carve during the first week. That's not failure — it's learning how to calibrate your motions. By the second week, your grip relaxes, and you begin to feel the balance between pressure and control. As you enter the third week, your pattern doesn't yet match the reference, but you'll notice how much cleaner your cuts are. By week four, what you finish isn't perfect, but it's intentionally crafted and ready to show off.
Shell after shell may get destroyed early on, and you might face the frustration of an empty carton with nothing to show. Those who push past this stage learn more about hand pressure than any tutorial could teach them.
Blow your eggs the day before and let them dry overnight. A damp shell offers little resistance, and you might blame your technique when it's just the shell telling you it wasn't ready. Next, let's dig into the mistakes that can derail progress.
When to start: Early morning
Duration: 1 hour
Cost to try: $5
Success criteria: if you finished without breaking the eggshell, do session 2.
A blank egg can be deceivingly simple. Beginners often skip sketching. This leads to drifting patterns that are impossible to fix halfway through.
Use a soft pencil and egg-marking rubber bands to create a grid on the shell before you start drilling.
Fresh eggs seem solid but rot from the inside out. This can happen while you're carving, causing a mess.
Blow out the egg contents through small holes at each end, then soak the shell in diluted bleach to remove the odor.
High speeds seem easier to control but can lead to cracks. These cracks extend beyond the surface, ruining the entire piece.
Lower the RPM on your rotary tool and avoid applying downward pressure.
Chicken eggs may seem like a logical starting point but are problematic. Their thin and uneven shells highlight every flaw in your hand movements.
Opt for goose eggs. They offer thicker, more consistent shells that forgive more errors.
Designs traced flat on paper can warp when transferred onto a curved egg. This distortion is often discovered too late.
Draw your design directly on the egg with a light pencil, or use flexible tracing paper that conforms to the egg's curve.
Egg carving is mostly a home-based hobby. A steady table, good lighting, and a dedicated space are all you need.
Start with Facebook Groups by searching for "egg carving," "pysanky," or "Fabergé egg art" plus your city or state. This is where the active communities are.
The International Egg Art Guild (IEAG) directory at ieag.org is hard to replace. They offer a chapter finder specifically for egg artists, including carvers.
Meetup.com can also be a resource. Search for "egg art" or "decorative egg" groups there, especially in larger cities.
Local folk art museums or Ukrainian cultural centers are worth contacting. They often know where local egg art groups gather, thanks to the craft's deep roots in Eastern European traditions.
Tell the group leader you're a beginner. This honesty often gets you a loaner tool and a pre-drilled egg. Plus, someone to guide you through your first cut, so you skip the hassle of cracking eggs while learning pressure.
Carefully draw out the egg yolk and white through pinholes at each end, then carve the empty shell.
For dedicated hobbyists seeking lasting display pieces.
Expect more breakage as blown shells are prone to cracking under drills.
Working with goose or emu eggs provides larger canvases. Their size allows carvers to make deeper cuts and layered designs.
Ideal for experienced carvers ready for relief or 3D projects.
Be mindful: Emu eggs are pricey, costing $10–$25 each.
Fabergé-style carving involves cutting the shell before adding paint, gilding, and jewels.
Best for those comfortable with mixed-media work, requiring patience and time.
Use a needle to etch lines into the shell's surface for intricate designs without power tools.
A perfect start for beginners reluctant to use a Dremel on fragile shells.
Minimal investment needed.
Lacework carving cuts through the shell to create open patterns. Precision is crucial as errors are irreversible.
Suited for those with steady hands from solid or relief carving.
Readers who enjoy this often gravitate toward Fabric Dyeing next.
Mandala Coloring lives in the same world — different mechanics, similar appeal.
Crochet lives in the same world — different mechanics, similar appeal.
Most beginners focus on drill speed and bit selection, thinking that's the key. But the real challenge is feeling the shell thinning beneath them. They're watching the drill, not listening to it.
The critical skill is pressure-to-depth awareness. It's about sensing the shell's resistance in real time, adjusting your hand pressure before breaking through. This tactile feedback loop involves your fingertips, the drill's vibration, and the change in pitch as the bit nears the end.
Pressure-to-depth awareness prevents treating every part of the shell equally. Shell thickness shifts as you move along the curve. Ignore this, and your project ends in cracks every time.Without it, you'll crack through before the finish, wondering why your technique failed.
Next, we'll look at practice techniques to hone this awareness for smoother, more consistent results.
Eight sessions over thirty days. You're looking at a tangible commitment to really test this.
If you find yourself setting up your workspace without thinking twice, that curiosity is your engine. Your next step is to explore different eggshell types like goose or emu and consider rotary tool upgrades.
Reaching the end of eight sessions without much feeling is telling. Indifference at this stage rarely blossoms into anything deeper. Experiment with an clarified carving session before making your final decision.
If you felt each session dragging and the setup daunting, it's time to acknowledge that. Some hobbies just don't click, and that's not a flaw—it's guidance to find a pace that suits you better.
Pick up a carved egg and instinctively flip it over. You're not just looking; you're breaking it down. That urge to reverse-engineer means you're in the right space.
Steady hands are crucial. If tremors are an issue, a rotary tool on a fragile shell won't be forgiving. Handling eggs requires solid control and patience, a barrier to keep in mind.
Short sessions leave you fighting the clock. Prep and cleanup alone can consume 15–20 minutes, making brief carving sessions inefficient.
Watch out for respirable dust. If ventilation is poor, eggshell dust can be a genuine problem, requiring a proper mask or potentially a different activity altogether.
Still looking for something to do? Browse things to do when bored for more ideas.
Chicken eggs are the most common choice, though duck and goose eggs are also used for larger, more detailed pieces. Blown-out eggs work best since they're hollow and won't spoil, and fresh eggs are easier to carve than older ones that become brittle.
A simple design might take 2–4 hours, while intricate, detailed pieces can take 10–20+ hours depending on complexity and your skill level. Most beginners should expect to spend several hours on their first project as they learn proper technique.
You'll need a sharp knife or specialized carving tools, a drill or awl to create initial holes, and a light source to see the carved details. Many beginners start with basic craft knives before investing in professional egg-carving tool sets.
The learning curve is moderate—the hardest part is understanding eggshell thickness and avoiding cracks through steady hands and light pressure. Most people pick up basic techniques within their first few projects, though mastering intricate designs takes practice and patience.
You can begin with basic supplies for $15–30, using eggs from your kitchen and simple craft knives. A more complete beginner kit with specialized tools typically costs $30–75, and as you advance, professional-grade carving tools range from $50–200+.
Carved eggs make beautiful home décor, gifts, or display pieces that can last for years when stored properly in a cool, dry place. Many carvers treat their finished eggs with varnish or clear coat for protection and enhanced visibility of the carved details.