BoredomBusted — Find Your Next Favorite Thing To Do
Discover hobbies, activities, places, and ideas that spark joy. Whether you're looking for something creative, active, social, or relaxing, BoredomBusted helps you find your next favorite thing to do.
Browse our hobby guides, things-to-do collections, and place ideas to never be bored again.
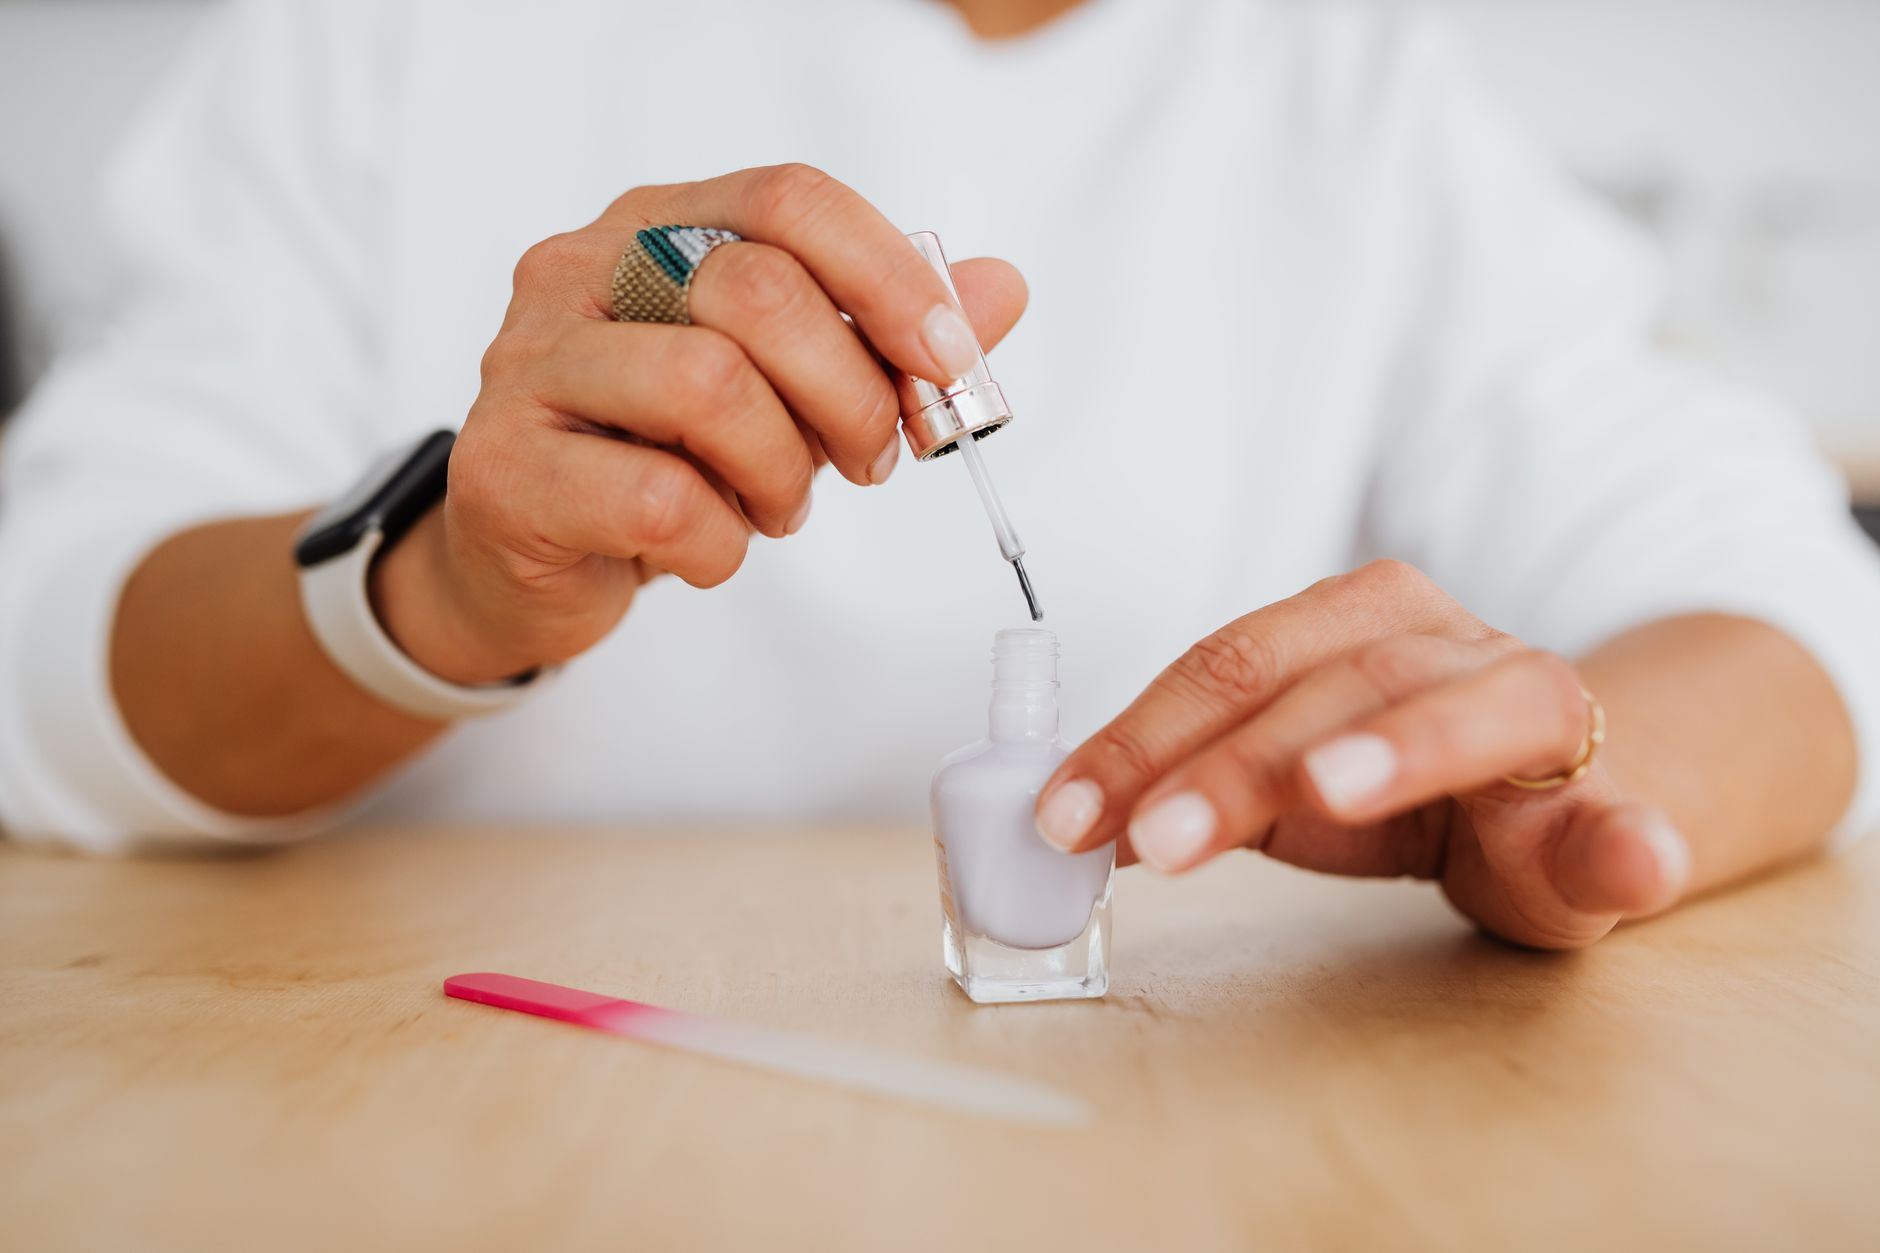
The hard part of nail art isn't a steady hand. It's using less polish than feels right, and that one habit carries over to every style you try next.
Nail art is painting small designs onto your nails, usually over a base color. A session runs 45 to 90 minutes and gives you something you wear, and show off, for a week. You clean up, apply base coat, paint a color, add the design, and seal it with top coat.
The design layer is where the styles split into very different hobbies. Regular polish air-dries. Gel polish cures under a UV or LED lamp, usually 30 to 120 seconds per layer, and stamping presses an engraved pattern onto the nail with a squishy stamper.
A typical first session on regular polish goes like this: file, wipe, base coat, two thin coats of color, a row of dots in a contrasting shade, top coat. The whole kit costs about what a lunch out does. You will also spend ten minutes looking for the top coat you just had in your hand, which is how every session starts.
Nail art means painting designs onto your nails with regular polish, gel cured under a lamp, stamping plates, or fine brushes. A session usually runs 45 to 90 minutes. You prep, lay down a base color, add a design, seal it, and wear the result for a week or more.
The task is small enough to start tonight and detailed enough to hold your full attention. Your hands stay busy, your phone stays down because wet polish punishes tapping, and you finish with a visible result. Then the same canvas is blank again next week.
Nail art gets filed under cute and easy. Then you try a clean French tip with your non-dominant hand and meet the real constraints.
You're painting a curved surface about as wide as a thumb pad. The canvas is attached to you, it moves, and your dominant hand is the only steady tool you've got. Every mistake then sits at eye level for a week.
That's why people who do it well sound like painters. They talk about brush load, cure times, polish viscosity, and why cuticle clean-up decides whether a manicure looks professional.
Painting gives you color and line control. Chemistry gives you the layering and cure rules for gel. Printmaking gives you stamping, where speed and pressure matter more than talent.
The skill ceiling is far higher than the entry price suggests. Nail artists publish tutorials, enter competitions, and charge real money for custom sets. You don't have to go there, but it's good to know the ceiling exists when you get bored of dots.
Fair warning: you'll start noticing nails everywhere. Cashiers, train handrails, your own hands in meetings.
Session one takes longer than you planned. Budget 90 minutes for what looks like 20 minutes of work.
Expect a lot of polish on your skin. The first thing you'll notice is how much of the skin around your nails ends up painted. A cotton swab dipped in acetone fixes it, and you'll reach for that swab more than your brush.
If you're right-handed, your left hand will look better than your right. The right hand is being painted by the clumsy hand, and it shows. Almost everyone hits this wall around session two, and almost nobody posts about it.
By the third manicure you've stopped flooding the brush. Edges are cleaner, you know how long a coat needs before the next one, and one finger looks genuinely good. That one good finger is what brings people back.
You will also smudge a nail within two minutes of finishing. Everyone does. Think of it as a tax.
One honest note on gel. The first gel session adds a lamp, timers, and stickier mess, so most beginners find it harder, not easier. Start with regular polish unless you already know you'll commit.
When to start: A quiet evening or weekend afternoon with no plans for the next two hours
Duration: 60–90 min
Cost to try: Nothing with polish you own; a $4–$9 base/top coat is the first buy
Success criteria: If you finish all ten nails and already want to try a different design on the next set, do session 2.
Thick coats stay wet underneath and wrinkle under top coat. Two thin coats dry faster than one thick one, which is the part that feels backwards.
Wait two minutes between coats and use that time to clean up.
Base coat keeps dark pigments from staining your nails and gives polish something to grip. Top coat seals the design and is what keeps it from chipping on day two. Skip both and your best work lasts about 48 hours.
Run the top coat across the free edge of the nail too. That one swipe adds days.
This is the one that can follow you for life. Many gel polishes contain HEMA and similar acrylates, and repeated skin contact can sensitize you. Once you're allergic, the reaction tends to stay, and it can complicate some dental work and medical adhesives.
Keep gel off skin and cuticles, cap the free edge, and wipe up spills right away. Gloves are thin protection, since uncured gel gets through them fast. If you get itching, redness, swelling, or peeling around your nails, or a rash on your face, eyelids, or neck, stop using gel and see a doctor.
Gel and lamps are tested as a system. A mismatched lamp can leave gel undercured, which raises allergy risk. Buy from one brand, follow its cure times, and keep layers thin, since thick ones can heat up and sting.
Lamps also put UV-A on your hands. LED lamps still emit it, just in a narrow band. Many dermatologists suggest broad-spectrum sunscreen on your hands or fingerless UPF gloves, and ventilate the room for the fumes.
Peeling takes layers of your natural nail with it, and thin, bendy nails take weeks to recover.
Soak instead. File off the top coat, wrap each nail in acetone-soaked cotton and foil for 10 to 15 minutes, and nudge off the softened gel with a wooden stick. Moisturize after.
Nail art is a very online hobby, and the best communities are free. Start there, then look for local people once you've got a few manicures behind you.
r/RedditLaqueristas is the friendliest place to post a first attempt. r/Nails works well for troubleshooting problems like peeling, ridges, and lifting. Search either one before you buy anything, because someone has already reviewed it.
YouTube is the other classroom. Look for creators who show full-hand, real-speed manicures rather than only the final photo, so you see the clean-up and the mistakes.
Meetup is hit or miss for nail art specifically, but craft and creative meetups often include a polish table. Search for nail art, crafting night, or polish swap in your city, and start one if nothing comes up.
Community college cosmetology programs sometimes offer short workshops or open student events. Beauty supply stores like Sally Beauty carry the tools, and staff there will often tell you what a product does without a sales pitch.
The cheapest community is two friends and one bottle of top coat. A nail night with a swap bag of polishes beats any group chat.
One caution. Instagram and TikTok are great for ideas, but they lean toward salon-level gel sets with expensive tools. Judge your progress against your own last manicure, not a pro's feed.
There's no single way to do nail art. These are the main lanes, and most people end up mixing two. If you'd rather paint on a bigger canvas of skin, face painting is the natural cousin.
Base coat, two colors, a dotting tool, top coat. It's the best way to learn product control, you can wear a mistake off in a few days, and dotted patterns scratch the same itch as zentangle.
You press polish from an engraved plate onto a stamper and roll it onto the nail. It looks like a pro did it, but it rewards speed over precision. Expect to ruin a few nails figuring out the timing.
Gel gives glossy, chip-resistant wear. It also brings the HEMA and lamp safety rules, plus soak-off removal. HEMA-free formulas exist, but they can contain other acrylates, so the same care applies.
This means liner brushes, fine detail and patience for tiny florals, lines and marbling. It has the highest ceiling and the slowest improvement curve; if you love that brush control, miniature painting uses the same steady hand.
Paint designs on reusable press-on tips or a practice wheel, then glue them on or give them away. You can take as long as you like, skip the gel question, and give your own nails a break.
Beginners blame shaky hands. The real culprit is usually too much product on the brush.
A thin coat gives you control. A thick coat gives you a blob that drifts toward your cuticle. Wipe one side of the brush on the bottle neck, leave a small bead, and your hand suddenly seems a lot steadier.
Grab a set of practice tips and one cheap polish. Paint five tips with one thin coat each, then five with a heavier coat. Compare drying time, edge shape, and how many bubbles appear.
Then clean up. Dip a small flat brush in acetone, blot it on a paper towel, and trace along the sidewalls and cuticle line. Clean-up is a skill, not a rescue, and it's what separates homemade from salon in photos.
Stamping needs a thin, even film of polish on the plate. Gel needs thin layers so it cures all the way through. Freehand lines need a liner brush that's loaded but not flooded.
Same skill, three styles. It's slightly humbling that the secret is use less.
Eight sessions in 30 days. That's about twice a week, an hour or so each, with regular polish only.
Do the same routine each time: prep, thin coats, one design, clean-up, top coat. Repetition shows you whether you like the hobby or just the idea of nails that look good.
First outcome: you catch yourself planning the next design while wearing the current one. Keep going, and try stamping or a first gel kit.
Second outcome: you like it, but only once or twice a month. That's a fine hobby, so keep the kit small and stop shopping.
Third outcome: you dread the clean-up and your results never beat session three. Stop here. You're out very little, and you can regift the polish.
If you ever use gel and then notice itching, red or swollen skin around your nails, or a rash on your eyelids, face, or neck, stop using gel. Don't try to push through a gel allergy. It tends to get worse with repeat exposure, so see a doctor or dermatologist and keep wearing regular polish.
Your nails also give you a veto. If they turn thin, painful, or yellowed, take a break from everything until they recover.
Yes, and most beginners should. Regular polish with a base coat, dotting tools, and top coat handles dots, stripes, stamping, and freehand designs. It costs less, removes in seconds, and avoids the allergy and lamp concerns that come with gel. Add gel later if you want longer wear.
It can be, with care. The main risk is allergic reaction from uncured gel touching skin, so keep it off cuticles and cap the free edge. Use a gel and lamp from the same brand, follow cure times, and stop immediately if you get itching, swelling, or a rash.
HEMA is a common ingredient in gel polish that helps it bond. It's a known allergen, and repeated skin contact can lead to a lasting allergy that may also affect dental materials and some adhesives. HEMA-free gels exist, but they can contain other acrylates, so keep gel off your skin either way.
Both emit UV-A, with LED lamps using a narrower band. Exposure per session is short, but it adds up. Many dermatologists suggest sunscreen on your hands before curing or wearing fingerless UPF gloves. If you have a history of skin cancer or take photosensitizing medication, ask your doctor first.
You can start for nothing with polish and a toothpick you already own. A base/top coat costs about $4–$9, and a couple of drugstore polishes and a dotting tool are inexpensive. A gel starter kit with a lamp runs about $60–$110, so wait on gel until you're hooked.
Your non-dominant hand has to do the precise work, and it's the clumsier one. Use a thin coat, rest your pinky on the table, and use stamping or press-on tips for tricky designs. Many people also paint that hand first, while their patience is highest.