BoredomBusted — Find Your Next Favorite Thing To Do
Discover hobbies, activities, places, and ideas that spark joy. Whether you're looking for something creative, active, social, or relaxing, BoredomBusted helps you find your next favorite thing to do.
Browse our hobby guides, things-to-do collections, and place ideas to never be bored again.
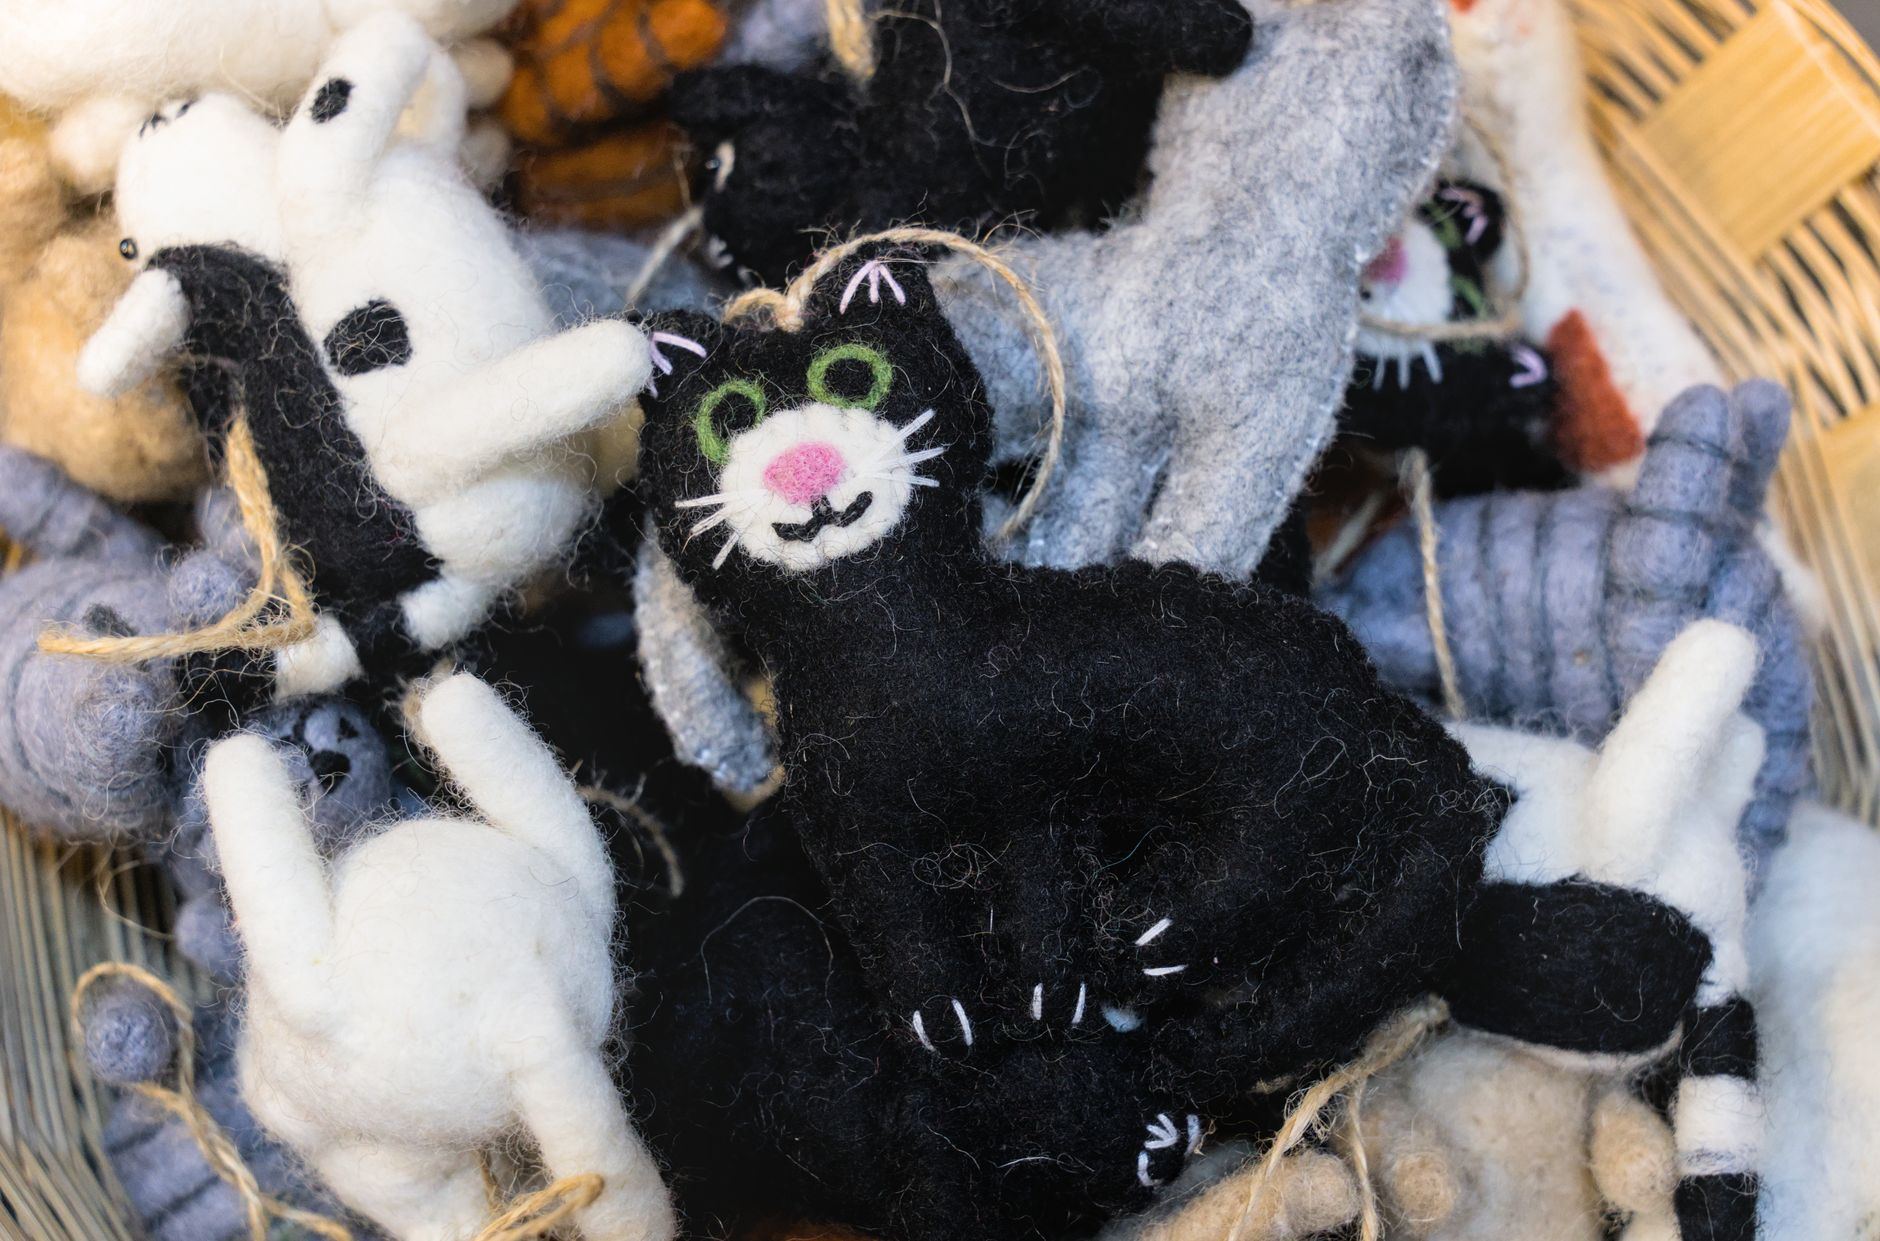
Needle felting isn't craft-kit cute. It's carving with wool: how deep and where you stab matters more than the wool or the pattern.
Needle felting is sculpting with loose wool and one very sharp needle. You jab wool roving with a barbed needle, and the barbs drag fibers through each other until they lock into firm felt. No glue, no heat, no water — just friction and repetition.
A session goes like this. You roll a tuft of roving into a loose ball, set it on a foam pad, and stab it a few hundred times while turning it, checking firmness with your thumb as you go. Add thin wisps of color, stab to anchor them, and the figure grows layer by layer until you're holding something with a face.
It comes in two forms: 3D needle felting builds animals and ornaments, and 2D "wool painting" layers thin wisps onto a fabric backing. Neither is wet felting, which uses hot soapy water and rubbing to fuse wool into flat fabric and bowls. Same fiber, completely different tools.
You pull wool roving into a loose shape, set it on a foam pad, and stab it with a barbed felting needle. The barbs tangle the fibers until the wool turns firm. Add thin color layers, stab to anchor them, and a small figure takes shape in one to three hours, with the shape changing under your hands as you work.
The rhythm is repetitive enough to quiet a busy head, while the shape keeps changing under your hands. You see progress every few minutes, and wool forgives mistakes. That mix of low pressure and visible change is why it holds attention, even on nights when nothing else does.
Needle felting looks like a craft-store kit for a rainy afternoon. Pink wool kitten, pack of needles, done.
The craft underneath is closer to sculpture. You build volume from the inside out, and every stab controls density. Where you stab decides what the shape does — firm spots hold their form, loose spots stay soft.
You can add more roving, stab a crease deeper, or pick fibers out with the needle and rework a face you hate. That forgiveness is why a first figure still looks intentional. Try that with plaster.
Serious felters talk about wool the way painters talk about pigment. Fine merino blends smoothly for faces, while coarser breeds like Corriedale build firm, cheap cores. Color blending, armature wire, and layered fur are real skills.
The ceiling is high. People make lifelike foxes, posed birds, and 2D wool paintings with real depth. You'll just meet that ceiling after your hundredth ball, not your first.
Your first figure will be lumpy. That's not a talent problem. It's a density problem — you stopped stabbing before the wool got firm.
Expect 30 to 45 minutes to make a ball the size of a walnut. For the first hundred stabs the wool seems to do nothing, then it suddenly tightens. Your wrist will notice the repetition by minute 20.
You will probably stab your finger at least once. The needles are barbed steel and it hurts more than you'd expect. Wash and cover it, and use finger guards so it happens less.
Never felt in your lap or over a couch cushion — a needle can pass through foam into your leg. Stab straight in and straight out, because a bent needle snaps. Count your needles before and after each session and keep them away from kids and pets.
By session 2 your ball is firm and round, and you can add a second ball for a head. By session 3 you can attach pieces, add thin color layers, and make something people ask about. Progress comes in jumps.
When to start: Any evening this week. Pick a stretch where you won't be interrupted and can sit at a table.
Duration: 45-60 min
Cost to try: Free to watch a walkthrough; about $9–$15 for a beginner kit
Success criteria: If you finish one firm ball and a joined second ball without bending a needle, do session 2.
Beginners sit on the couch with a pad on their knee. A needle that goes through the pad ends up in your thigh.
Work on a table, with the pad firmly under the wool. Your non-working hand should never be under the needle's path. Finger guards are cheap insurance.
Needles only go straight in and straight out. Twisting or levering while embedded snaps the needle, and a snapped tip can stay hidden in the wool.
If one breaks, find the broken piece before you continue. Check your work and the floor, and keep a count of your needles. Replace the needle, never reuse a bent one.
Needle gauge is backwards: higher numbers are finer. A 40-gauge needle is for detail and snaps easily on a dense core.
Start with a 36 or 38 gauge triangle needle for shaping. Save the fine needles for faces and surface work after you've felted a few firm balls.
Soft wool looks fine until you try to add eyes or limbs. Then everything squashes and the details slide around.
Keep going until the form resists your thumb. Most beginners need about twice as many stabs as they think. Detail on mush is wasted effort.
An animal with ears, legs, and a tail is a lot of joins on a skill you haven't built yet. The result is a disappointed afternoon.
Make a ball, then a two-ball snowman, then a simple animal body. Move up only after your joins hold.
Needle felting is mostly a solo hobby, but the community is generous and surprisingly easy to find. The fastest route is online, and the better one is a table in the same room.
Reddit's r/needlefelting and r/felting are active, welcoming to beginners, and full of work-in-progress photos. Post your first lumpy ball. People will tell you exactly what went wrong, usually kindly.
Search Meetup for "fiber arts," "crafting," or "felting." Local yarn shops and fiber guilds often run drop-in nights or one-session classes, and many craft stores post workshops for needle felting.
Libraries and makerspaces sometimes host craft circles too. Community education programs and art centers list felting classes alongside knitting and weaving.
State sheep and wool festivals are the best place to see the craft at full scale. The Maryland Sheep & Wool Festival and the New York Sheep & Wool Festival in Rhinebeck are the biggest. You'll meet suppliers, buy wool by breed, and watch demonstrations.
Needle felting splits into styles quickly, and picking the right one saves you from stalling out. Find the line that matches what you want to make.
Small animals, around 2 to 4 inches, built from balls and cones. Most projects take 1 to 3 hours and make good gifts. This is where nearly everyone starts.
Wire frames wrapped in wool let you pose limbs and tails. It's slower and needs more planning, and the result looks like taxidermy without the taxidermy. It sits close to doll making and small-scale sculpture.
Layer thin wisps of colored wool onto a felt or fabric backing, using fine needles. Landscapes, pet portraits, and abstracts all work. It rewards patience and color blending more than sculpting skill.
Needle felt wool shapes directly onto sweaters, bags, and wool hats. Fast, forgiving, and a good use of scrap roving. If you already knit, it's a fast way to decorate your own work.
Wet felting uses hot soapy water and agitation to make flat fabric, bowls, and slippers. It's a different craft that shares the same wool, and we cover it under Felting. Our felting guide covers the wet method.
The skill that separates lumpy from polished is density control. You decide, stab by stab, how firm each part of the wool becomes.
Deep stabs, about a needle's length, compress the core. Shallow stabs only tighten the surface and smooth it. Most beginners stab at one depth and wonder why everything feels uneven.
Make ball one firm all the way through. It should resist a thumb press like a stress ball.
Make ball two with a firm core and a soft, fuzzy surface. Make ball three dense on one side and loose on the other, on purpose.
Attach ball one to ball two by stabbing a thin wool wisp across the seam. Tug gently. If they separate, you under-felted the join, not the balls.
Do this for a week and every later project gets easier. Eyes sit right, limbs hold, bellies stay round. It's the same skill each time, applied to a new shape.
Commit to eight sessions in 30 days, about two a week at 45 minutes each. That's enough to get past the early clumsiness and see whether the stabbing rhythm clicks.
Make a firm ball in session 1 or 2, a two-ball snowman in 3, a simple animal by 5, and one with eyes and color layers by 8. Keep the finished pieces on a shelf so you can see the change.
You're thinking about the next project between sessions and watching tutorials for fur technique. Buy better needles and try an armature.
You enjoy it but you're restless with the tiny scale. Try 2D wool painting or wet felting, or look at Polymer Clay Crafting if you want faster results.
You dread sitting down, or the repetition feels like work. Stop. A starter kit is inexpensive, and you'll have learned something about your hands.
Hand or wrist pain, or numbness in your fingers, means stop for the day. Finger-guard stabs also mean you're rushing. Slow down.
No. A first ball takes about 30 to 45 minutes and teaches the core motion. The hard part is patience: wool needs many stabs to firm up. Start with balls and simple joins, and an animal is realistic by your fourth or fifth session.
Yes. You can felt wool shapes directly onto wool sweaters, bags and hats with the same needles and a foam pad underneath. It's fast, forgiving and a good use of scrap roving.
A few felting needles (36 and 38 gauge), a dense foam pad, finger guards and some core wool roving. Beginner kits with all of that start around $9–$15. You also need a table and good light; don't work in your lap.
It can. The needles are sharp and barbed, so finger stabs bleed and sting. Use finger guards on your holding hand, work on a firm pad on a table, keep your fingers out of the needle path, and slow down when you're tired.
A small 2 to 4 inch animal takes about 1 to 3 hours for a beginner, spread over a couple of sessions. Larger or realistic pieces with armature and fur layers can take 10 hours or more. Speed improves quickly with practice.
Most felting needles are sharp enough that younger children shouldn't use them unsupervised. Older kids and teens can learn with finger guards and an adult around. Store needles in a closed case, count them after each session, and keep them away from pets.